5 Easy DIY Steps for How to Make Spice Labels
Estimated reading time: 12 minutes
How to make spice labels and free printables you can customize
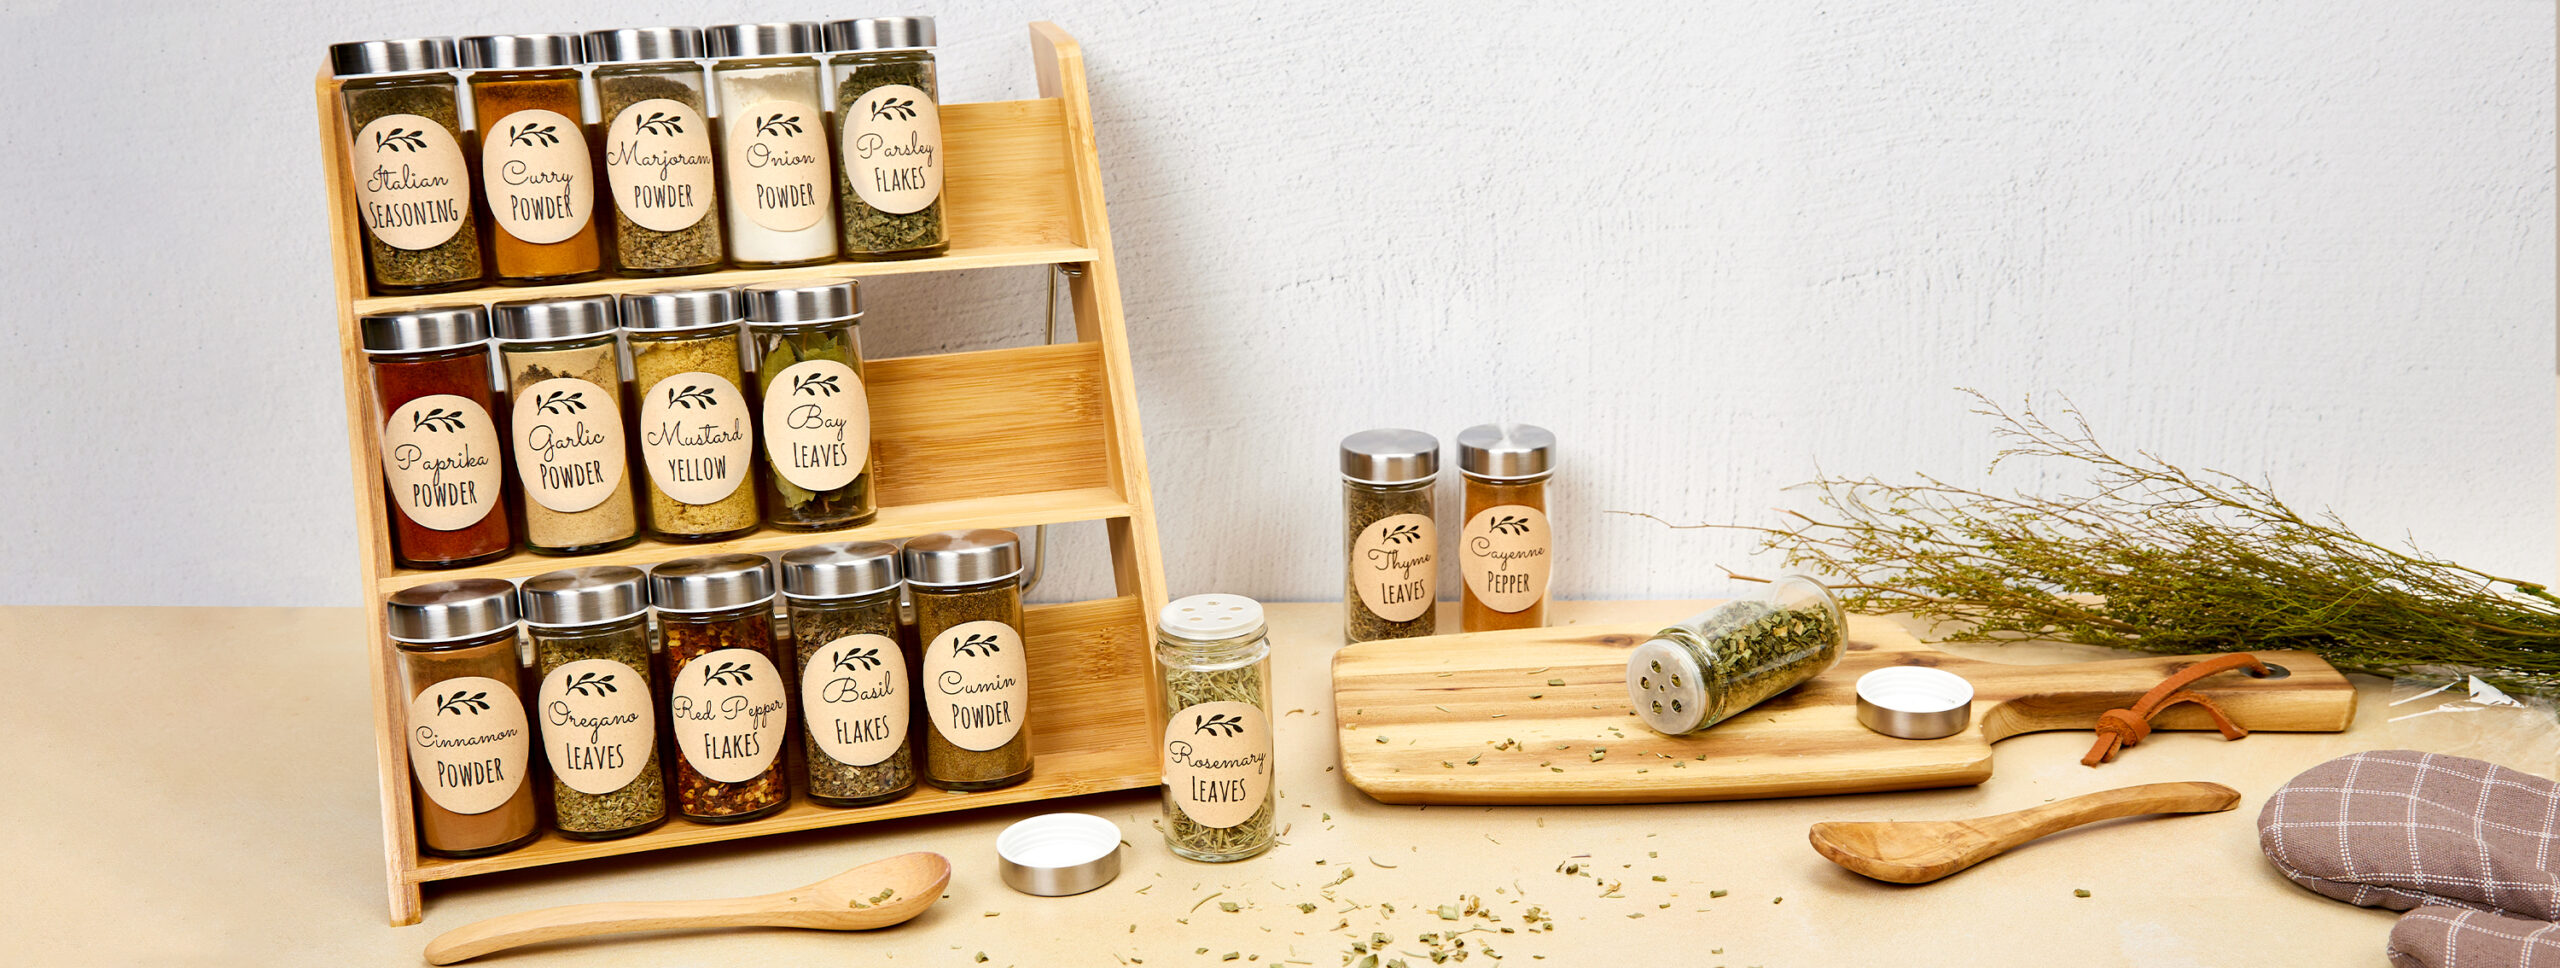
Neat and pretty spice jar labels are wonderful for organizing your own kitchen or gifting. Generally, cooking and food-related items are perennial favorites to gift during the winter holidays. In fact, we wrote an entire article about food gift ideas for the holidays. Whether you’re gifting or organizing, making your own spice labels is super easy with the right materials and tools. Fortunately, at Avery, we have a long history of label expertise and fantastic free design tools.
1) Choose the best size for spice jar labels
What size are spice jar labels?
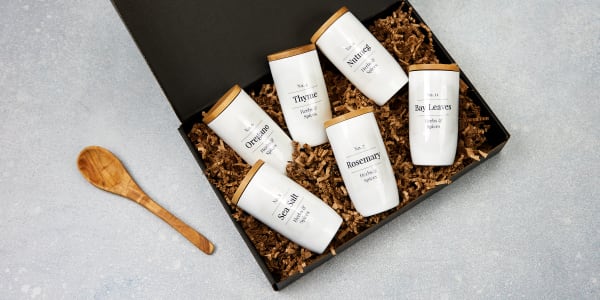
In general, most common spice jars hold about four ounces of spices and are about two inches in diameter and five inches tall. That being the case, two-inch round or square labels will fit best on most spice jars. If you’re working with four-ounce jars, you can get started shopping for labels now.
Labeling different spice jar sizes
If your spice jars are a different size, or you want to choose a unique shape for your labels, then you will have to measure your jars. Luckily, we have a great resource for choosing the right label size and it even has a printable ruler! While you’re at it, you may also want to check out our article about how to choose the right label size for other kinds of jars too. It’s particularly helpful for holiday projects like DIY Mason jar gifts which we also wrote about.
2) Pick out a label material
There are two main things you need to consider when making your own spice jar labels. Firstly, what kind of printer do you have? Secondly, how much wear and tear will your spice jars be subjected to?
Printer compatibility
When it comes to printing labels, you should always make sure that you’re using printable labels designed for the type of printer you have. This is so important that we wrote an entire article about it, but in short, you should always use laser printable labels with laser printers and inkjet printable labels with inkjet printers. Except, when the labels are marked “laser/inkjet,” because that means that they’ve been specially designed to work in both types of printers. Otherwise, the ink on your labels will never “set” properly, and your labels may smear or smudge.
Durability needs
Durability is pretty important when it comes to making DIY spice labels. However, there are some cases where you may not need super-durable labels. For example, when making gifts or if you’re good at keeping things neat while you’re cooking, Kraft paper labels are a great material. Moreover, they work really well in farmhouse-style kitchens and have a cool “rustic-chic” vibe.
If you’re a little less neat in the kitchen, then we recommend waterproof film labels or clear film labels for spice jars. Clear film is fairly sturdy and easily lets you achieve the “printed on” look, which remains popular year after year. However, for the best durability, waterproof film is always going to be your best bet. This is because our waterproof film labels resist wear and tear and can even be wiped clean with common household cleaners.
| Material | 2″ Round | 2″ Square |
|---|---|---|
| Waterproof | 64502 package Order by the sheet | 64503 package Order by the sheet |
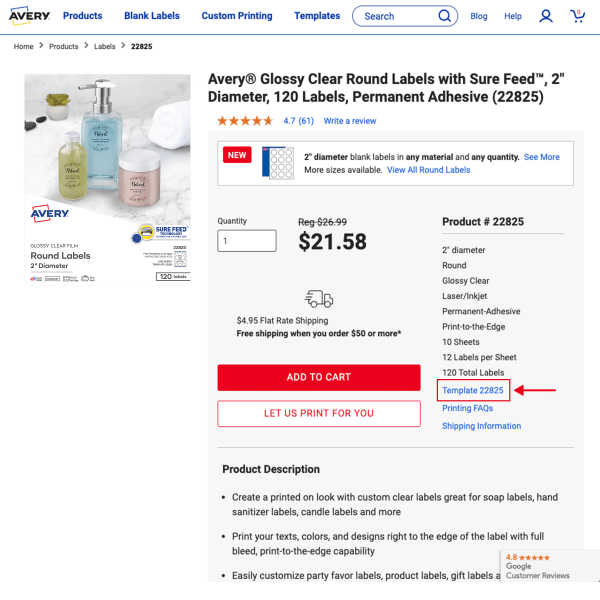
| Clear Film | 22825 package Order by the sheet | 22853 package Order by the sheet |
| Kraft Paper | Order by the sheet | 22846 package Order by the sheet |
3) Customize a spice label design for free
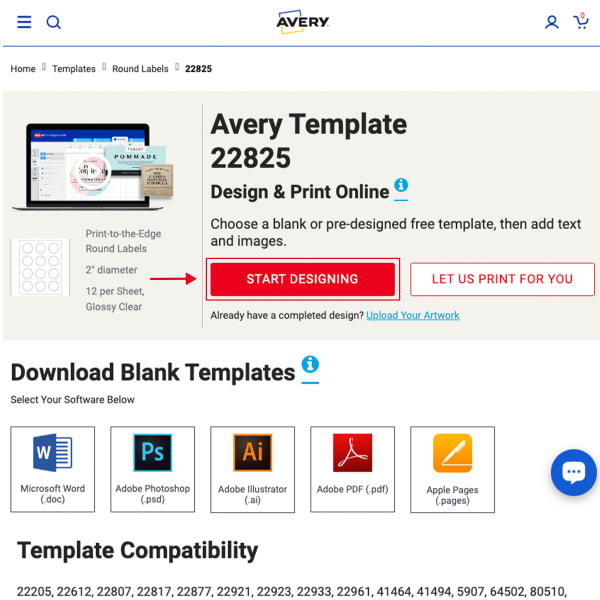
Once you’ve chosen a label type, you can customize an Avery spice label template for free. As a matter of fact, our templates are designed by professional graphic designers and easy to personalize with your own text, colors, and more. Of course, the best way to customize our spice label templates (or create your own) is to use Avery Design and Print Online (ADPO). ADPO is our free, cloud-based online software with standard image editing tools.
For the purpose of designing, all you need is a laptop, tablet, or smartphone connected to the internet and a free Avery account. Once you open an Avery spice label template, you can click on text to change fonts, color, and size. Or, click on a graphic to move, rotate, or resize it. You can even upload your own artwork or photos.
If you have experience with editing software, for example, Adobe Photoshop, ADPO is pretty intuitive. However, if you don’t, we have tons of resources to help you customize your designs. For instance, this video shows you how to edit text, and this video shows you how to work with images, backgrounds, and shapes. We even have an article showing you how to rotate designs on labels, which is great for printing on square labels so that you can use them as a diamond shape.
Free printable spice label templates you can customize
We’ve rounded up some of our favorite spice label templates here for you to get started quickly. However, you can find free templates for any Avery product by using our template finder page. If you’re not familiar, our Help Center has a great step-by-step guide to using the finder and how to find your Avery product number.
You can also save any of the spice label templates in this article as a project and then apply them to any Avery product. Here is a walkthrough from our Help Center on how to do exactly that.
Quickly fill in all your spice labels at once
You don’t need to type in each spice separately for each label on your label sheet because our free Mail Merge tool can do it for you. When you open any template in ADPO, you have access to Mail Merge. You basically import a list of information from a spreadsheet like Microsoft Excel or Google Sheets. Each item on your list will be automatically applied to an individual label on your sheet.
If you’ve never used Mail Merge before, this video is a super helpful resource. However, here is a very brief overview of how to use Mail Merge to autofill your spice labels. Start with a list of the spice names in a spreadsheet (typing them out in a sheet is much faster than switching between each individual label in ADPO). Next, open the template you want to use. In fact, you can open any template in this article by just clicking the “Customize” button. Make any edits to the design that you want applied to all the labels.
Once you’re happy with the overall design, choose Mail Merge/Data Import from the left-side menu. Follow the prompts to select the spreadsheet you want to use. You can still make edits to individual labels if needed, and then you’re ready to print!
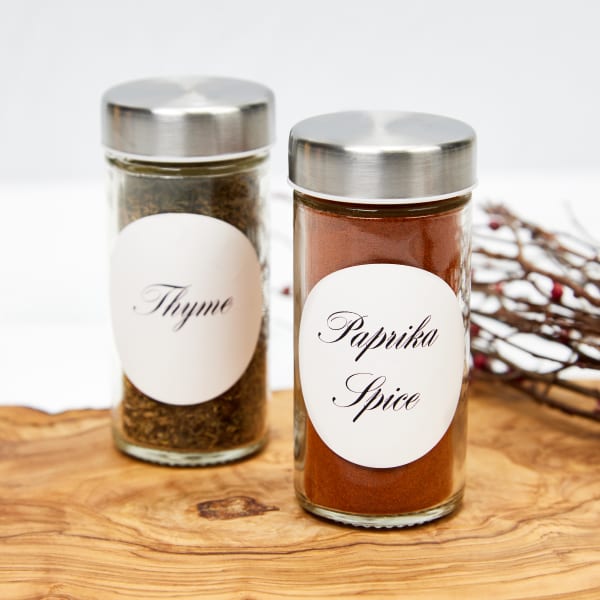
Print this design on our 2″ round waterproof labels sold in a package (64502), or by the sheet (94501).
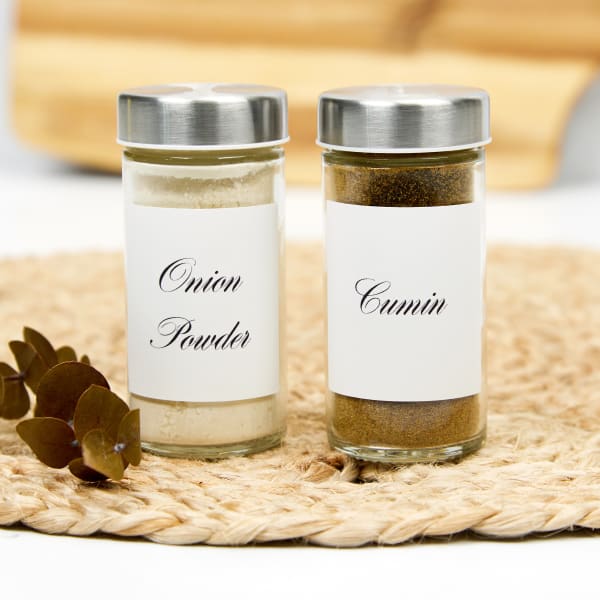
Print this design on our 2″ square waterproof labels sold in a package (64503), or by the sheet (94107).
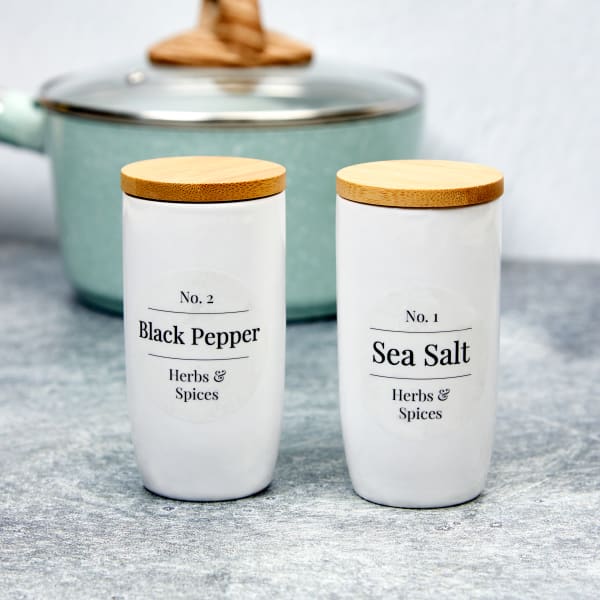
Print this design on our 2″ round clear film labels sold in a package (22825), or by the sheet (94501).
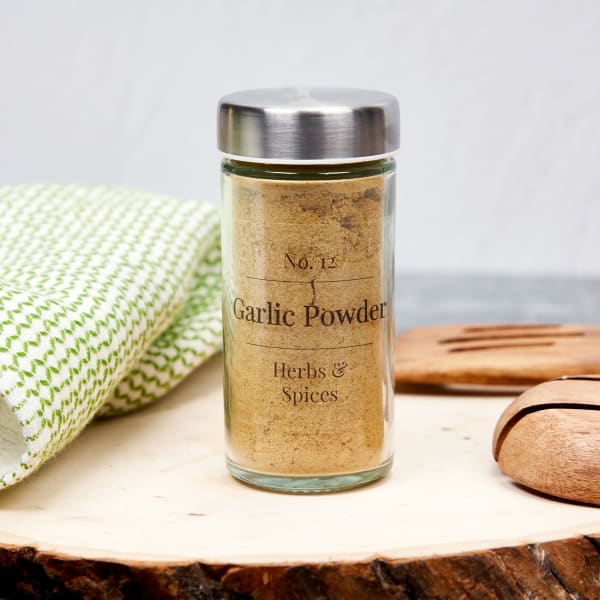
Print this design on our 2″ square clear film labels sold in a package (22853), or by the sheet (94107).
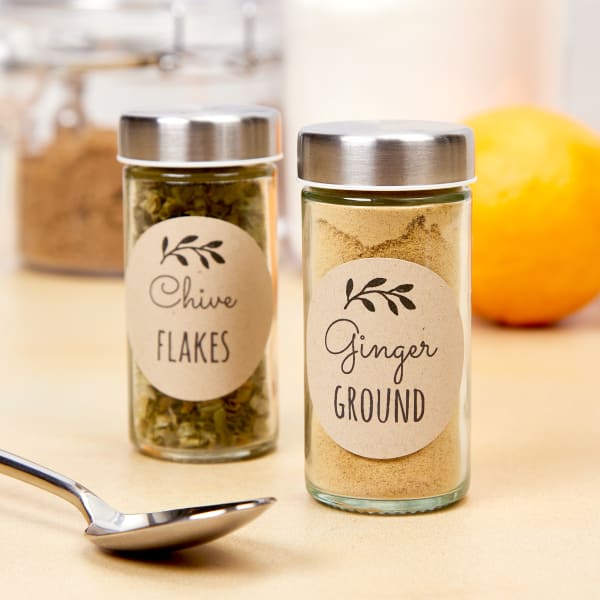
Print this design on our 2″ round Kraft labels sold by the sheet.
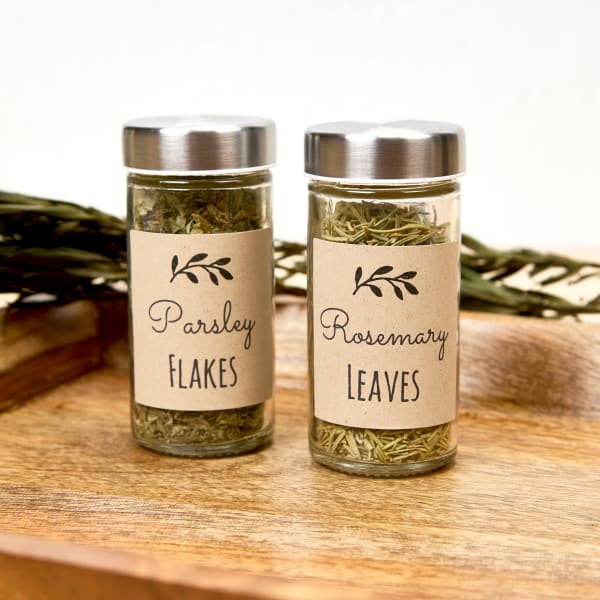
Print this design on our 2″ square Kraft labels sold in a package (22846), or by the sheet (94107).
4) Print your personalized labels
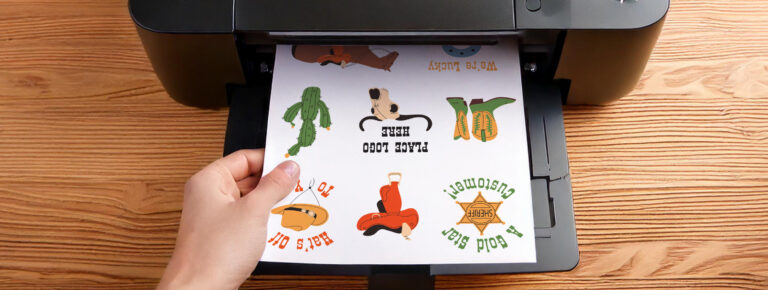
When you’ve got your spice label designs exactly how you like them, it’s time to print them. As covered above, there are a variety of printable labels available by the package or by the sheet for DIY printing. Of course, you can always skip that step and have us print your spice jar labels for you.
While printing labels is super easy at home, there are a couple reasons you might want to go with custom-printed spice labels instead. Firstly, if you don’t have a printer at home, custom printing with Avery is a reasonably affordable alternative, and your order usually ships within three business days. Secondly, if your design has very saturated, full-bleed, or photorealistic images, professional digital printers generally handle that stuff a little better. This is especially helpful if you want to print a large quantity because of how much ink will be used.
Tips for printing at home
In this section, we’re going to give you the basics of what you need to know to successfully print labels yourself. However, this article with a detailed guide on how to print labels is incredibly helpful if you need step-by-step instructions.
Above all, make sure your labels match the type of printer you have. Although we mentioned that above, it’s worth repeating because 99 percent of the time, when a project prints poorly or the ink is smudging, printer compatibility is the problem.
Next, print a test sheet on a regular piece of paper first. You’ll usually be able to spot most design errors right away. However, you can also use the test sheet to check for misalignment or scaling issues with your spice labels. To do so, place the printed test sheet on top of your blank Avery label sheet. Hold it up to a bright light. If the design doesn’t match up with the outlines of the labels, you can go back to your printer settings and adjust.
Finally, check your printer settings for the paper type. Make sure the paper type is set to “labels,” “cardstock,” or “specialty.” This tells your printer that the sheets will be thicker so that the machine can adjust the printer feed properly.
5) How to put labels on spice jars evenly
Application is everything when it comes to labels, especially when you’re using them to make a gift or something you want to look nice in your home. If you want to label your spice jars perfectly and evenly, here is what you need to do:
Prepare your jar
First, clean the jar. Regular rubbing alcohol from your medicine cabinet works great on glass. For other materials, spot test on the bottom first to make sure it won’t damage the surface. A lint-free cloth or paper towel is best so that there is no lint or other debris left behind. Let the jar dry thoroughly.
Next, stabilize the jar. You can wedge it between two heavy objects on a table, or even hold it between your knees. If you have a helper who can hold it for you, that works well too.
Apply the label
Once your jar is stabilized, peel off the label backing and hold your spice label by the edges. Hold the label over your jar and find something to align it with, such as a crease in the glass or an edge like the rim or bottom of the jar. Lastly, press down in the middle and smooth down the label toward the edges.
Most of the time, when you follow the steps above, no further steps will be needed. However, sometimes air bubbles just can’t be avoided. In that case, use a small sharp pin to poke a hole in the bubble. Then press down, smoothing the bubble until the air is released and the bubble is gone.
You’re ready to make spice labels in 5 easy steps!
Whether you’re gifting or organizing your own kitchen, personalized spice jar labels add an elevated look. Avery labels, paired with our free spice label templates and free design software, allow you to do it yourself and customize your labels exactly how you like.
First, choose the best size for your labels. Two-inch round or square labels fit most common four-ounce spice jars. However, if your jars are a different size, you can use our printable ruler and guide for choosing the right label size. Second, pick a label material that is compatible with the type of printer that you have and has a durability level that matches how the spice jars will be used.
Third, pick your favorite Avery spice label template, then customize it for free using our cloud-based ADPO software. You’ll find all the tools you need for editing or adding text, colors, images, backgrounds, and more. If you need help, the online Avery Help Center has tons of FAQs and articles to provide guidance.
Fourth, follow our tips for printing your DIY spice labels at home, or have us print them for you. Printing at home is super convenient, and custom printing is more affordable than you might realize. Fifth, and lastly, expertly apply your labels to your spice jars. Clean the jar surface, stabilize the jar, and then smooth the label on from the middle out to the edges.
Just like that, you’ve made your own custom spice labels! Are you labeling spices as gifts or to organize your kitchen? Don’t forget to share your awesome projects on Instagram using #averyproducts.


