Helpful Guide for How to Make Custom Binder Spine Inserts
How to make custom binder spines
There are several ways to make custom binder spines for view binders. That is to say, binders with clear pockets on the front cover, spine, and sometimes the back cover. Of course, you can always cut out cardstock to fit the spine and write on them by hand. However, handwritten spines don’t look very professional, and you’re limited to your own artistic ability. By far, the easiest way to make good-looking spines is to simply print a design on binder spine inserts.
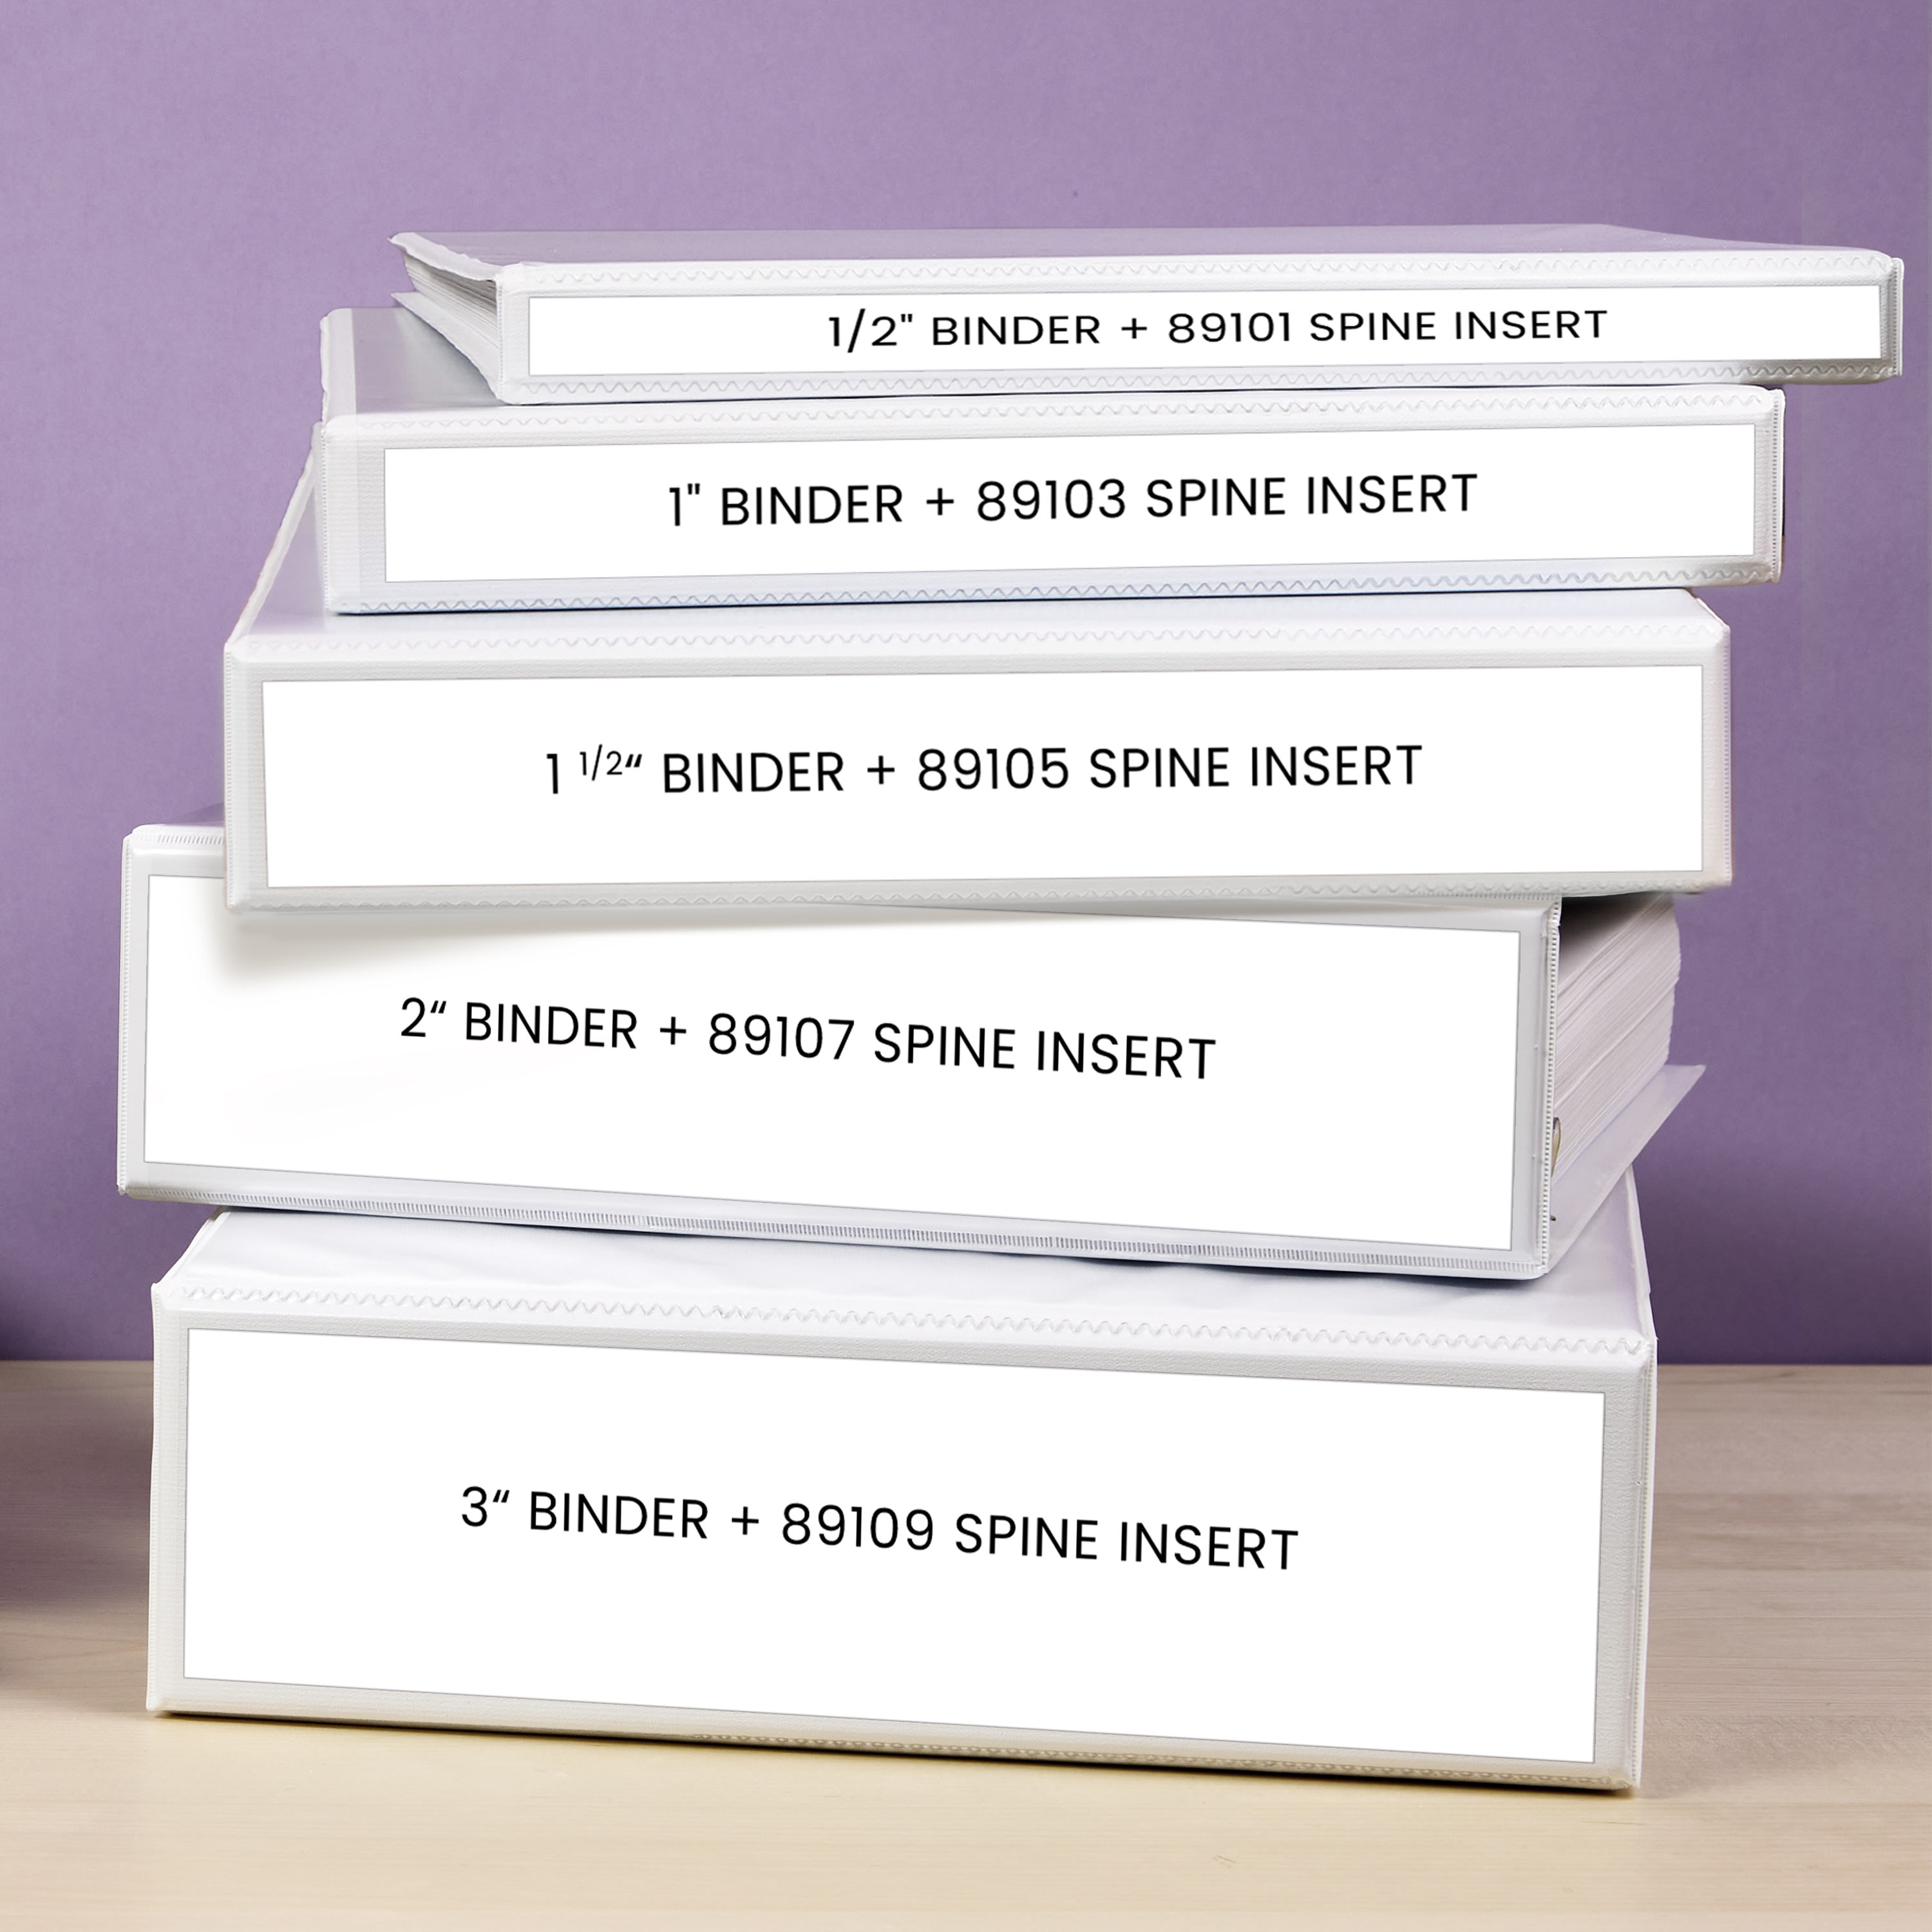
Because we design our printable binder spine inserts to fit perfectly with five different Avery binder sizes, they’re very simple to use. We also offer a variety of free, predesigned templates. You can personalize these templates using our free design tool, Avery Design and Print Online (ADPO). Here are the basic steps for creating custom binder spines with Avery printable binder spine inserts and our free tools:
- Order the insert that fits the width of your binder spine.
- Go to the template page for the binder spine insert you chose.
- Choose from blank or predesigned templates.
- Edit the template with images, text, color, and more.
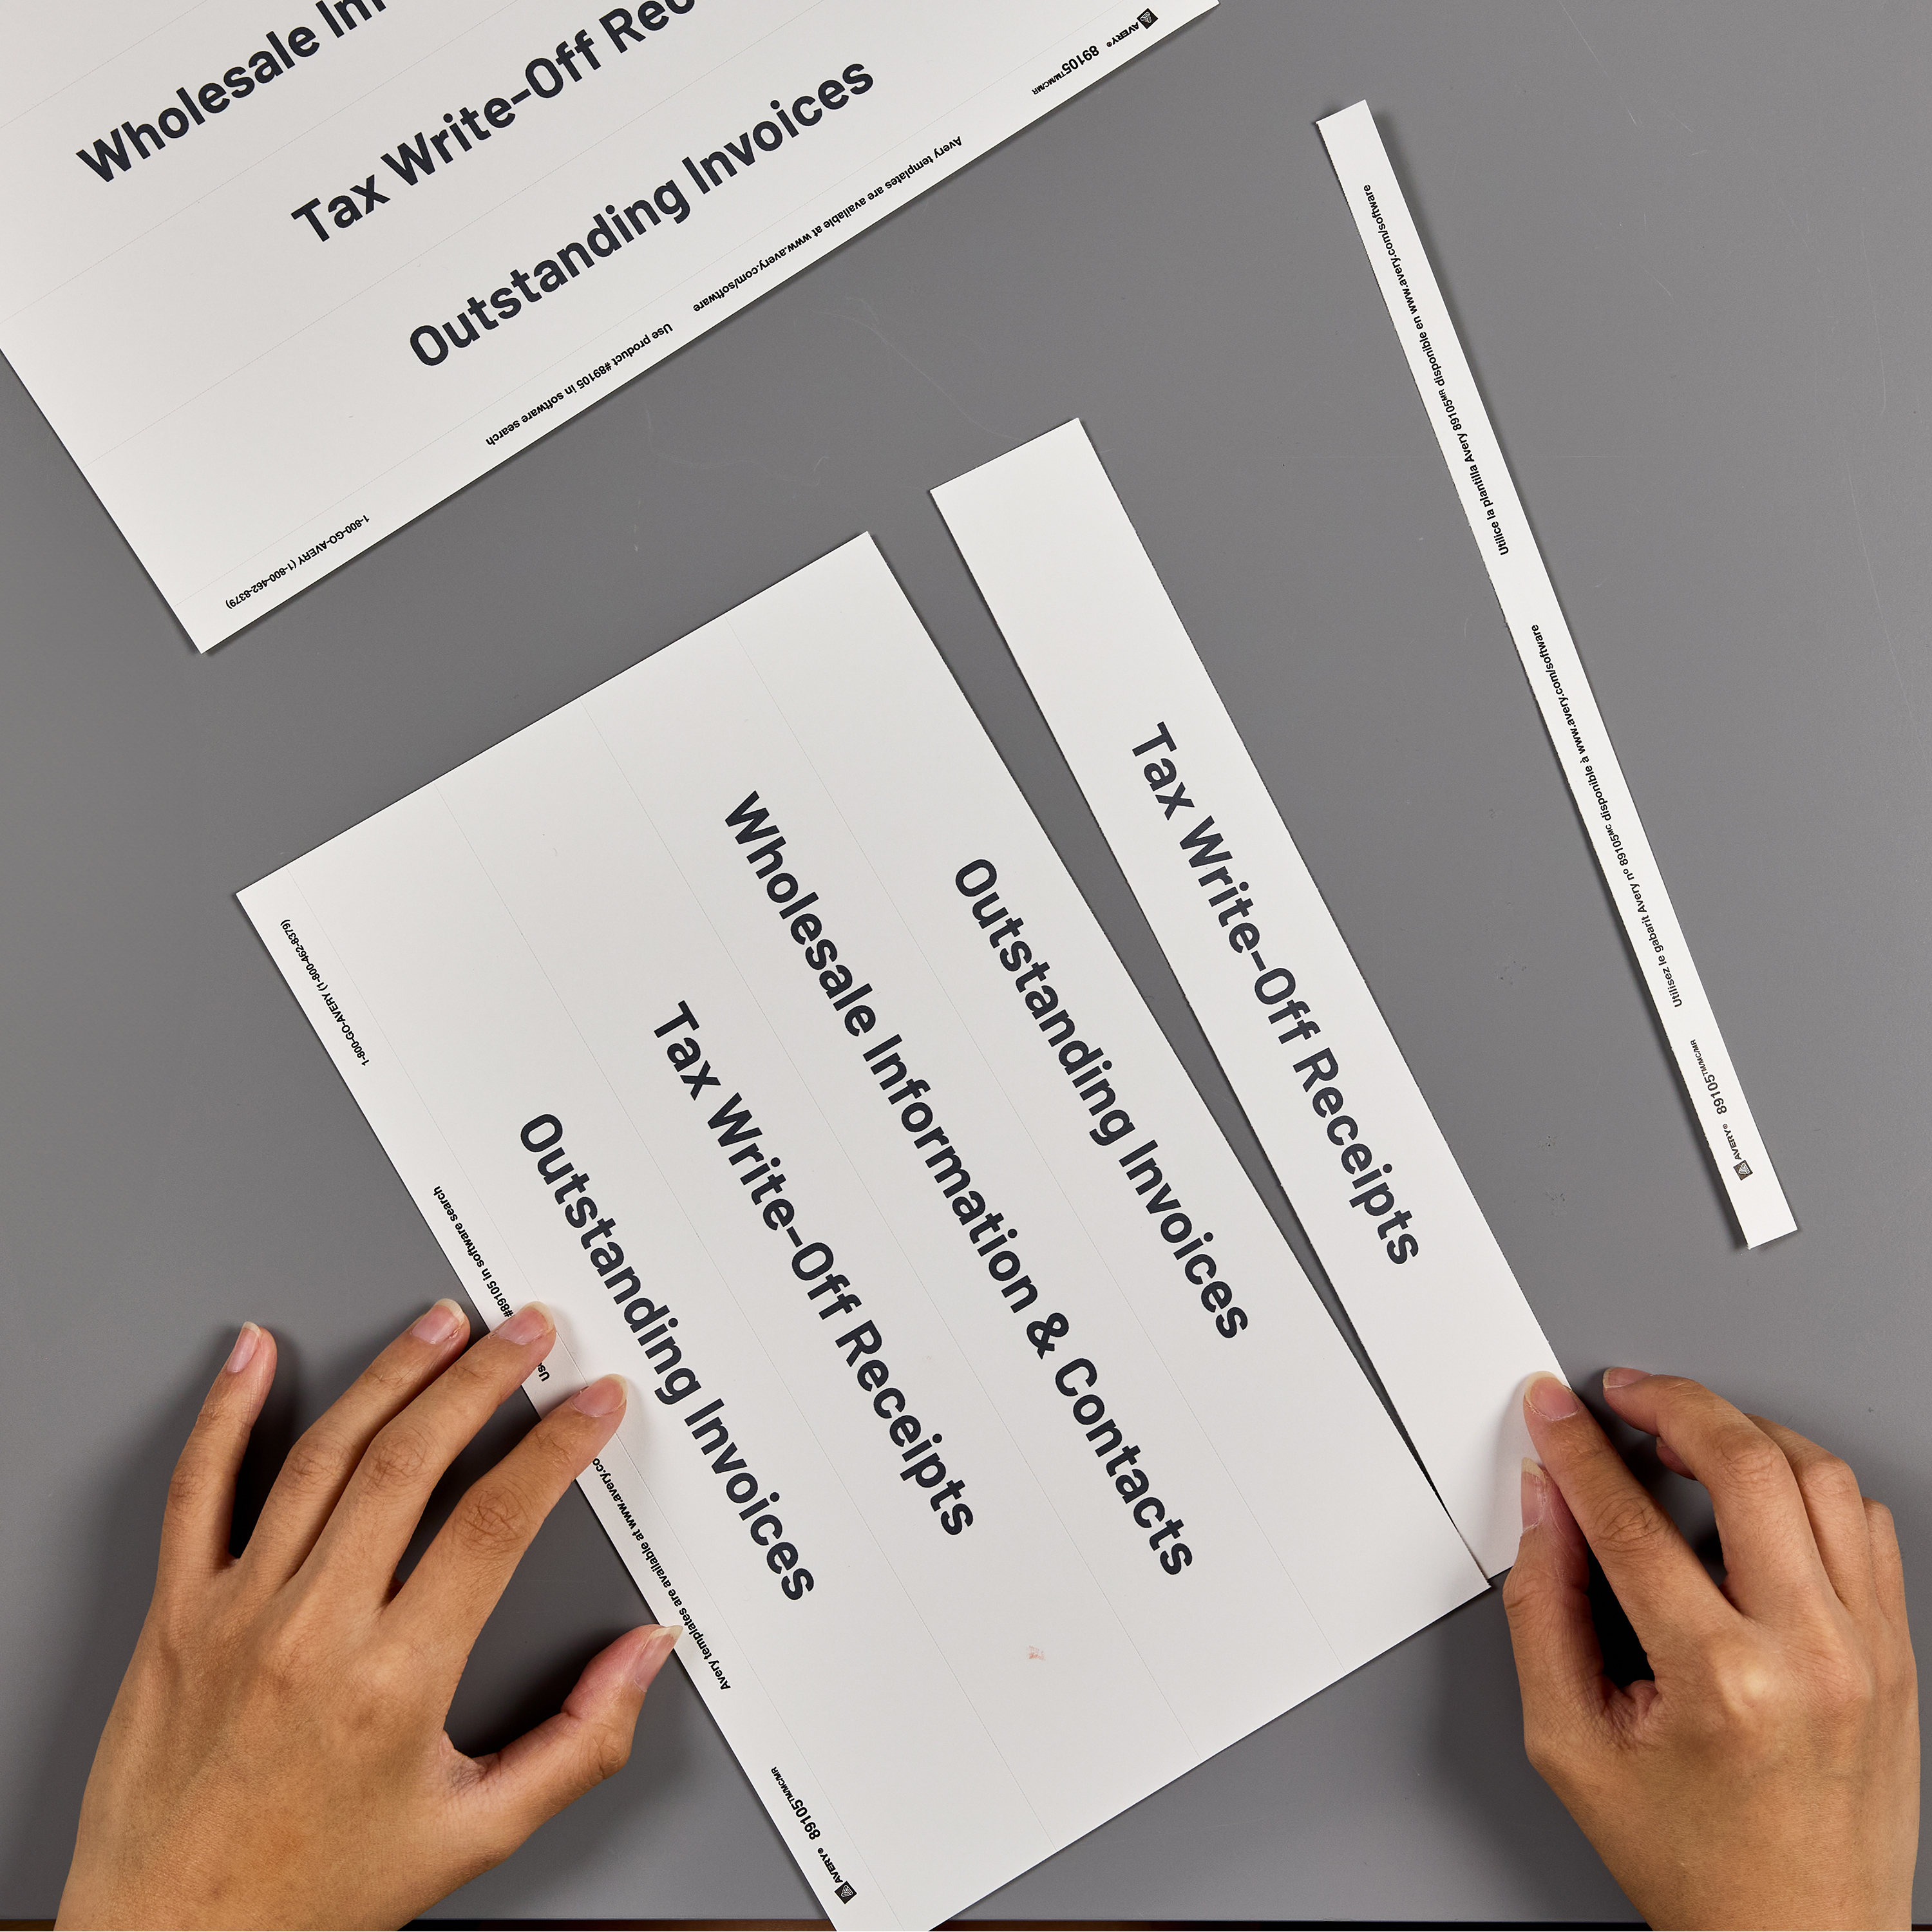
- Print and separate along perforations; insert into the binder spine pocket.
Get quick answers to get started on binder spine inserts
Use this list to get quick answers to FAQs about custom binder spine inserts answered in this guide:
- How to add vertical text to a binder spine
- How to find Avery binder spine templates for Word
- What are blank vs. predesigned templates?
What are binder spine inserts?
Binder spine inserts are cardstock strips that slip into the clear spine pocket on view binders. That’s not to say you can’t make do with paper in a pinch. Inserts, on the other hand, are made of cardstock rather than paper to avoid crumpling when slid into the pocket. View binders are usually the most practical to use for business and school binders because you can label and identify them without using adhesive labels. In general, adhesive labels are awesome for permanently identifying binders. However, inserts are interchangeable, so you can reuse or update your binders over and over.
If you’re looking for a custom-made binder, check out this article that shows you how to make custom binders on Zazzle.com.
Why choose Avery printable binder spine inserts
Avery binder inserts, specifically, are printable 8-1/2″ x 11″ cardstock sheets that are perforated so you can break them apart after printing. They come in five different sizes, from 1/2 inch to 3 inches wide (to match the sizes of our view binders found here) and can be printed using standard laser or inkjet printers. If you’re still deciding on what binder you’d like to use for your project, check out our binder resource page to browse different kinds, find answers to frequently asked questions, and compare features.
Our printable templates offer a variety of designs that you can use as-is or modify to make polished, professional binder spines. If you prefer to design your own custom binder spines using other software like Canva© or Adobe Illustrator©, there are templates for that too.
What’s more, in ADPO there’s a menu full of tools on the left-hand side for editing. From simply personalizing text to switching out colors or graphics, everything you need is included. You can even add barcodes or QR codes to your binder spine using the built-in barcode generator. This can come in handy for storing tax records for small businesses or more in-depth business records management, which we wrote about here.
How to make custom binder spines with Avery inserts
1) Order the insert that fits the width of your custom binder spine
The first thing you need to know is that Avery printable inserts differ by size, which corresponds to the width of the binder spine. Avery inserts come in 1/2″, 1″, 1-1/2″, 2″, and 3″ widths. However, each insert size comes on a printable sheet that is 8-1/2″ x 11″ and has perforations to break them apart after printing. Because the widths vary, different sizes will fit more or fewer inserts per sheet.
2) Go the template page for the binder spine insert you chose
Finding Avery binder spine templates online
There are a couple of ways to find Avery templates online. The first way is to go to our template finder page and enter the Avery product number. This will take you to a template page for the product. Once there, you can click the red “Start Designing” button to open template choices in ADPO or download a blank template to use with other software. On the template finder page, you can also browse by product type if you don’t have your product number handy.
Another way to find templates for a specific Avery product is to type the product number into the search bar on Avery.com and go directly to the product page. For printable products, a link to the matching template is found towards the bottom of the bullet list of product features. Of course, if you don’t have your product number, that does throw a wrench in things. However, there’s still a way. First, check the packaging because your Avery product should be listed there. If you have the packaging but can’t find the number on it, try this article, which has helpful pictures.
If all else fails, you can always call our knowledgeable Customer Care Team or chat with them online during regular business hours. They will be happy to help you figure out which product you have and provide you with the Avery product number.
How to find Avery binder spine templates for Word
Start by using the steps above to get to the template page for the Avery product you’re using. You will see an option at the top to start designing your binder insert in ADPO, but underneath that are all the blank templates you can download for various different software programs. Once you’ve downloaded the blank Word template, locate it in your download folder and click to open. When the template has been opened in Word, you can use all the familiar editing tools in the top toolbar. For more help with using Microsoft Word to design and print Avery products, check out our MS Word resource page. There you’ll find printing tips, FAQs, and more.
3) Choose from blank or predesigned templates
What are blank Vs. predesigned templates?
There are also two types of binder spine templates to choose from. A blank template is used for designing from scratch or uploading a complete design from your computer. For example, when you’ve designed custom binder spines using software like Canva or Illustrator, you need a blank template. This is because the blank Avery template allows you to position your design so that it prints correctly on your Avery product. In contrast, our graphic designers make predesigned templates already formatted for Avery products. However, you can still customize the designs with your own text, graphics, colors, etc.
Both blank and predesigned binder spine templates can be opened in ADPO for editing and printing. However, you can also download blank templates for various software, including Microsoft Word, the Adobe Suite© (Photoshop, Illustrator, and PDF), and Apple Pages©.
Blank templates for custom binder spine inserts
To begin with, choose a binder spine insert that matches the width of your binder. You can use the steps above to find the template you need or pick a blank template below and click the “Design Now” button to open it in the ADPO editing screen. Once you’ve opened a blank template, you can begin designing using the tools on the left-hand side. Or, you can upload a complete image from your computer. If you’ve never uploaded an image before, here is an excellent help article that will walk you through it.
Predesigned templates you can customize online
Use the steps we listed above to find a template that matches your Avery binder, then click the “Start Designing” button. You will see a blank template as well as a variety of predesigned options. Or, choose a predesigned template from the list below. Click the “Customize” button to open the template directly in the ADPO editing screen. Now you can use the tools on the left-hand side to customize the design as desired.
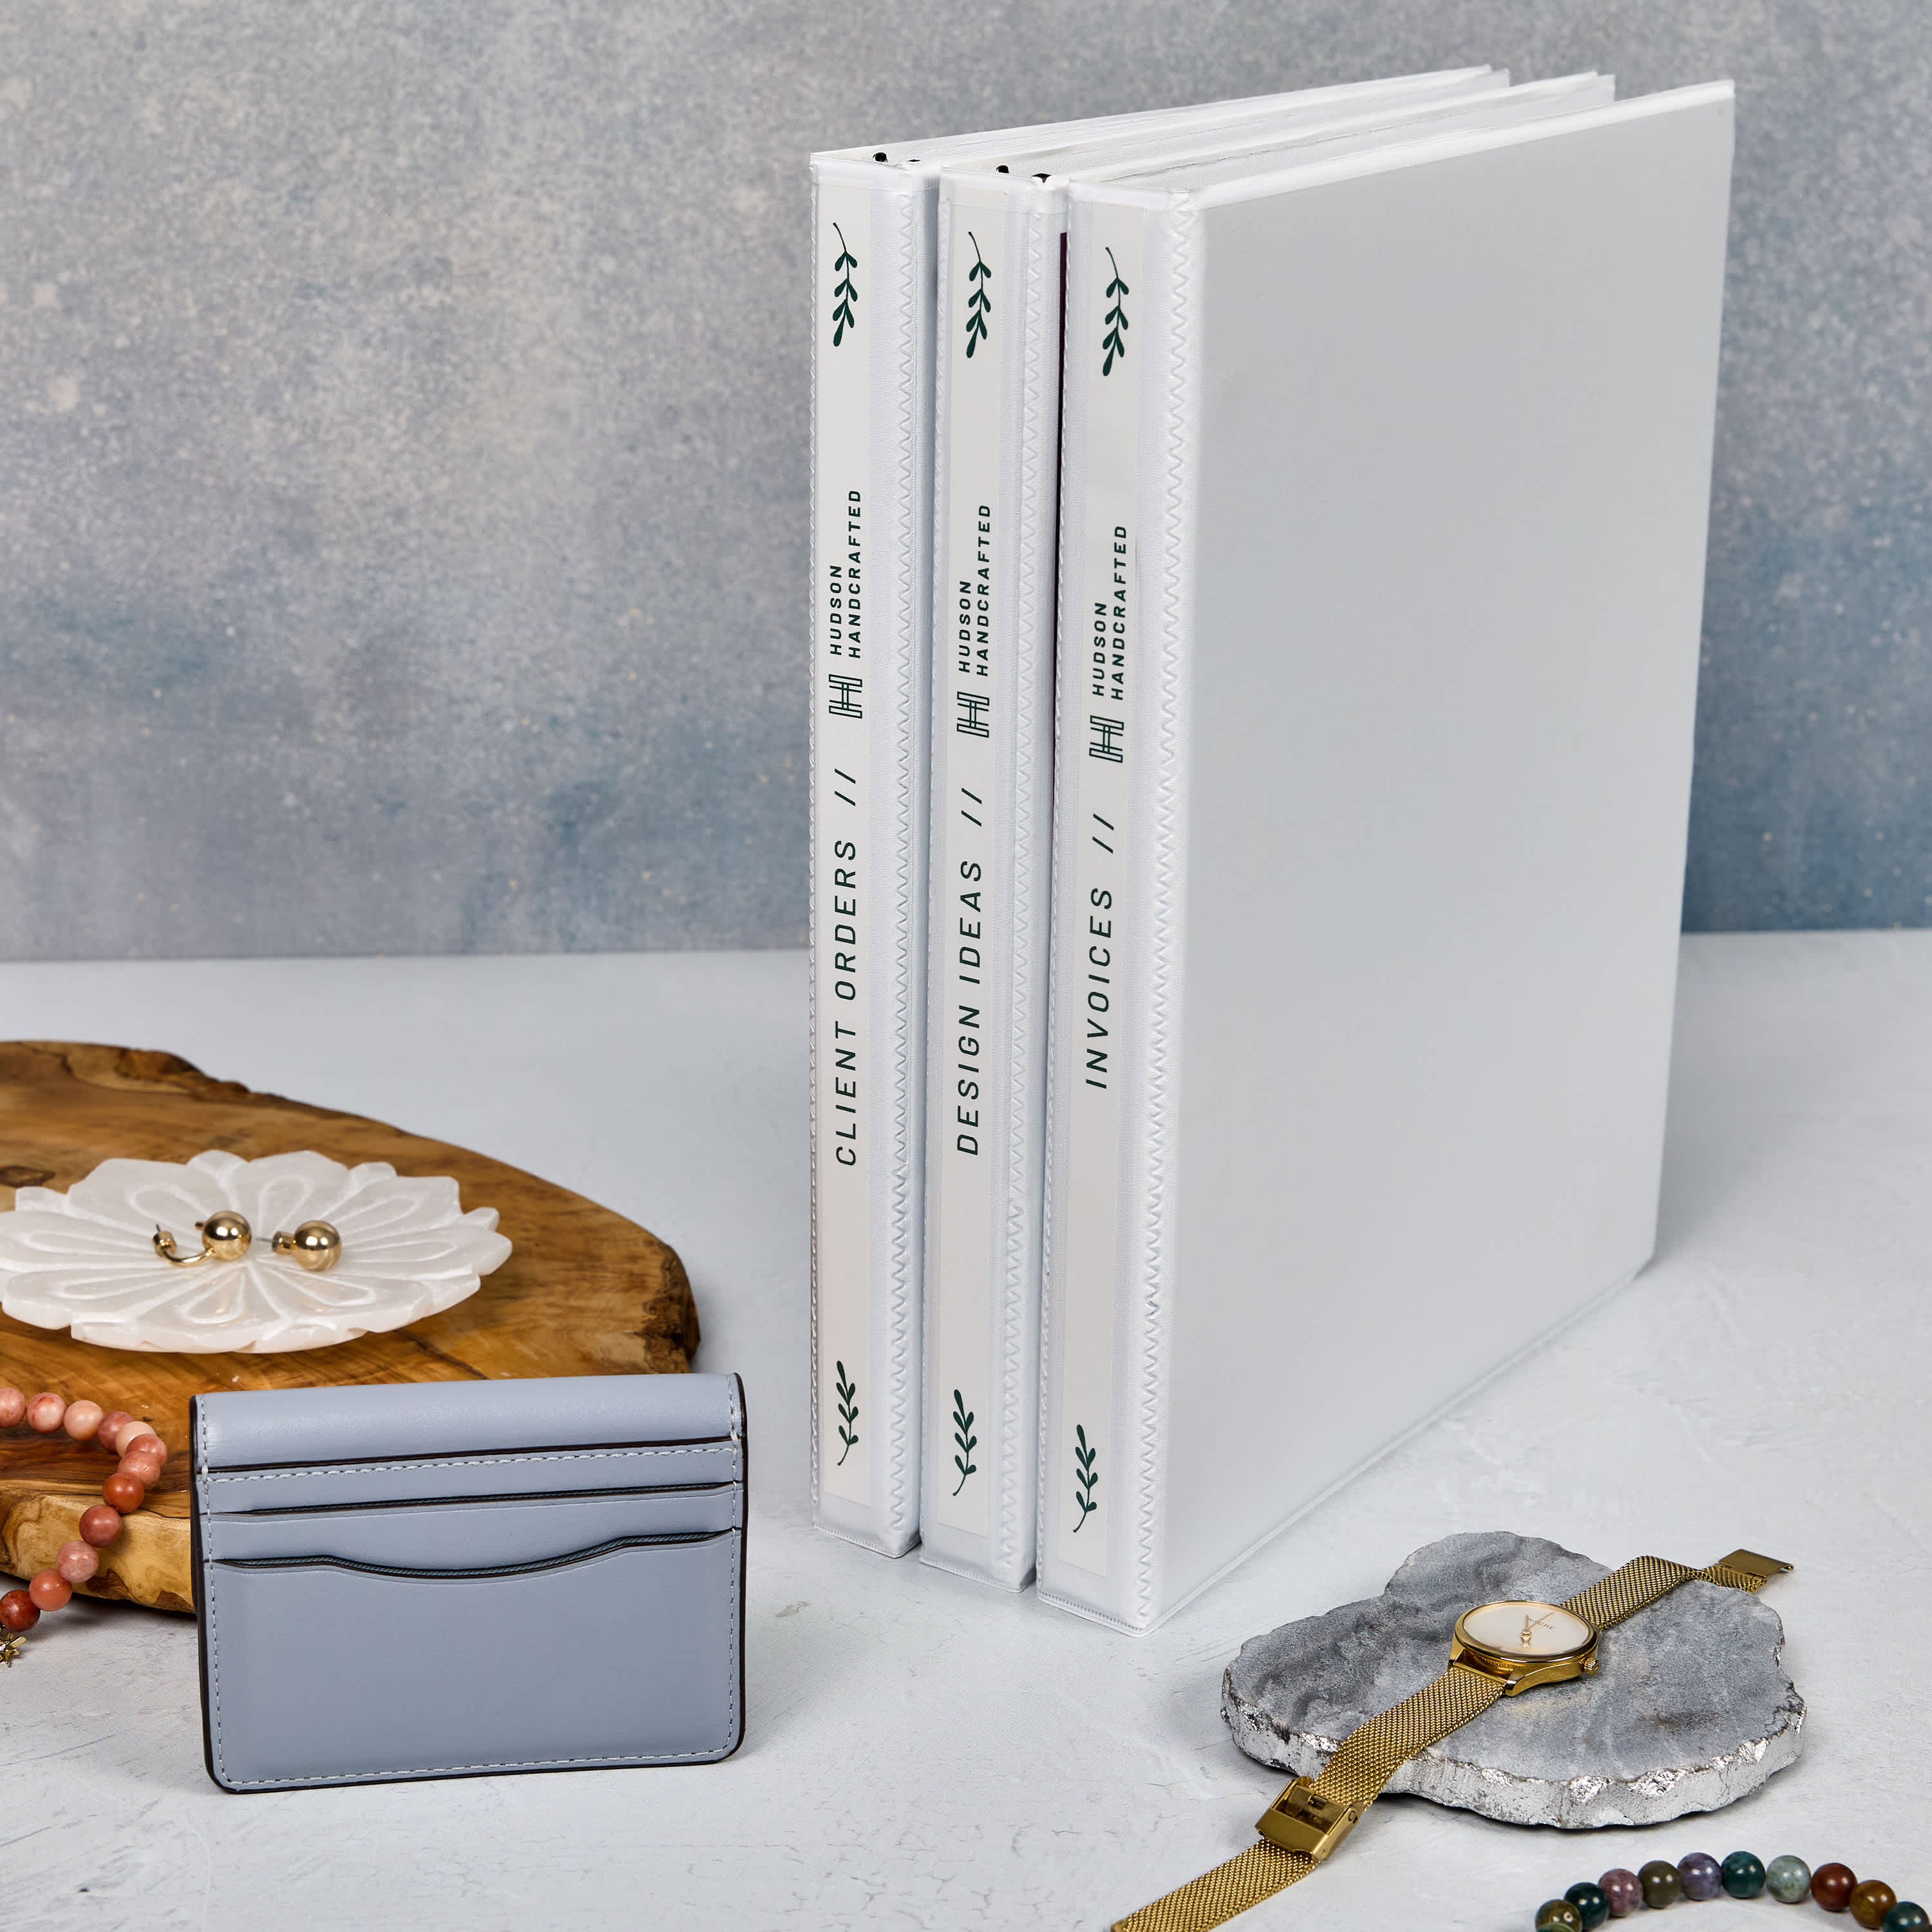
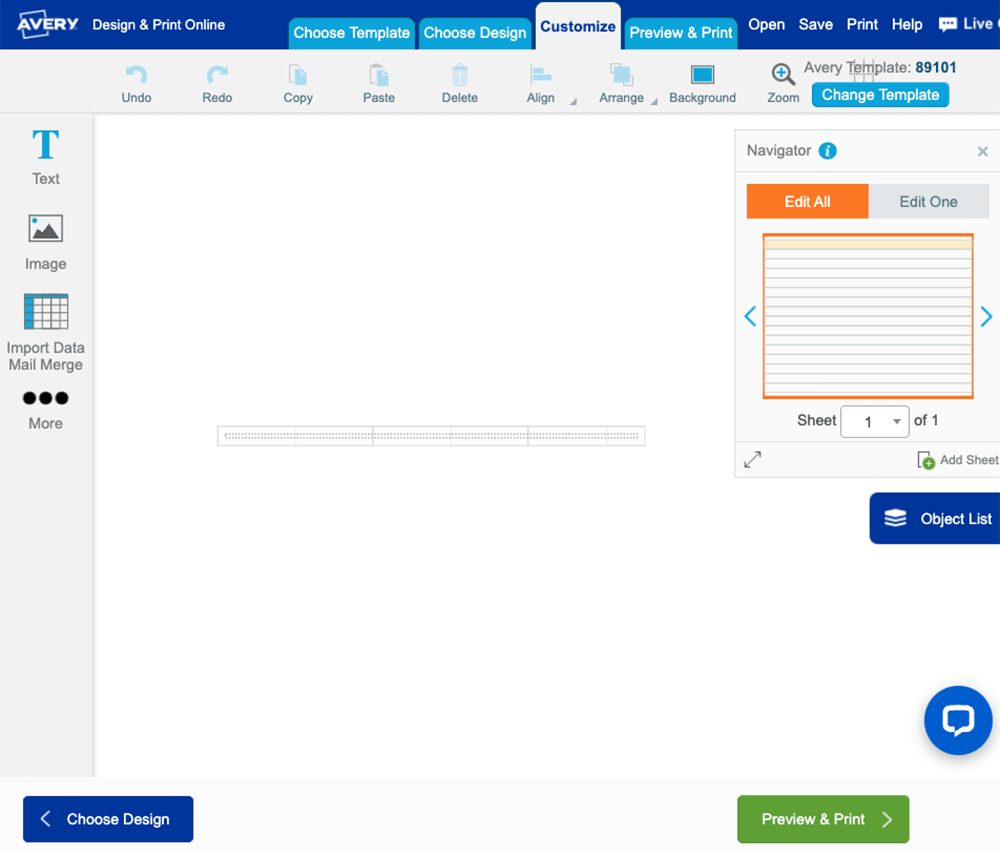
Print this design on binder spine insert 89101 and use with 1/2 inch view binders.
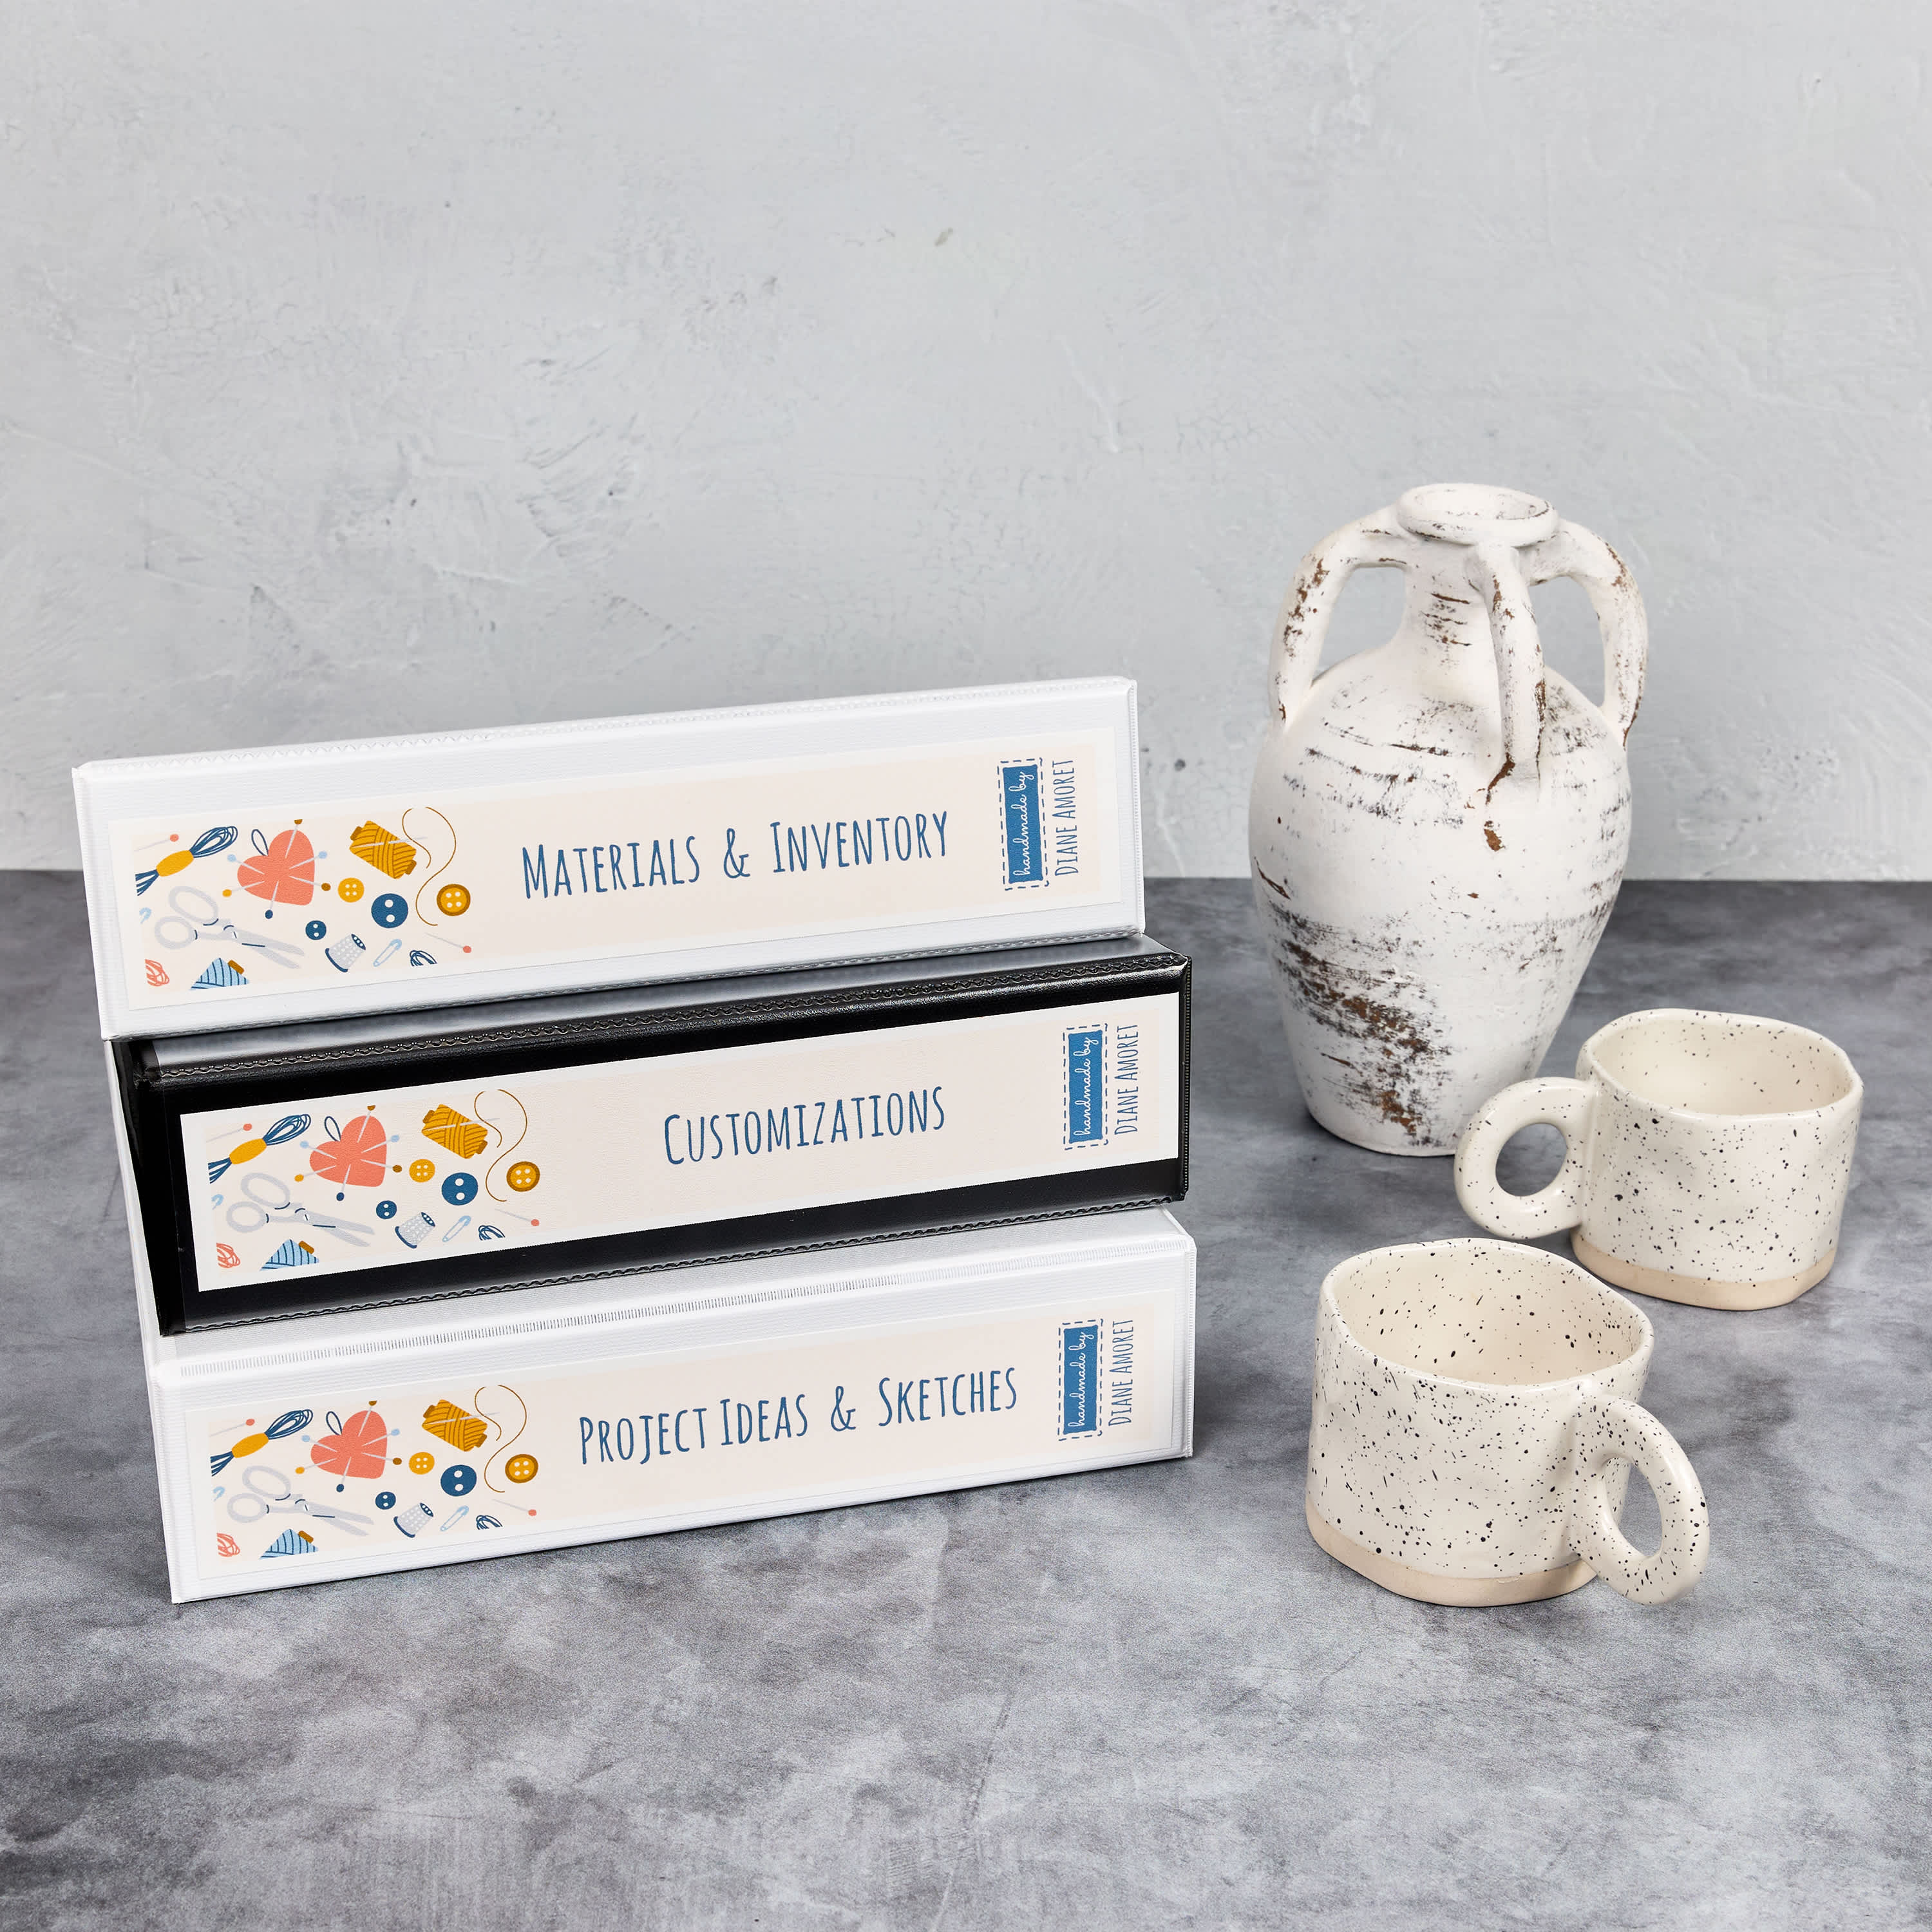
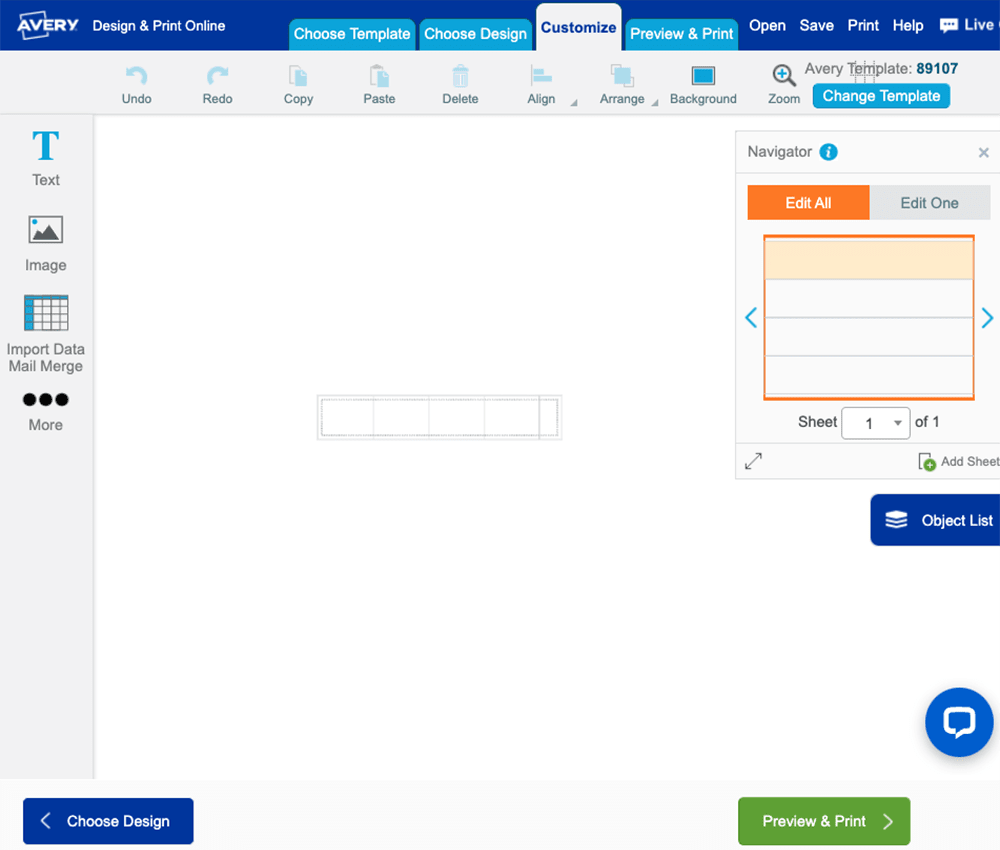
Print this design on binder spine insert 89107 and use with 2 inch view binders.
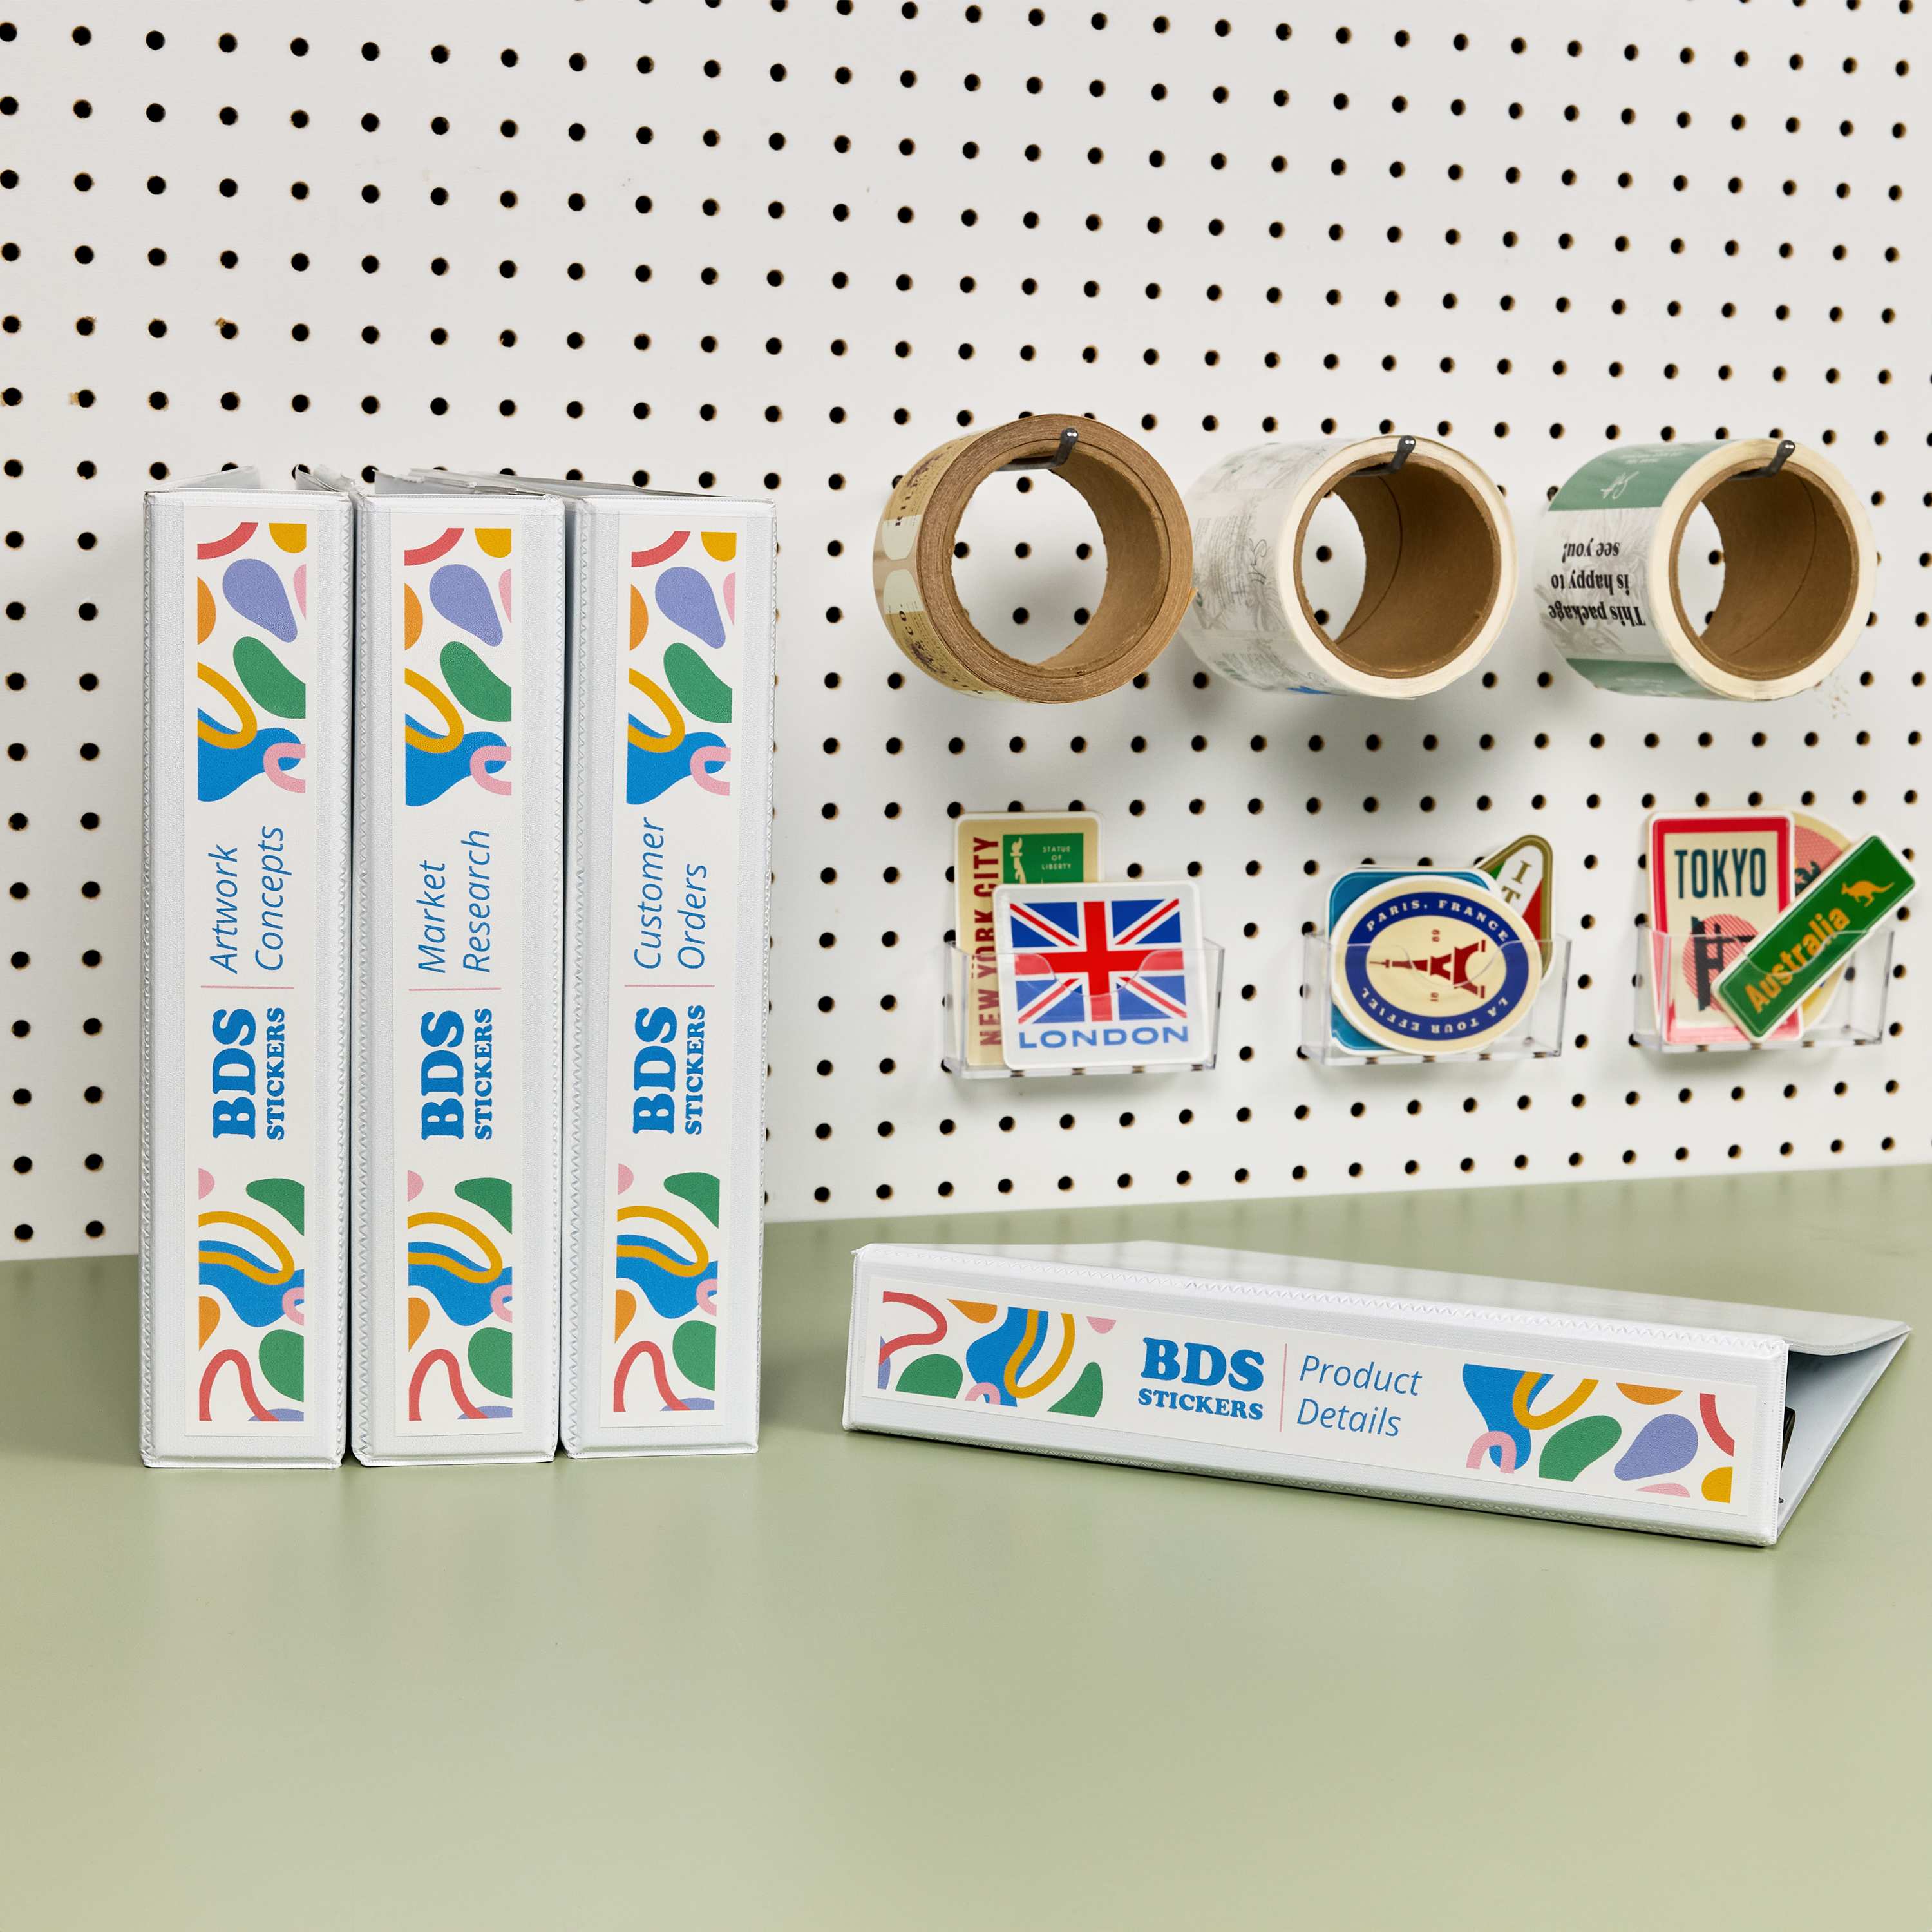
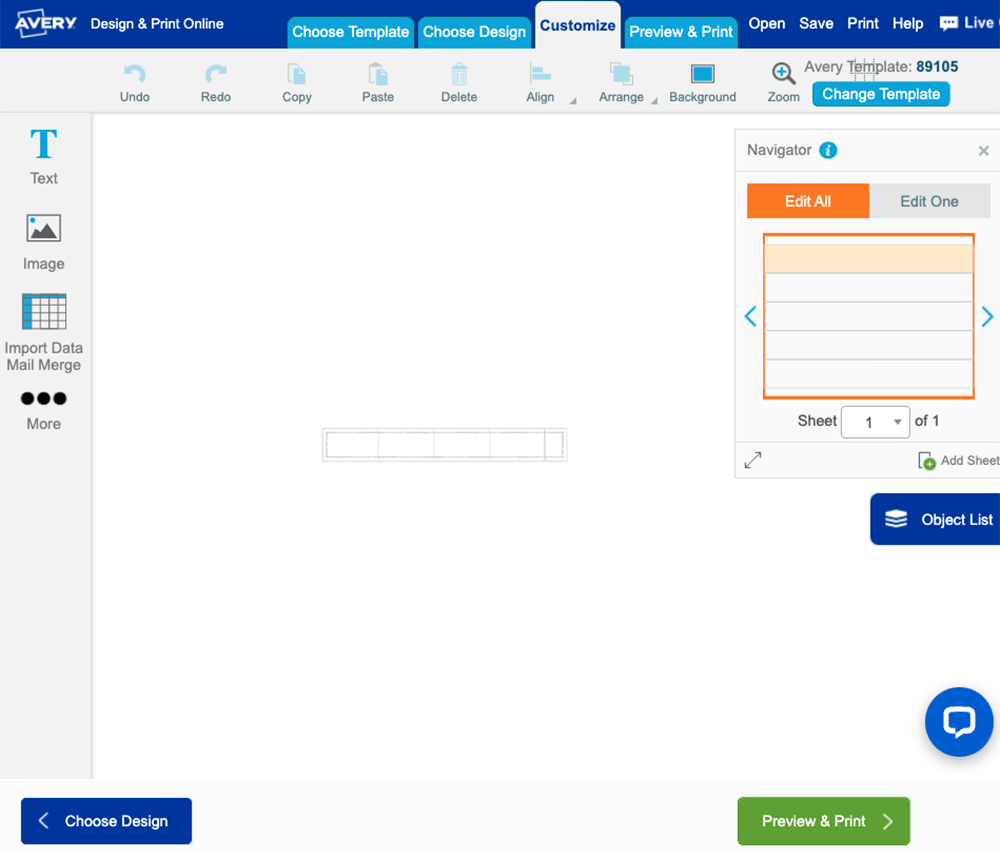
Print this design on binder spine insert 89105 and use with 1-1/2 inch view binders.
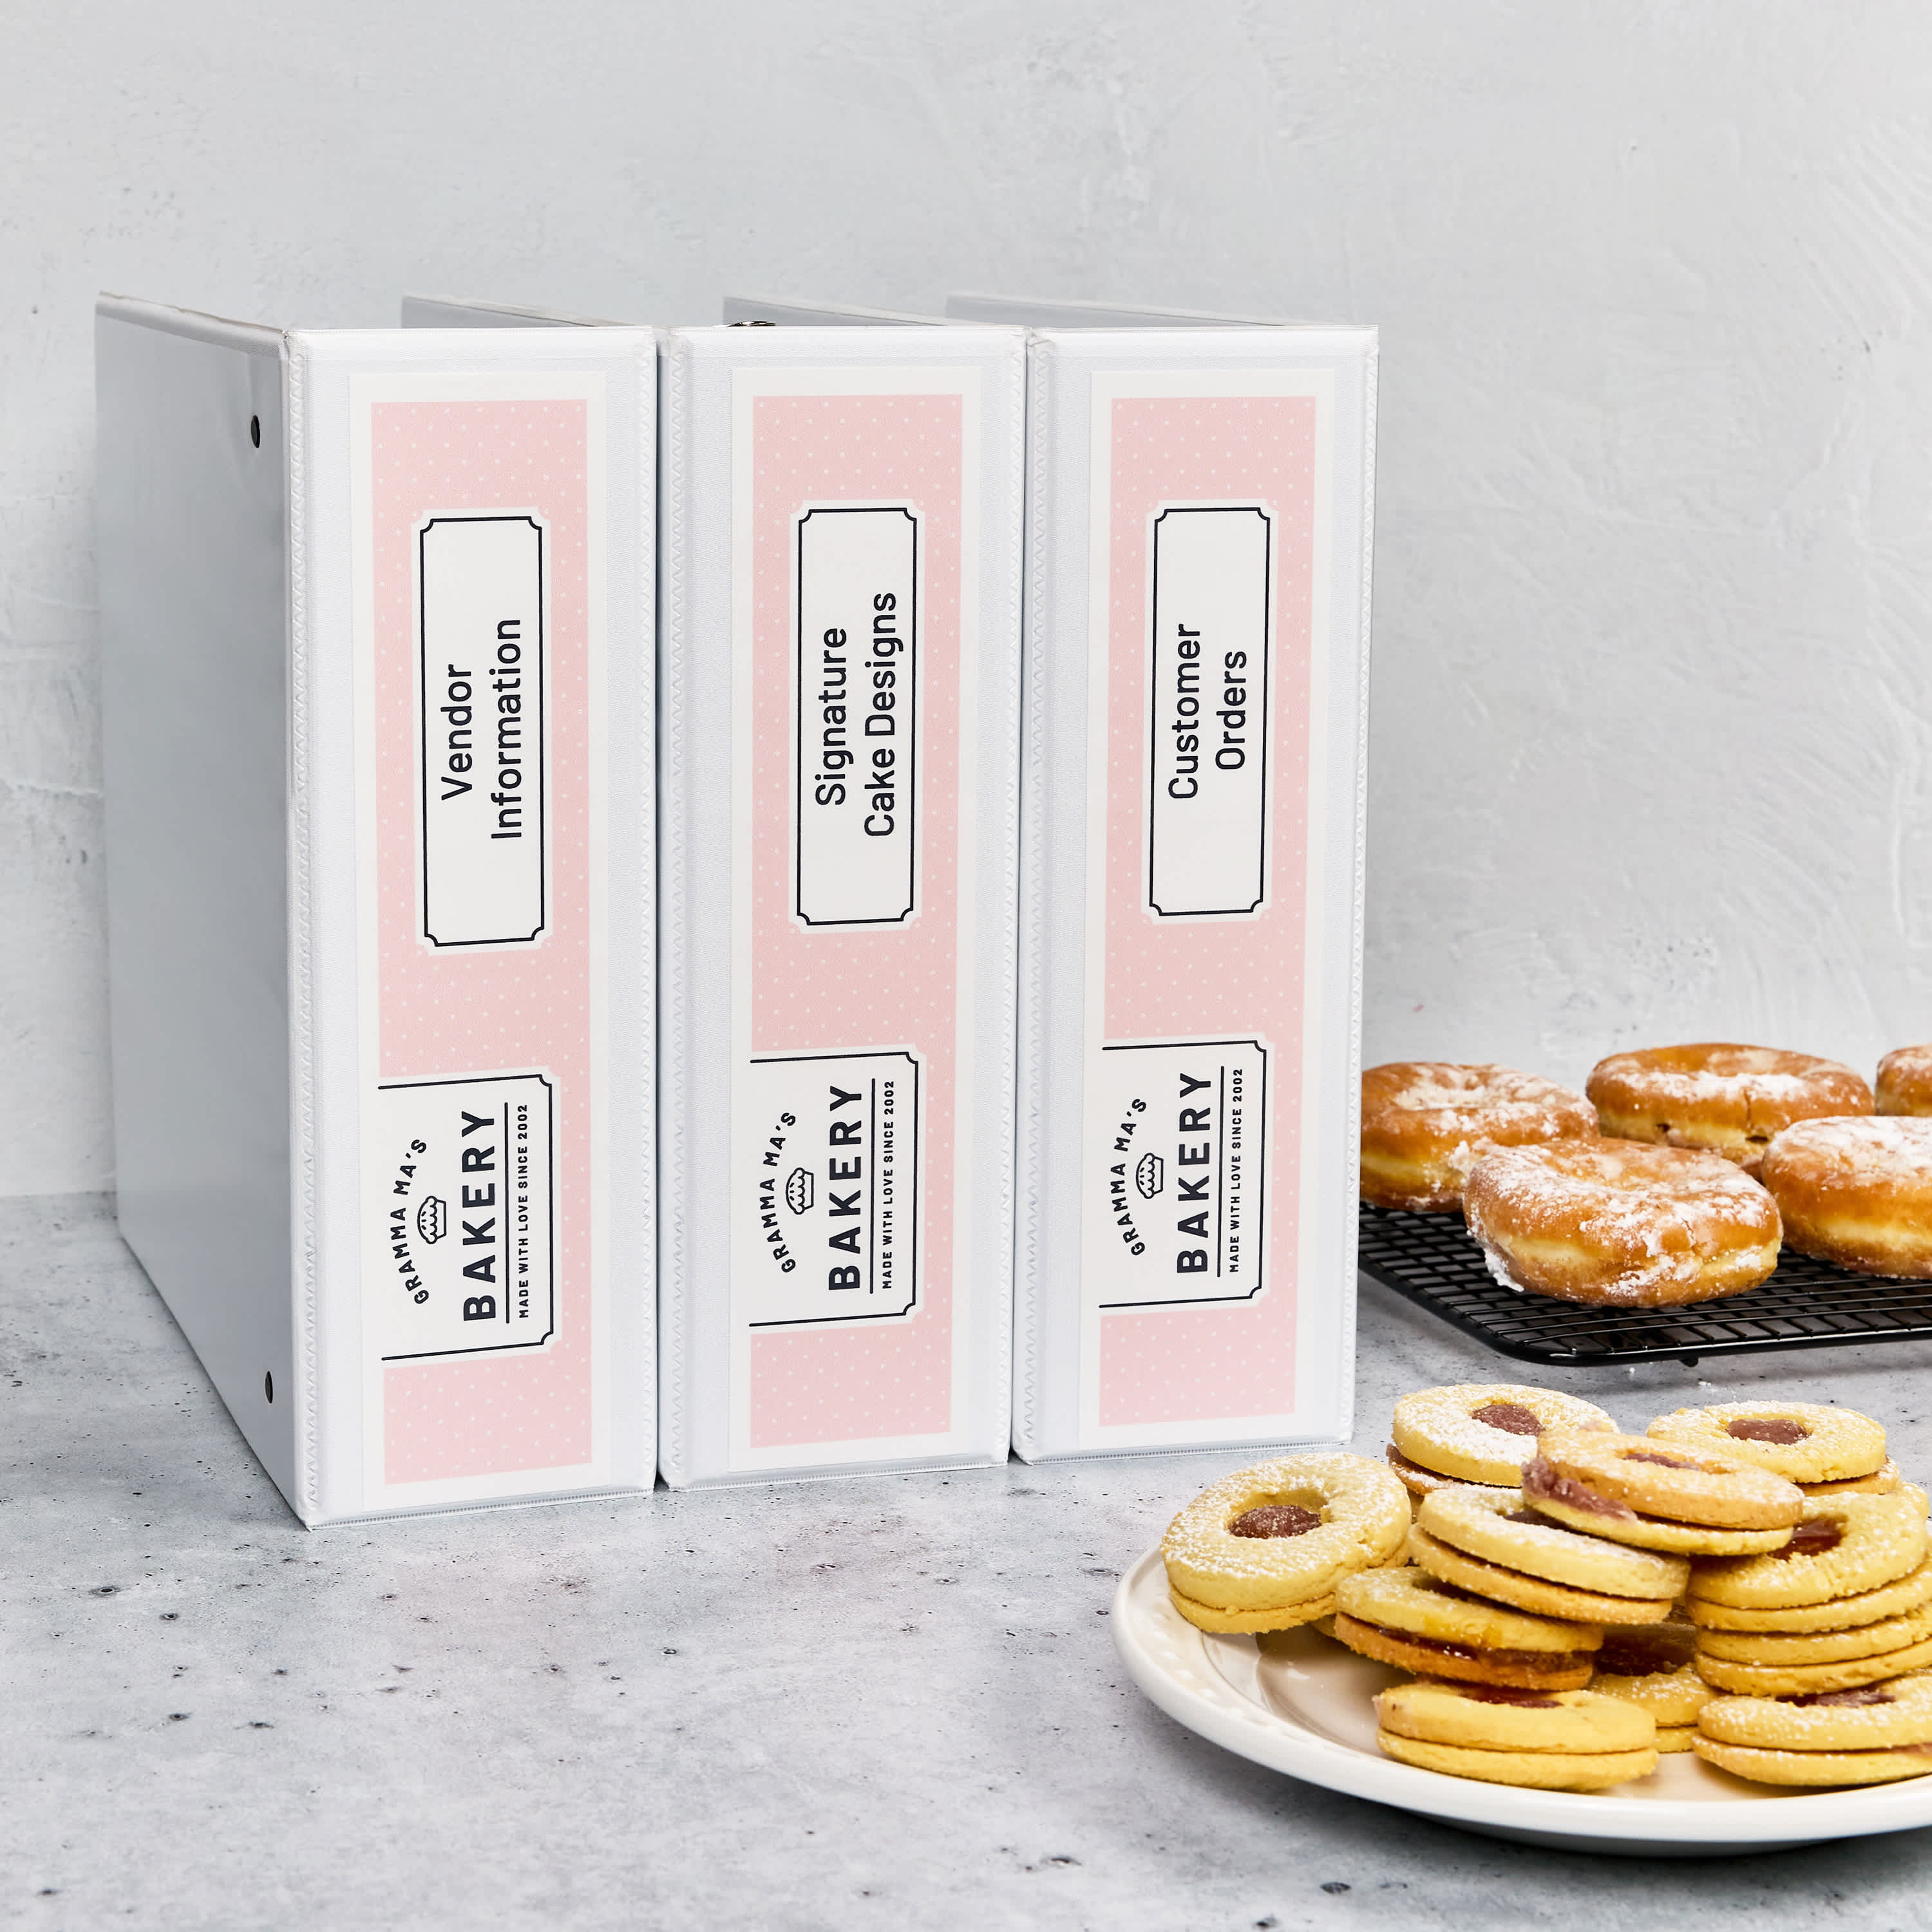
Print this design on binder spine insert 89109 and use with 3 inch view binders.
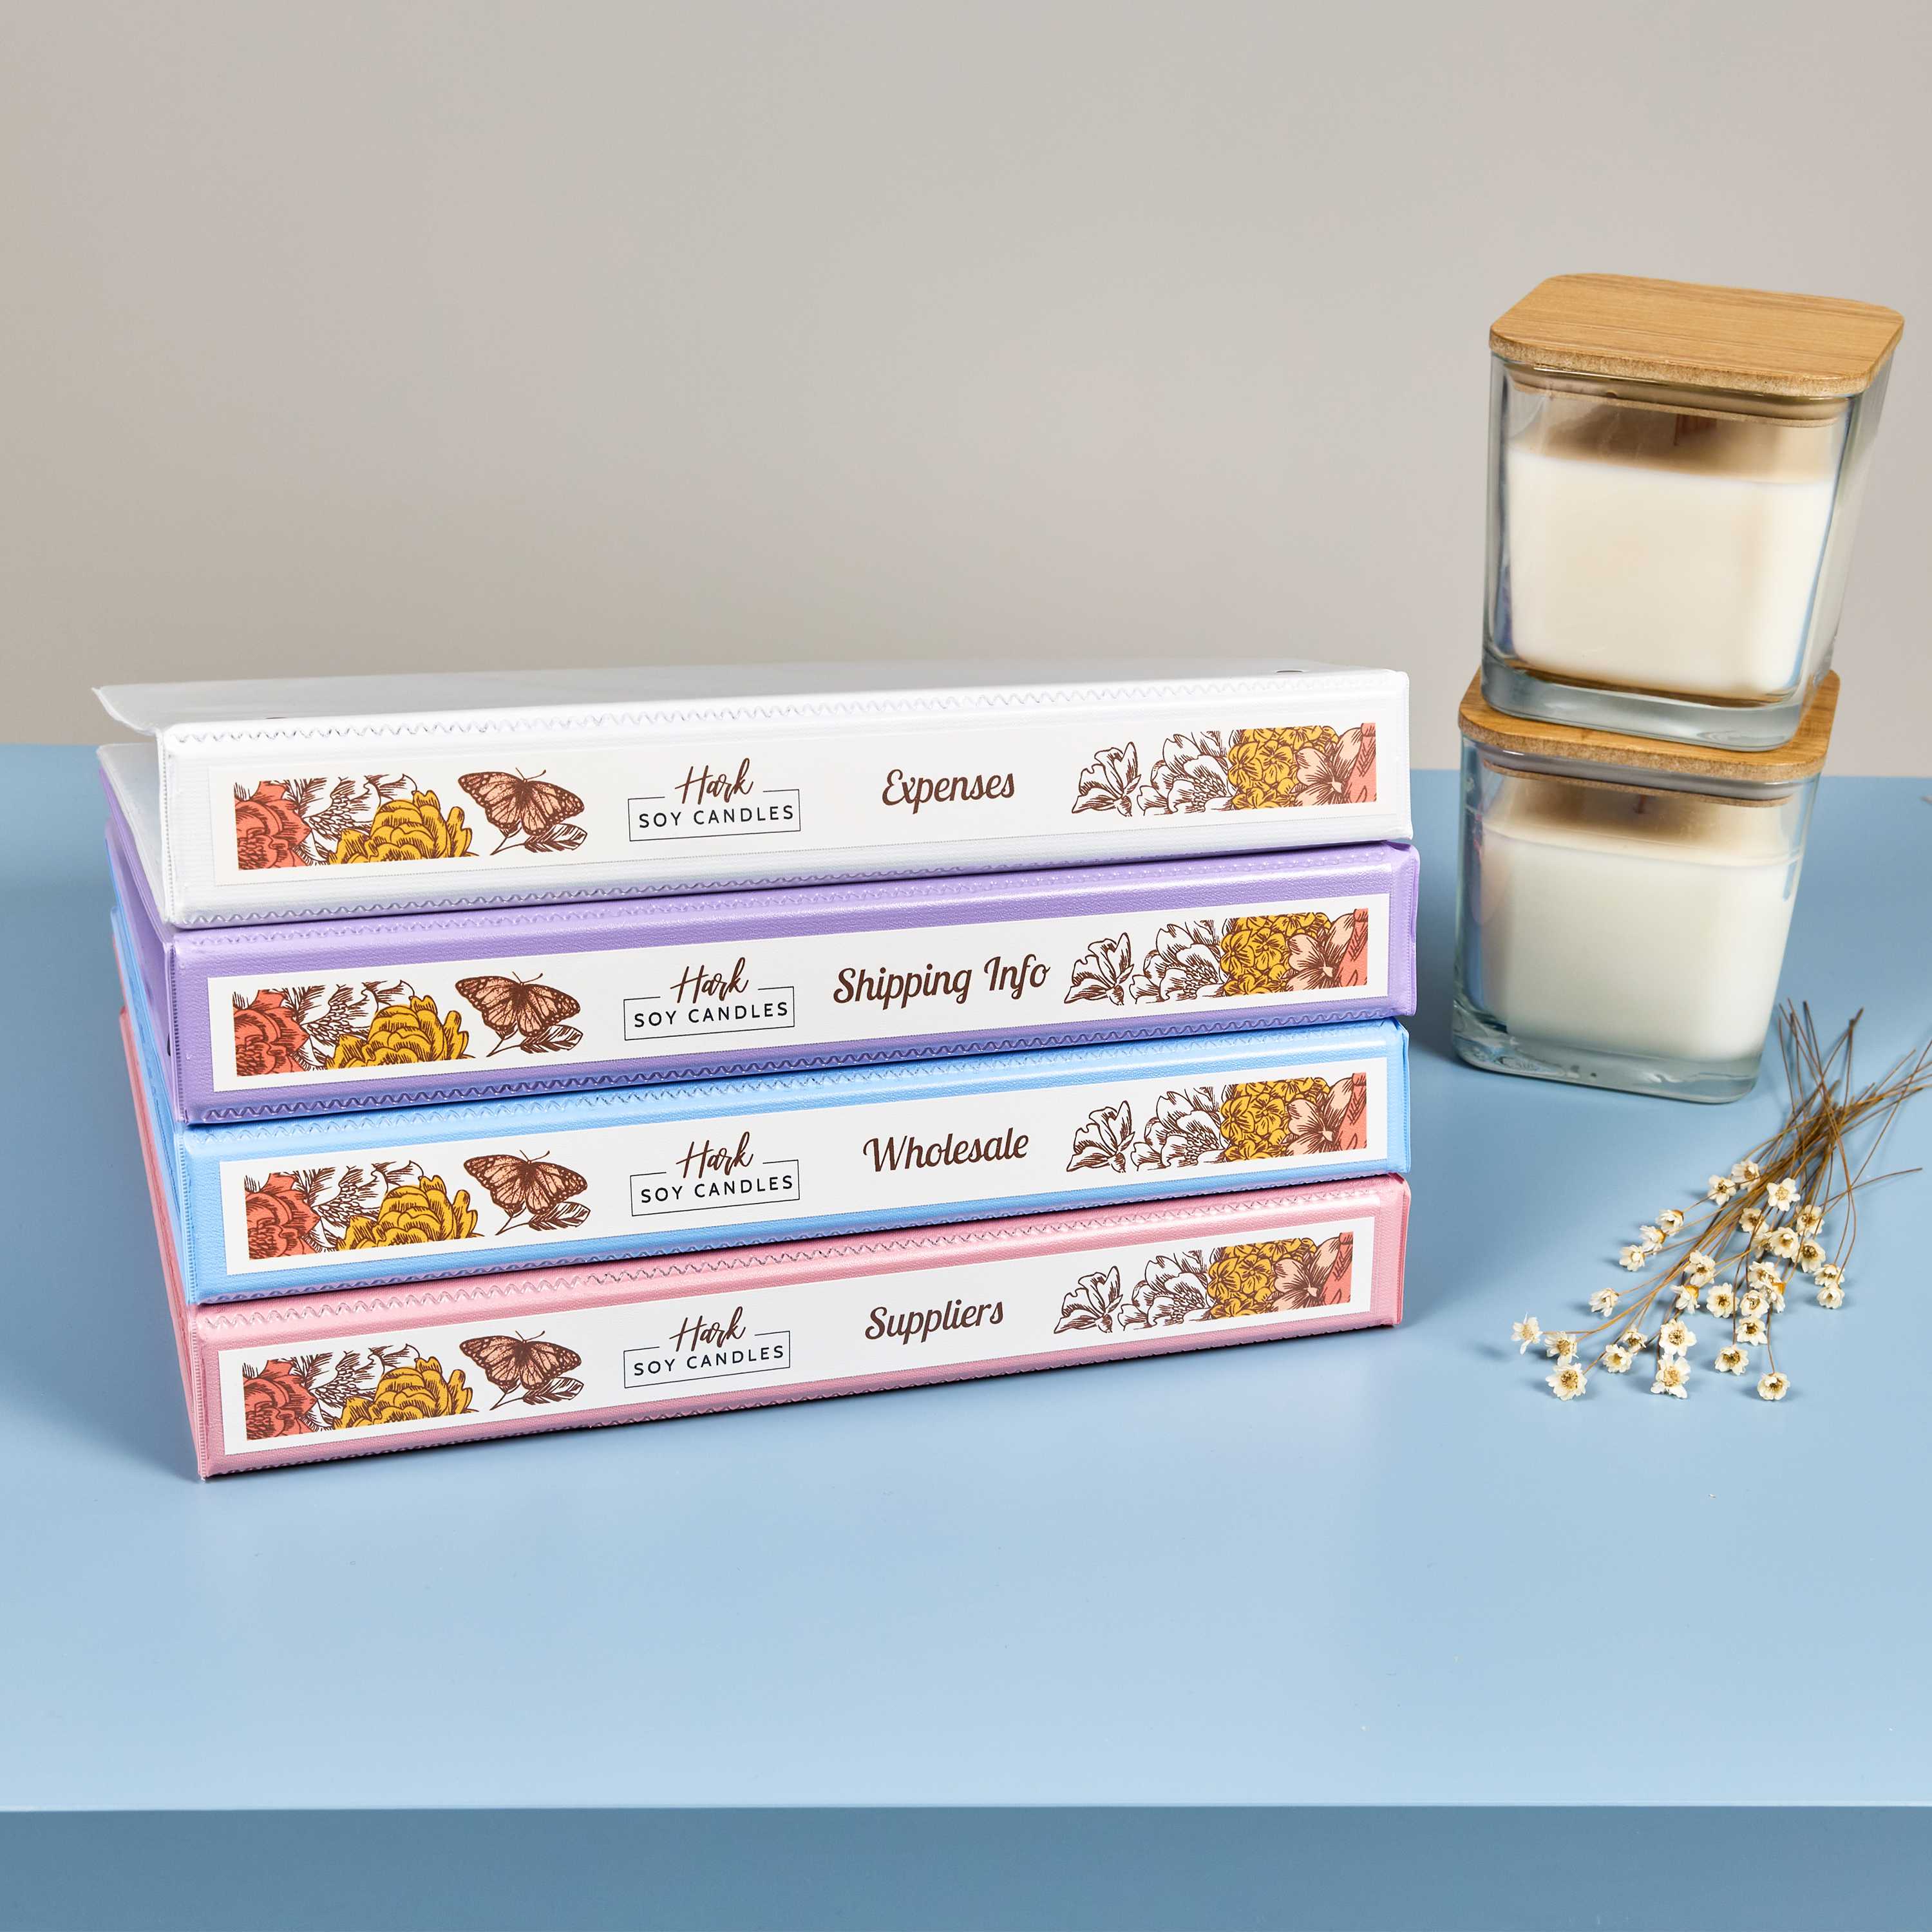
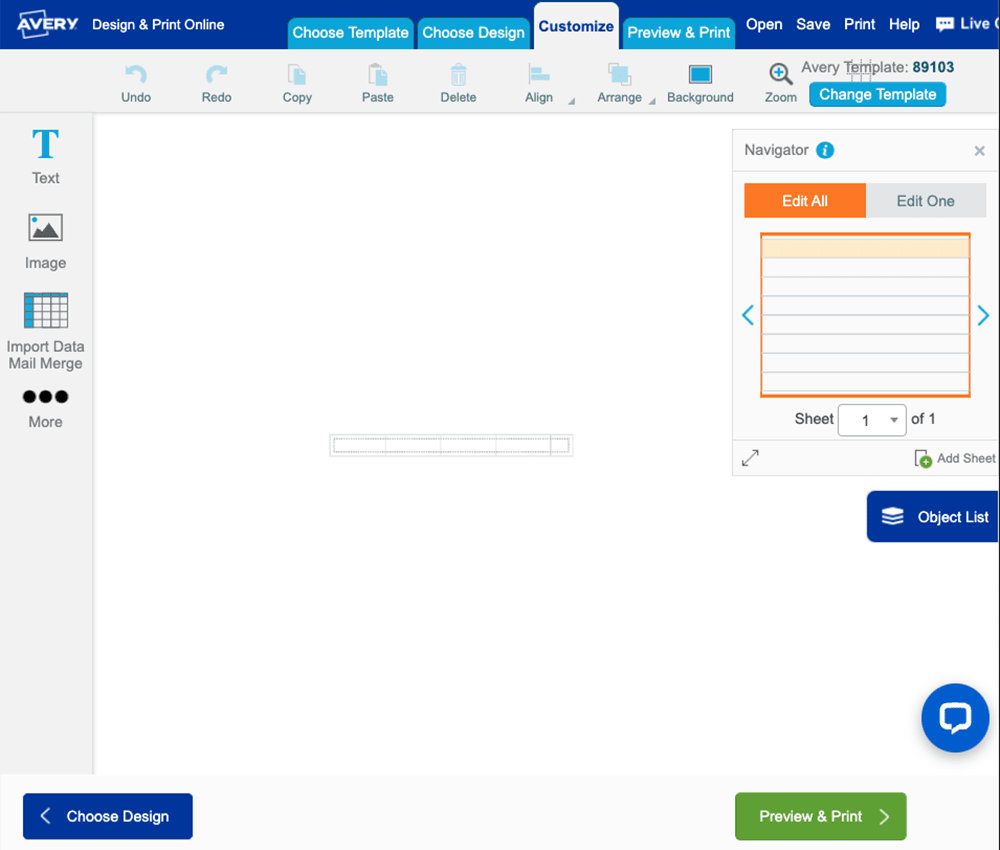
Print this design on binder spine insert 89103 and use with 1 inch view binders.
4) Edit the template with images, text, color, and more
When you select a blank or predesigned template in ADPO, the editing screen will open, and most of your tools will be located in a menu on the left side. The editing tools in ADPO are similar to those in most editing and/or design software. However, if you’ve never used that type of software before, this video is a great resource for working with images, and this one shows you how to add and edit text.
Tips for using the free Avery software
Additionally, ADPO has some really cool features that make big projects easier, such as Edit One/Edit All, Mail Merge, and a barcode generator. Here is a helpful table to help you use these advanced tools in ADPO:
| Feature | What it Does | Resource |
|---|---|---|
| Edit All Button | Make changes to all the inserts on one project. | YouTube tutorial video |
| Edit One Button | Add unique information to each binder insert. | YouTube tutorial video |
| Import Data (Mail Merge) | Import a list that applies unique information to each insert. | Step-by-step walkthrough with pictures |
| Barcode Generator | Create your own barcodes or QR codes. | Instructions with video |
How to add vertical text to a binder spine
To create vertical text for your binder spine, use the “Flip” option under the “View” menu to rotate the text box, then press enter after each letter to stack them. The next few screenshots will show you exactly how this looks and also provide some tips for editing vertical text on a binder spine.
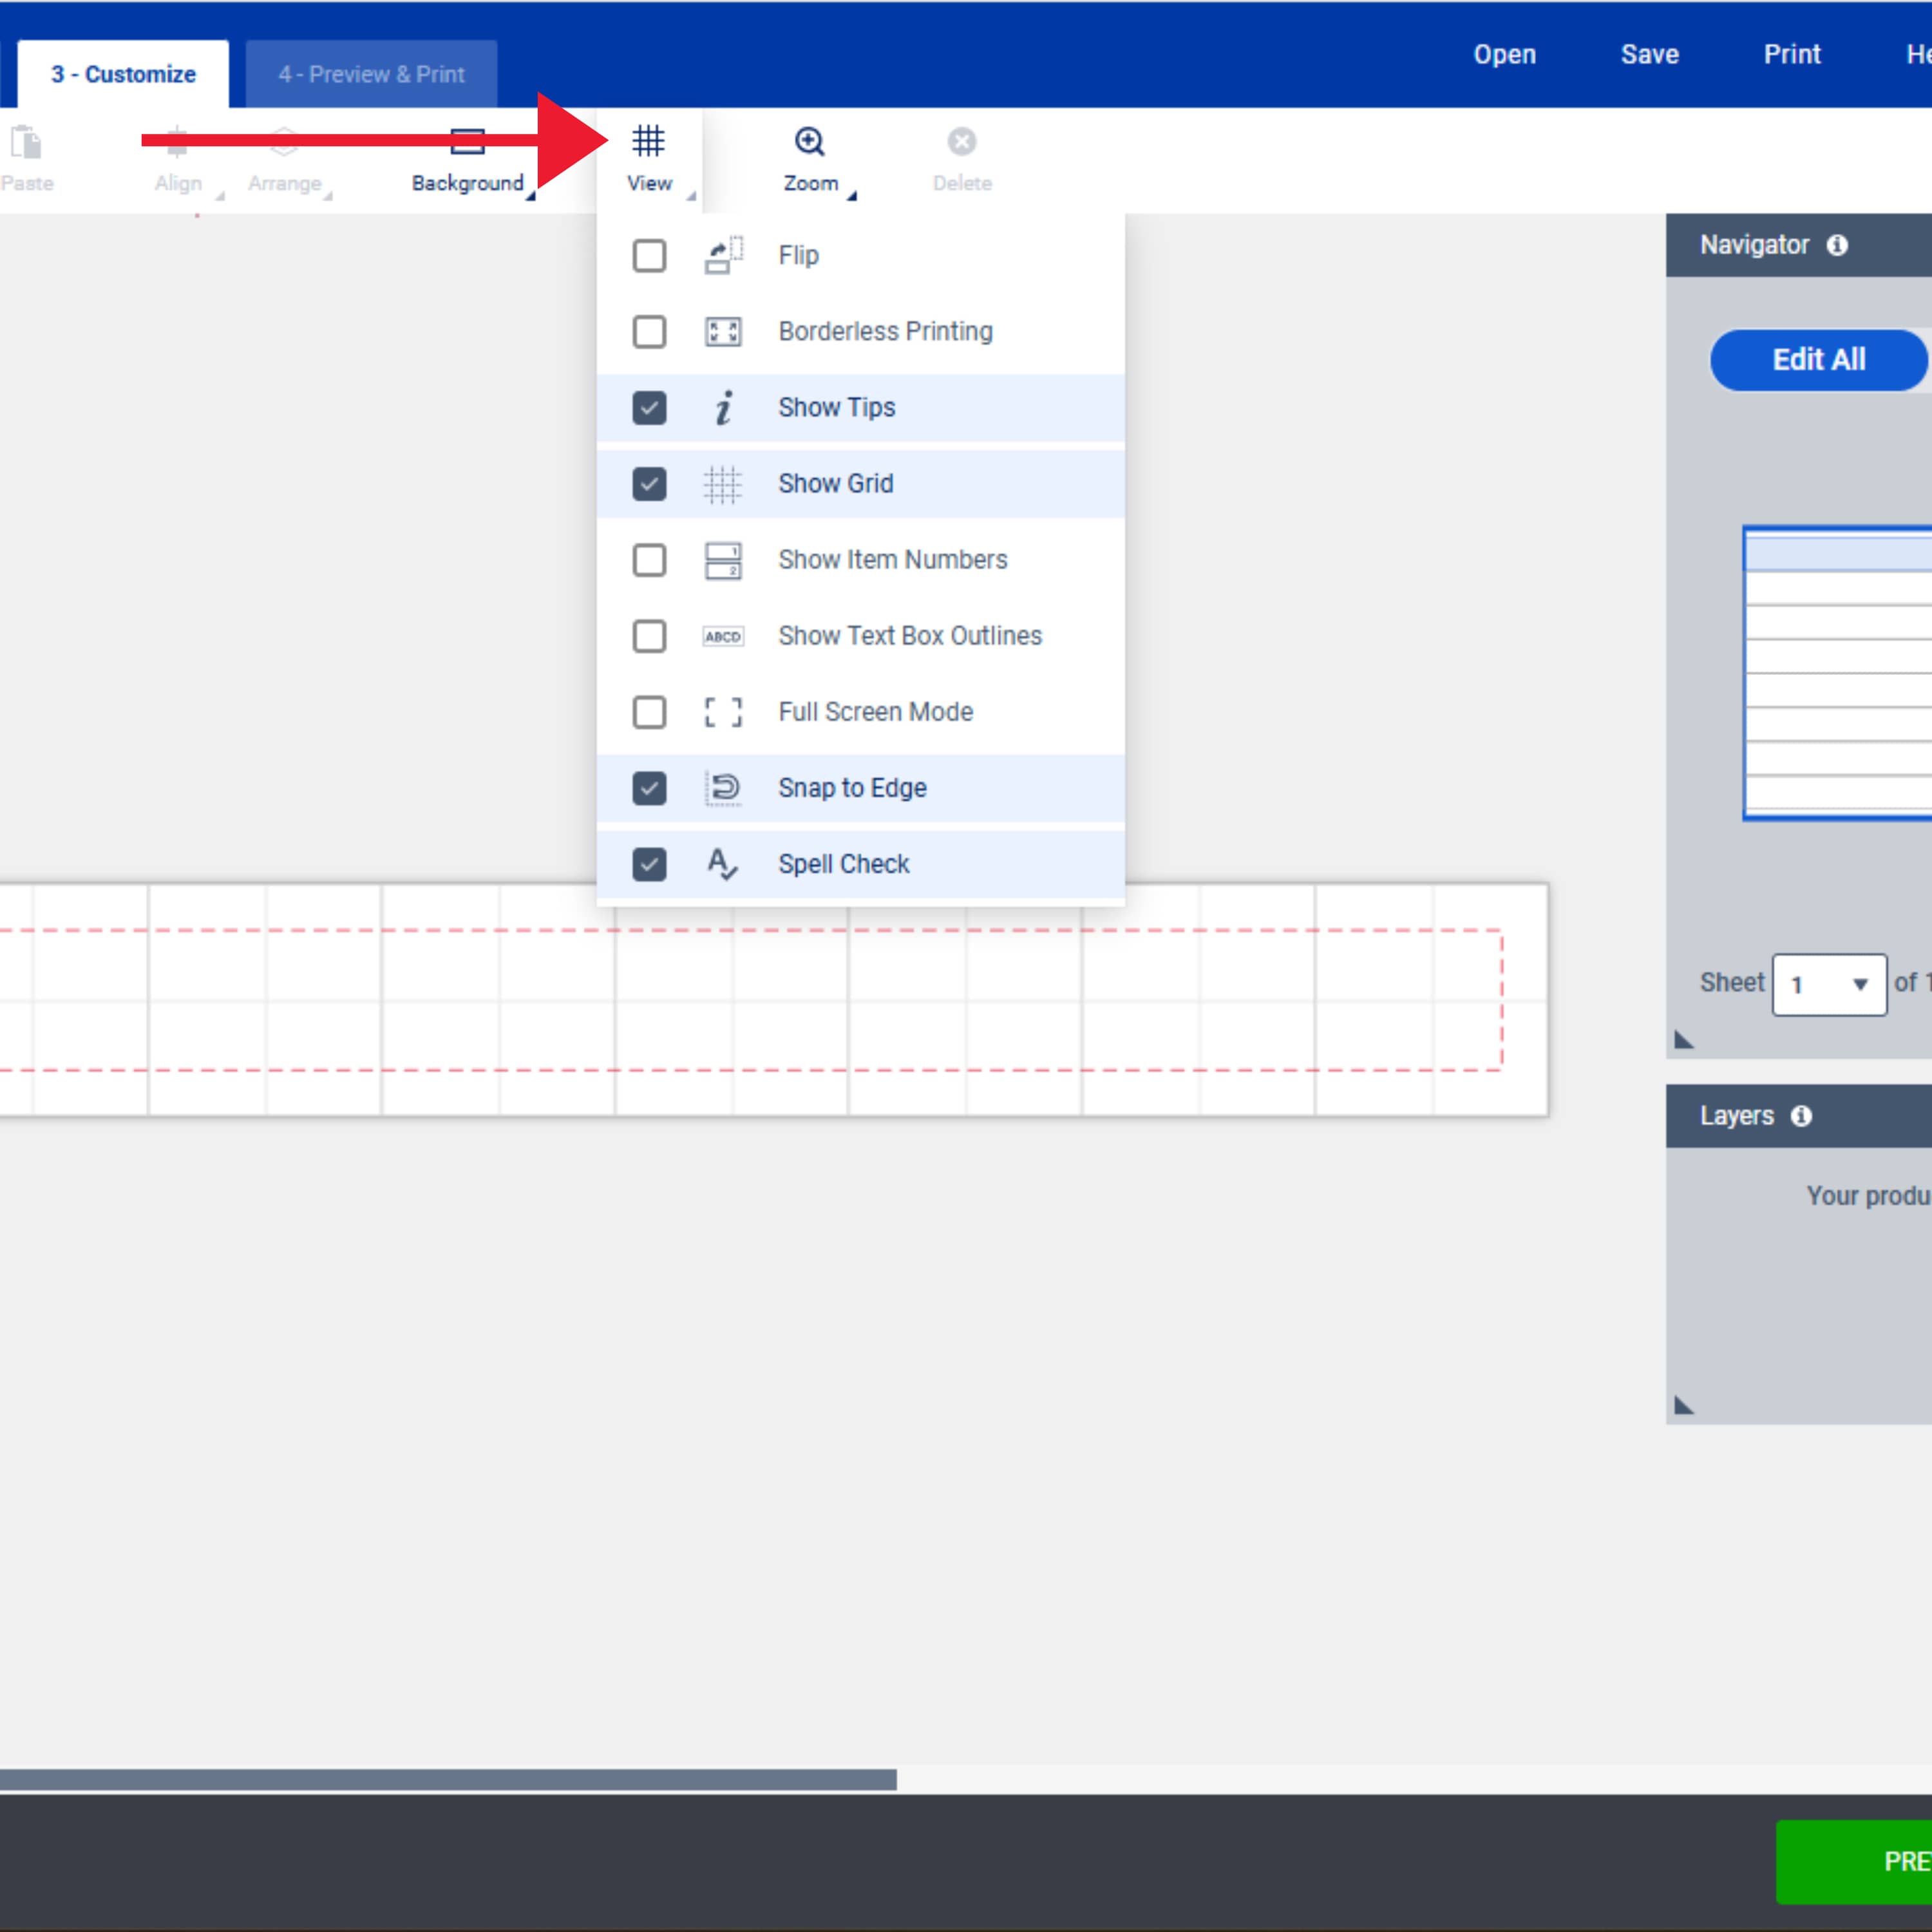
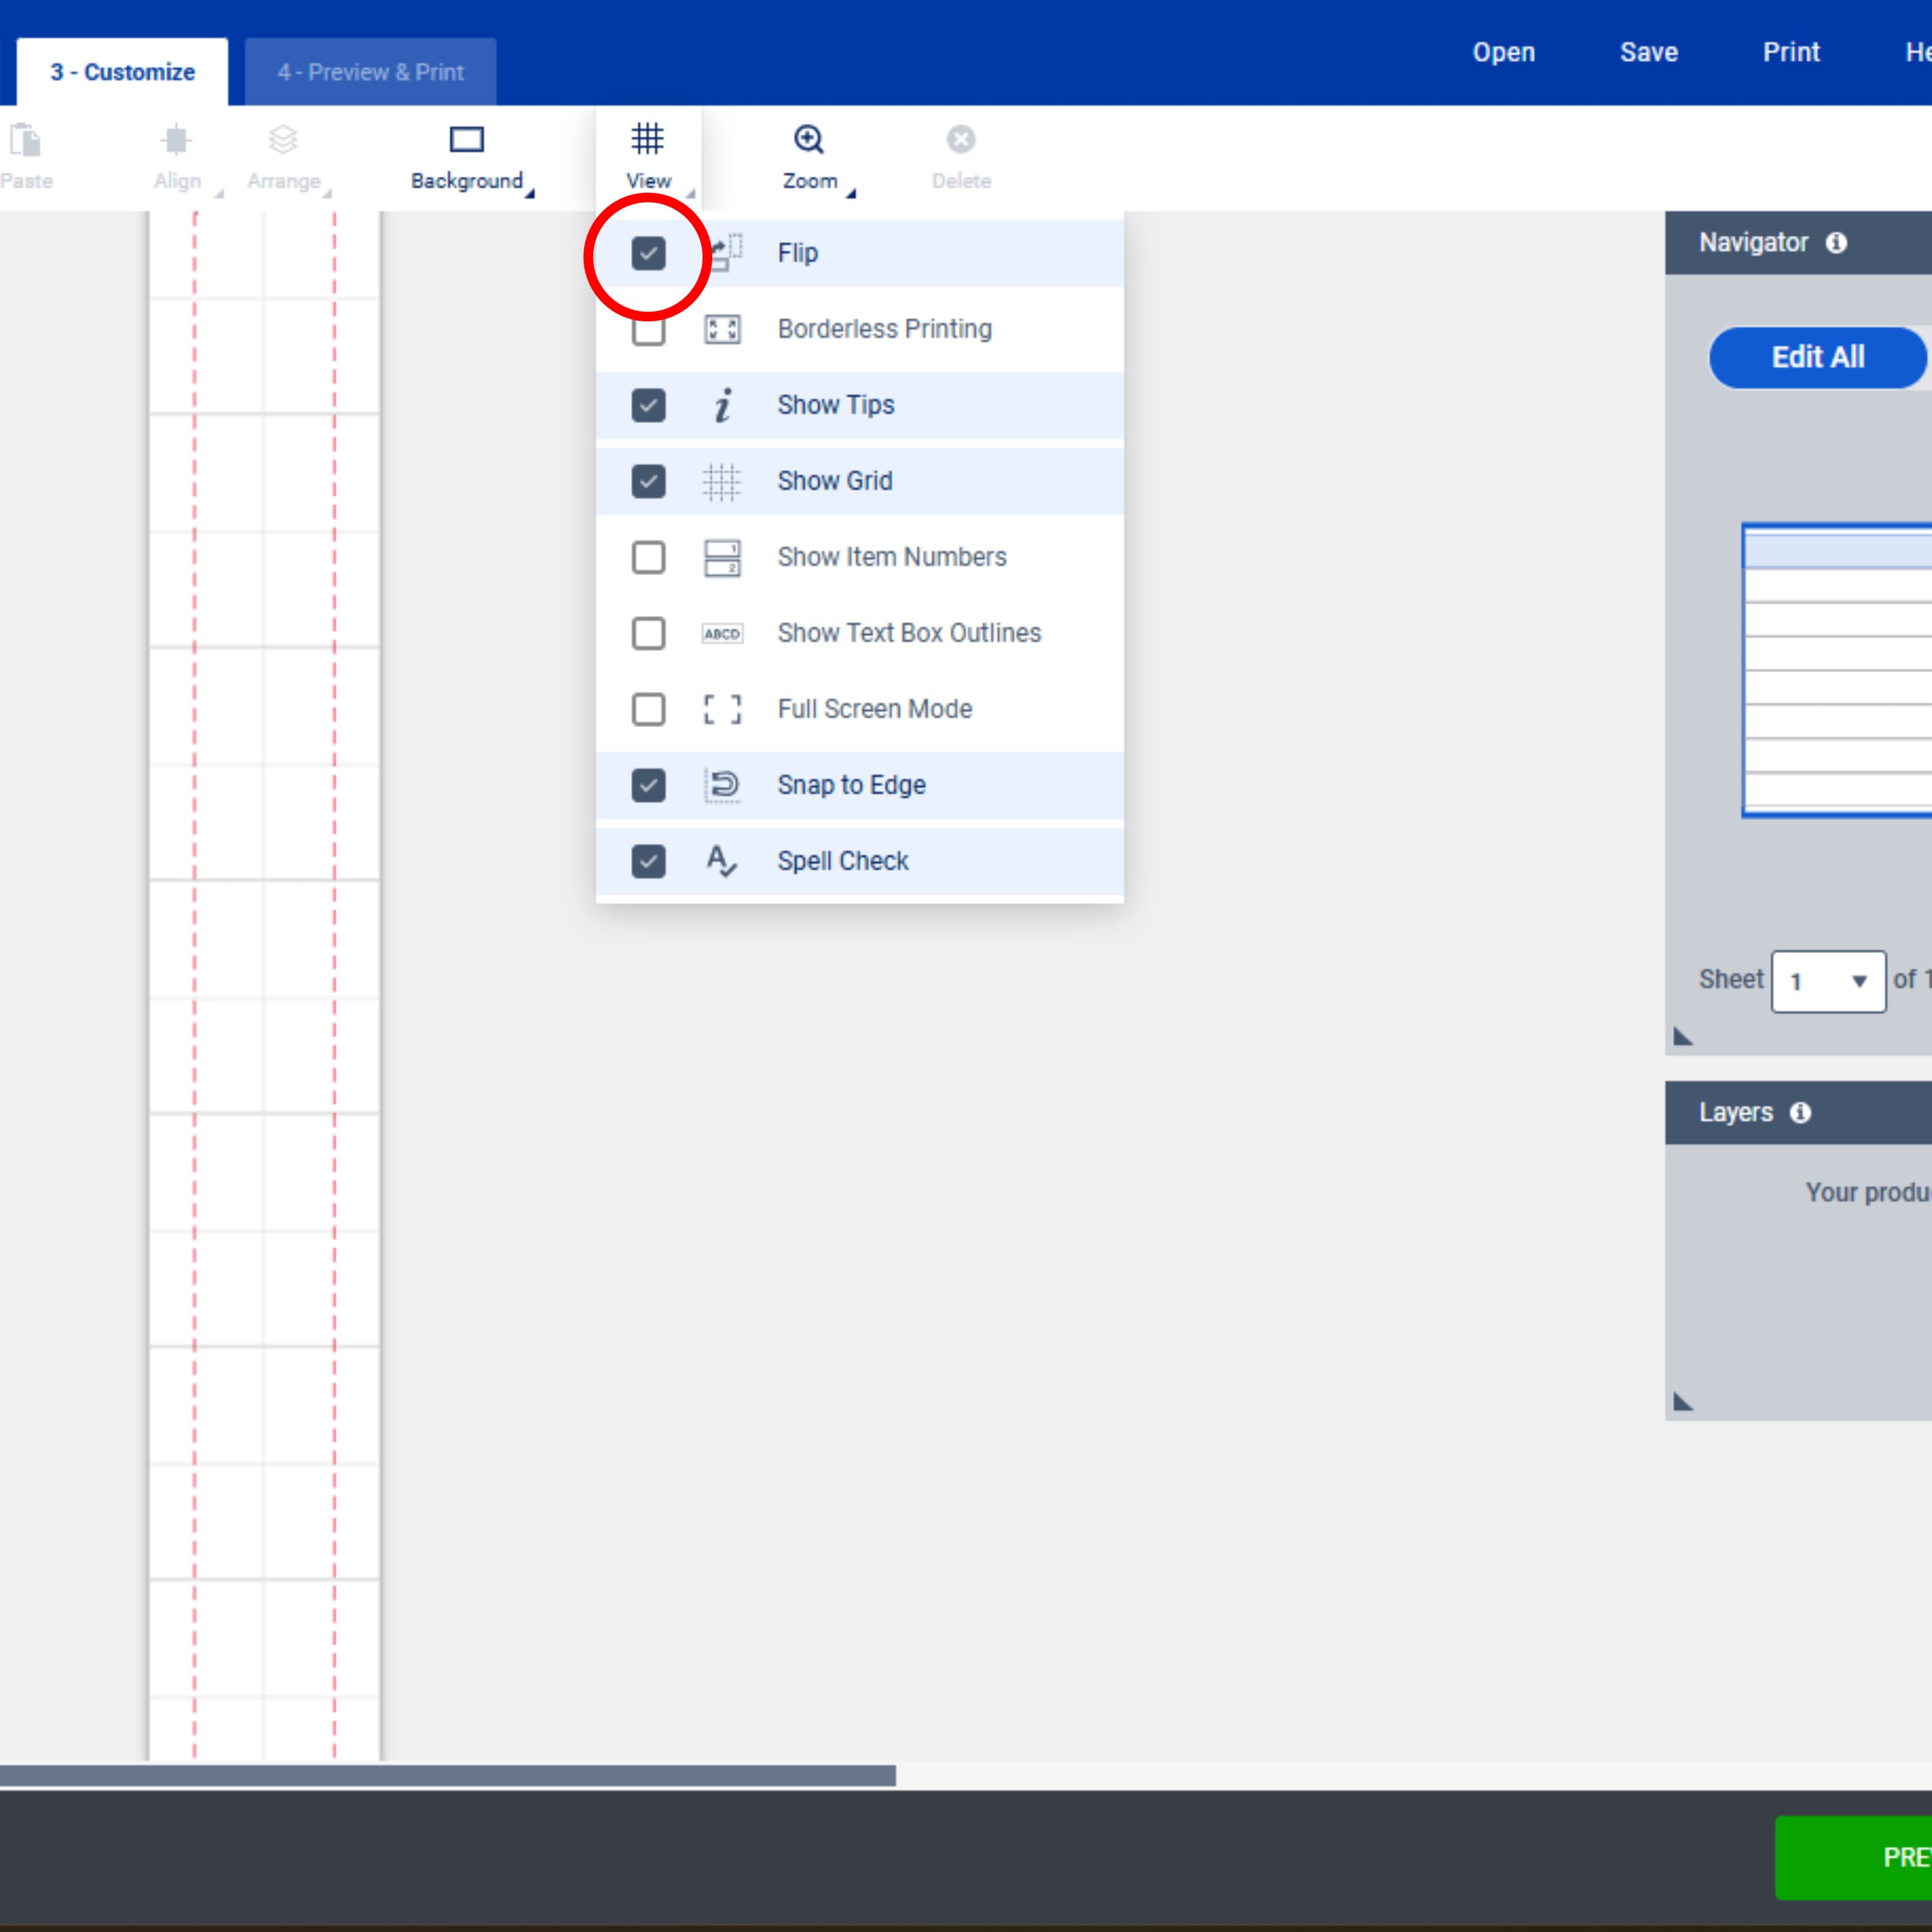
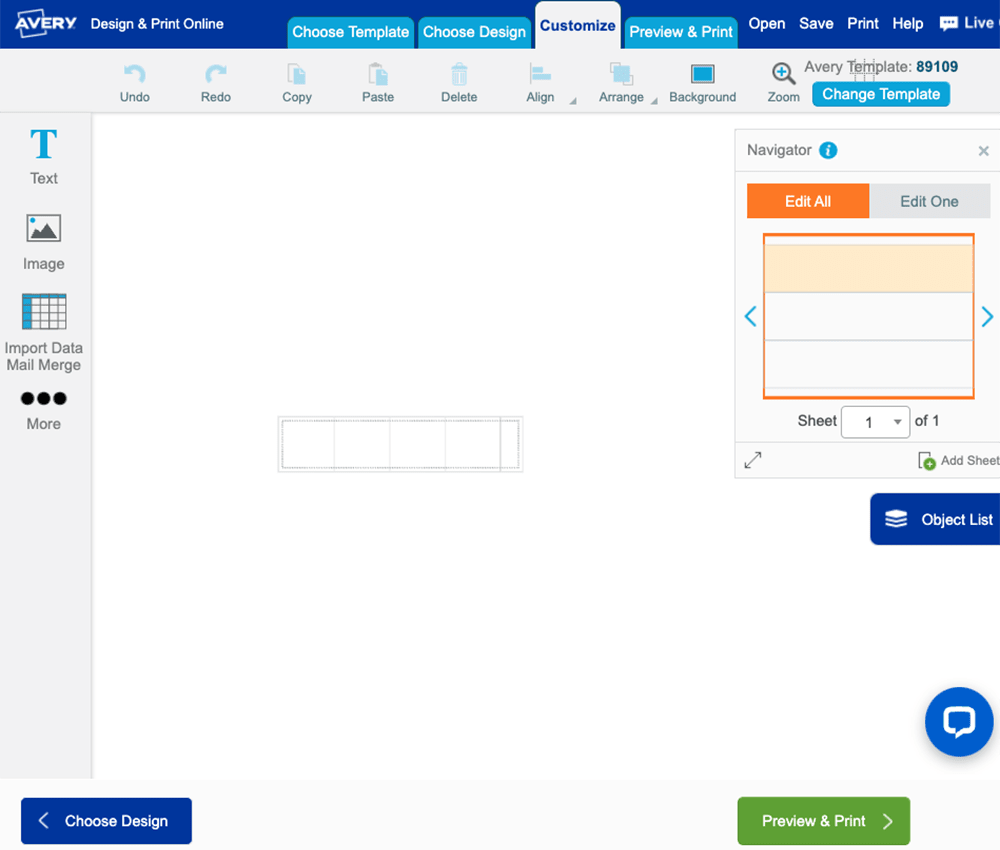
You will find the “View” menu along the top of your editing screen in ADPO. Click the “View” icon to reveal a drop-down and then click the box next to “Flip” to select the action.
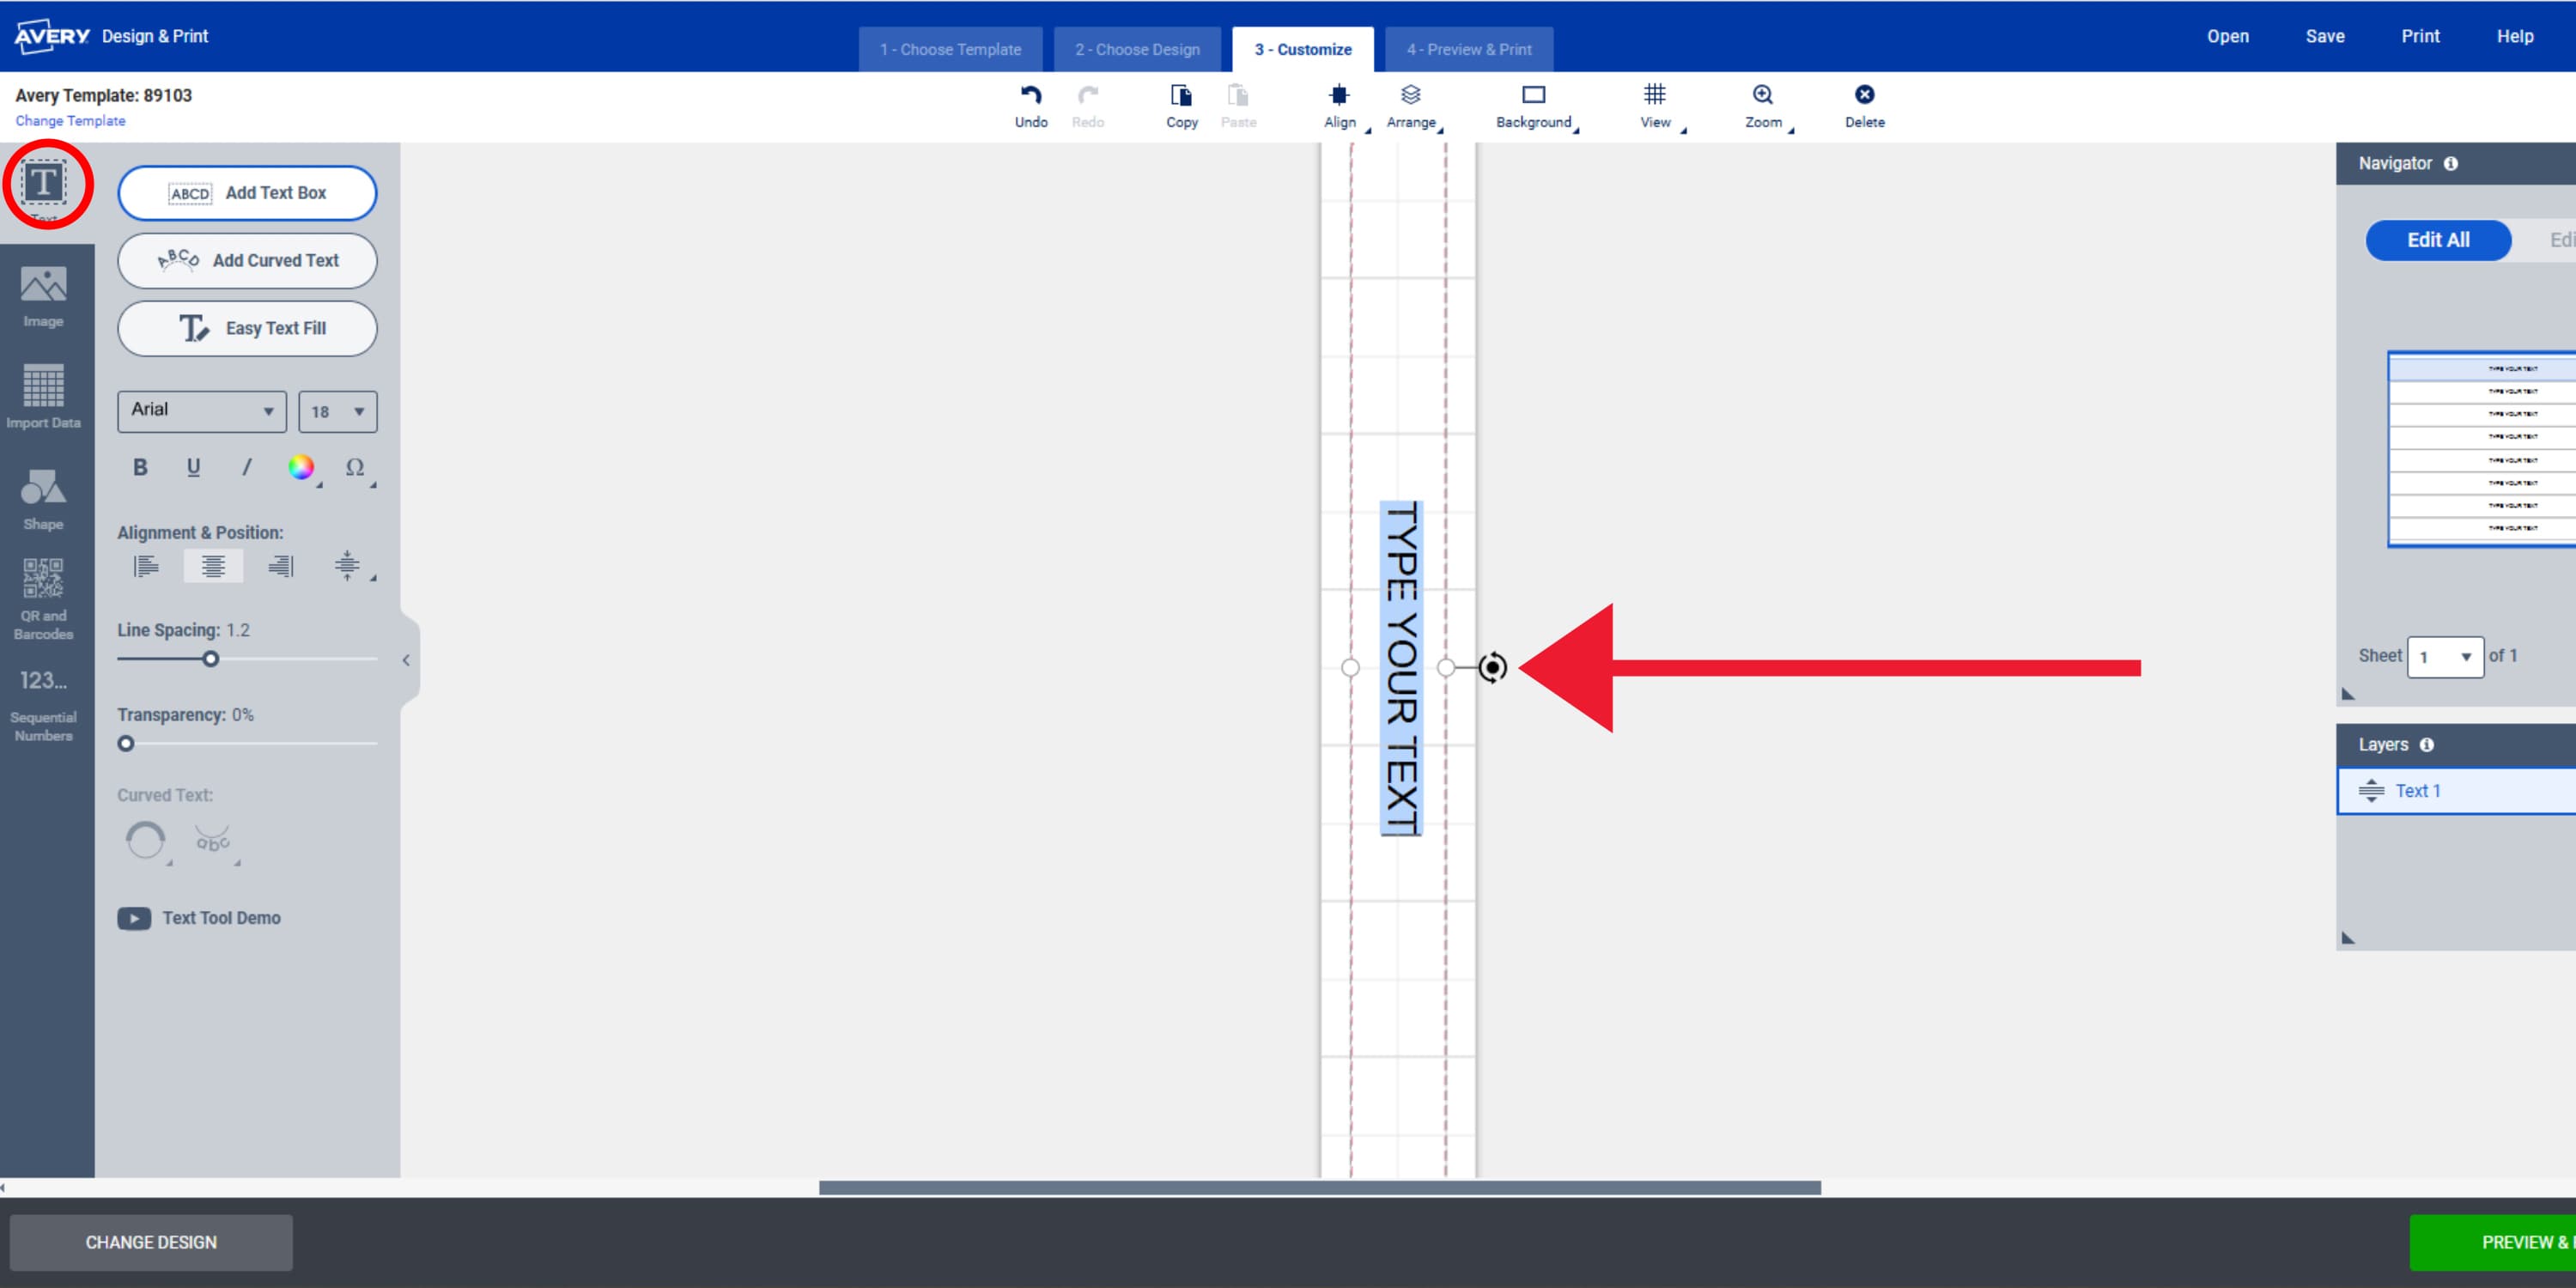
From the tools menu on the left-hand side, click the Text tool to expand the editing options. From there you can add your text box and also edit things like font, size, and color for your text. Use the rotate icon on the text box to rotate your text box perpendicular to the binder spine insert.
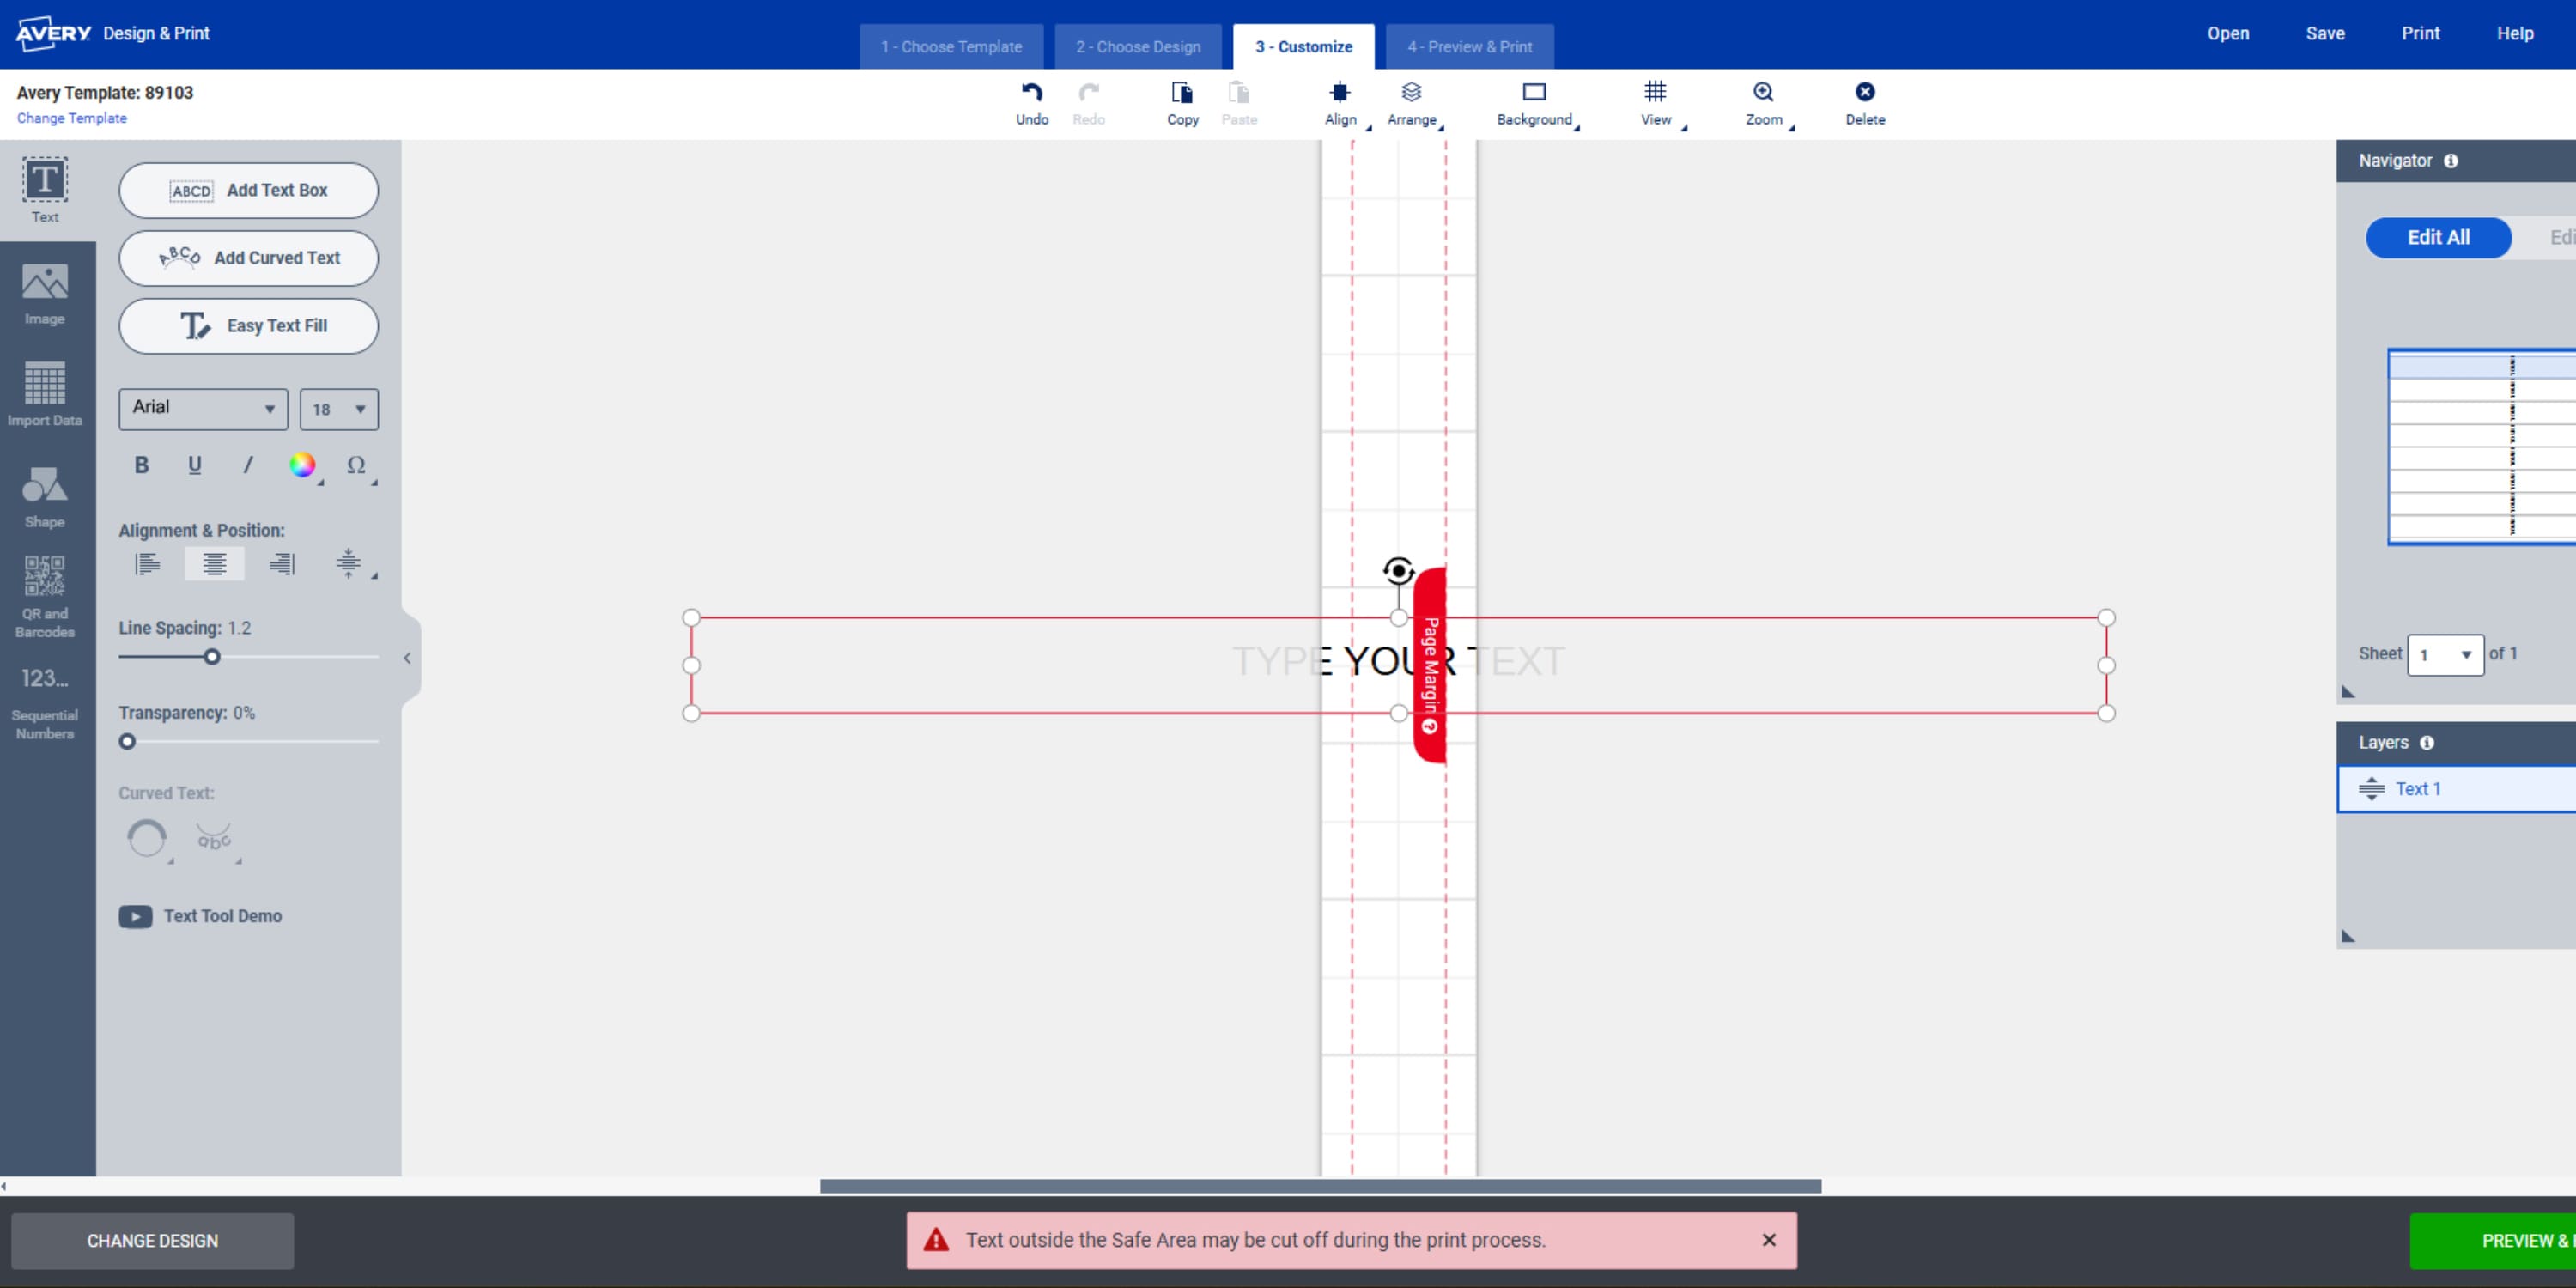
Once you rotate your text box, some warning messages will pop up reminding you to keep your design within the “Safe Area.” You can ignore these messages for now because you will only be typing one letter at a time along the spine. After each letter, press enter, and after each word, press enter twice.
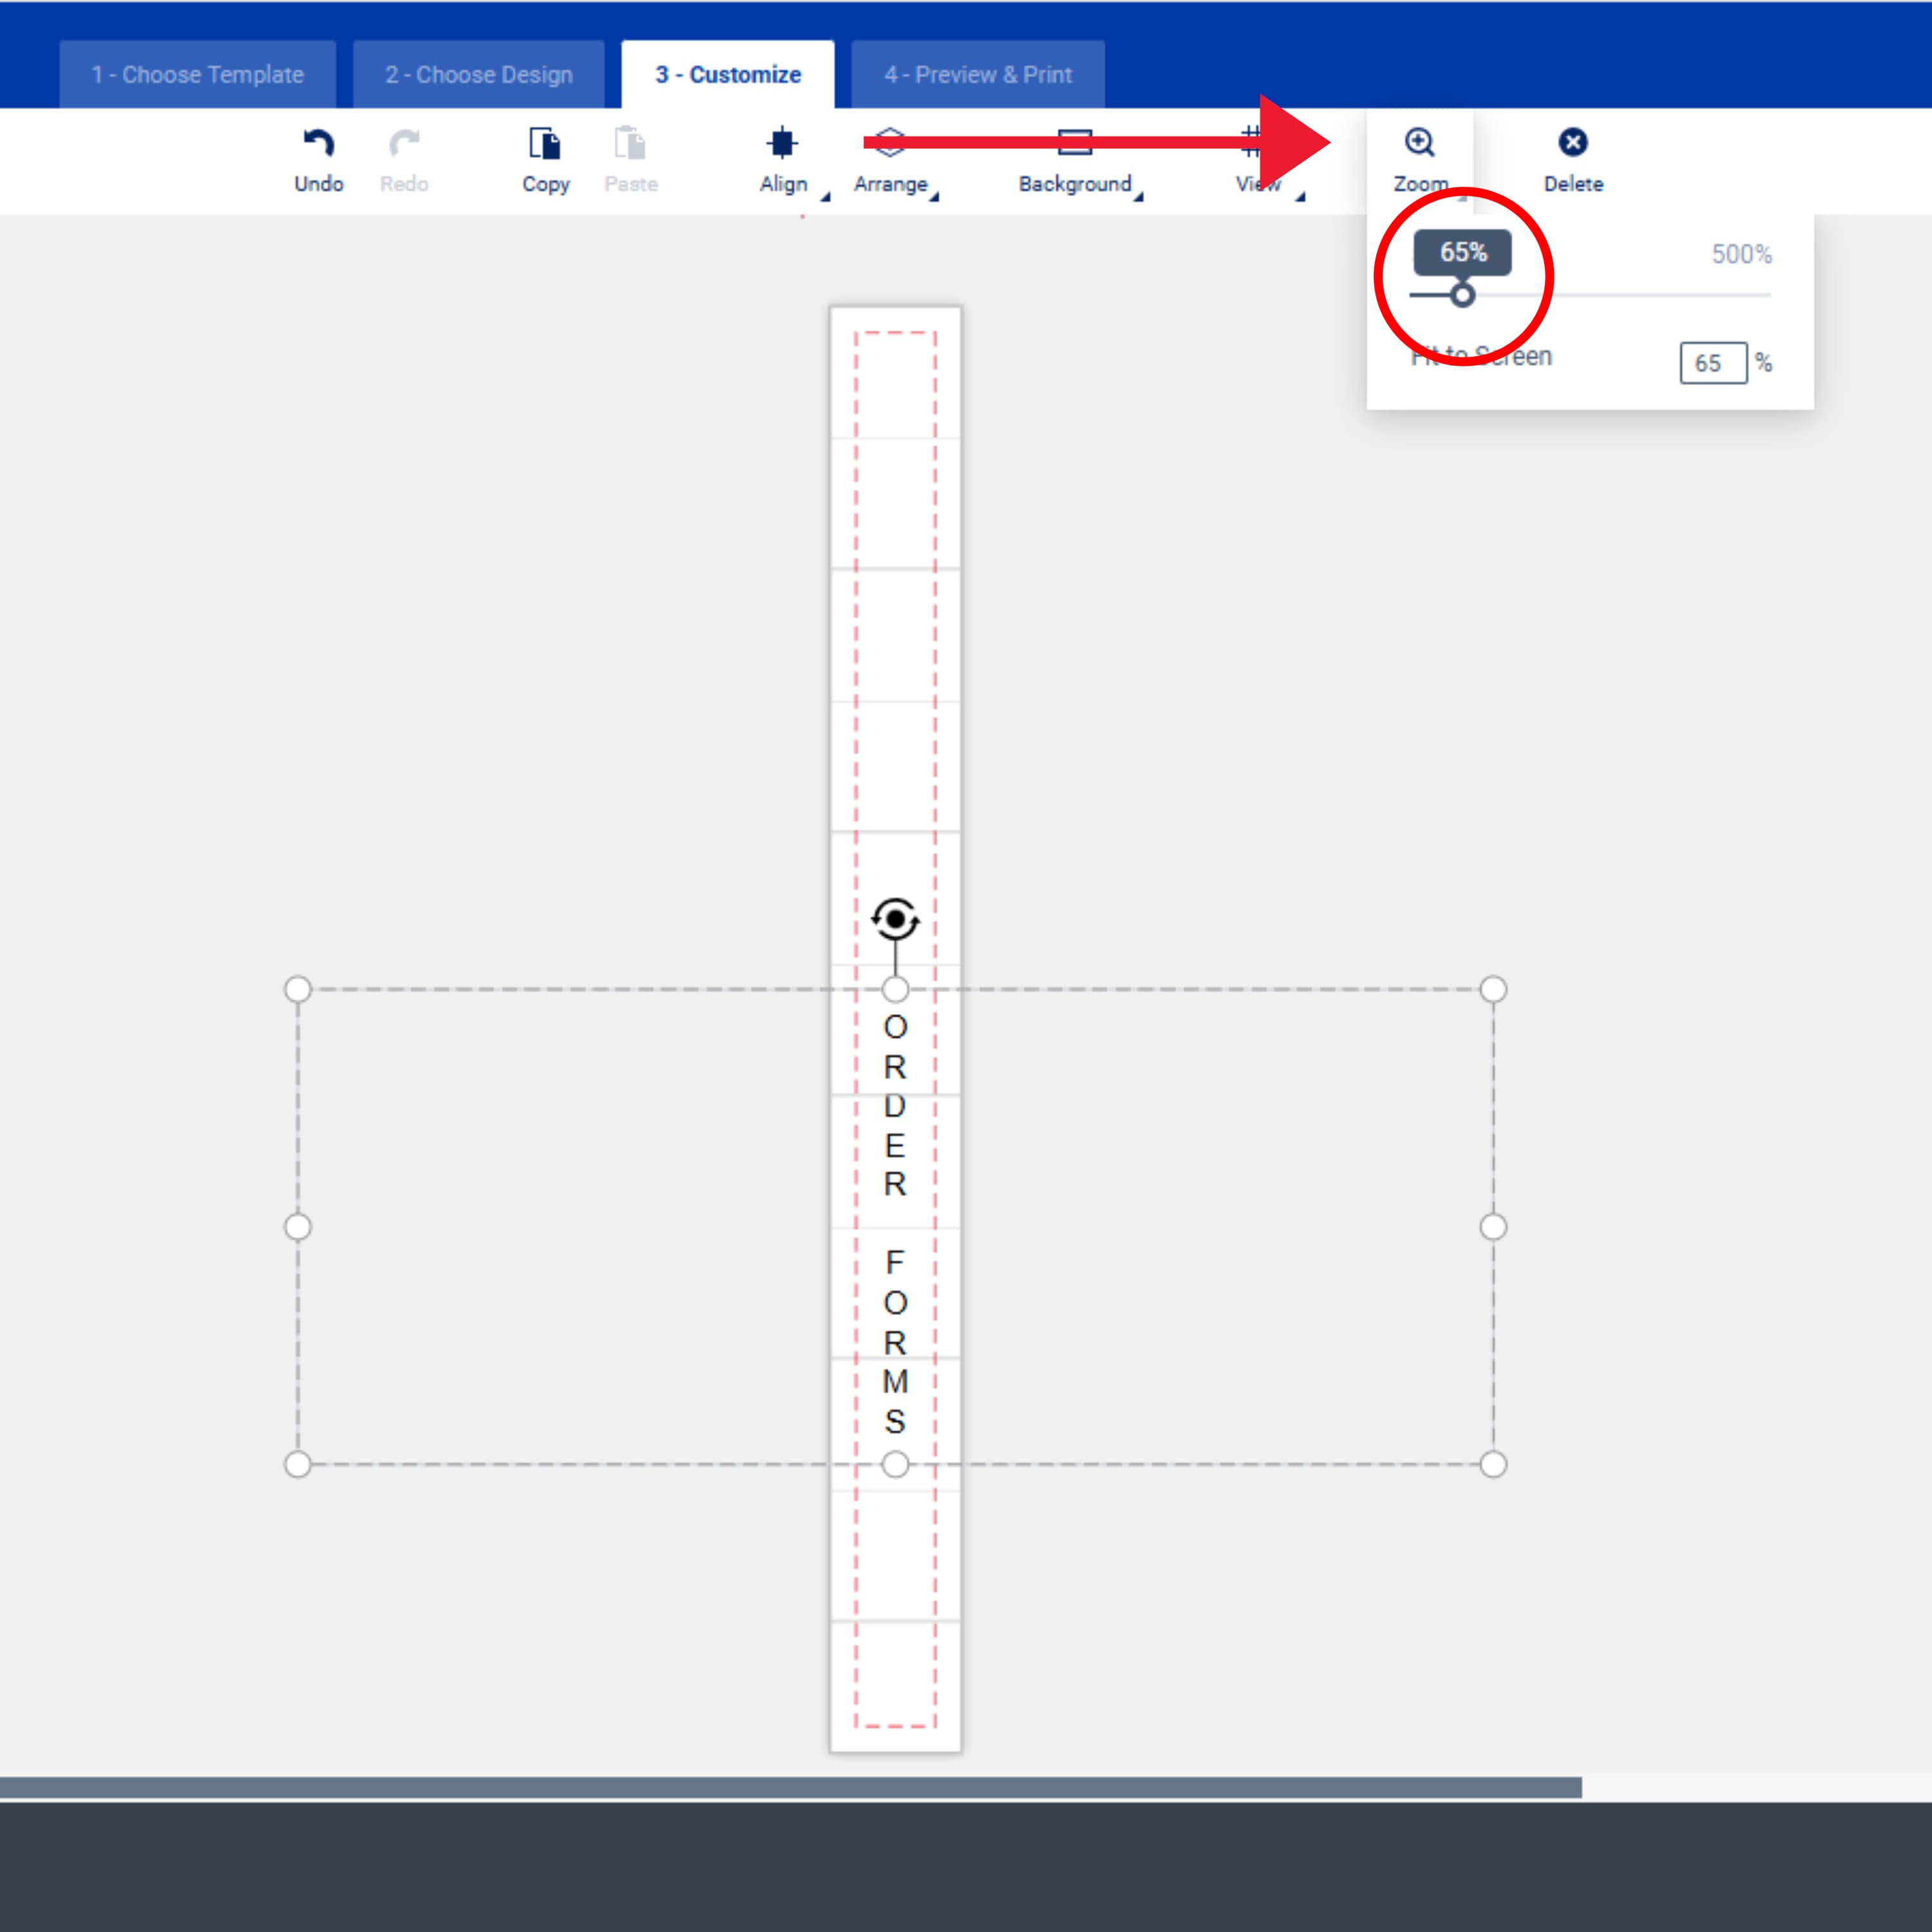
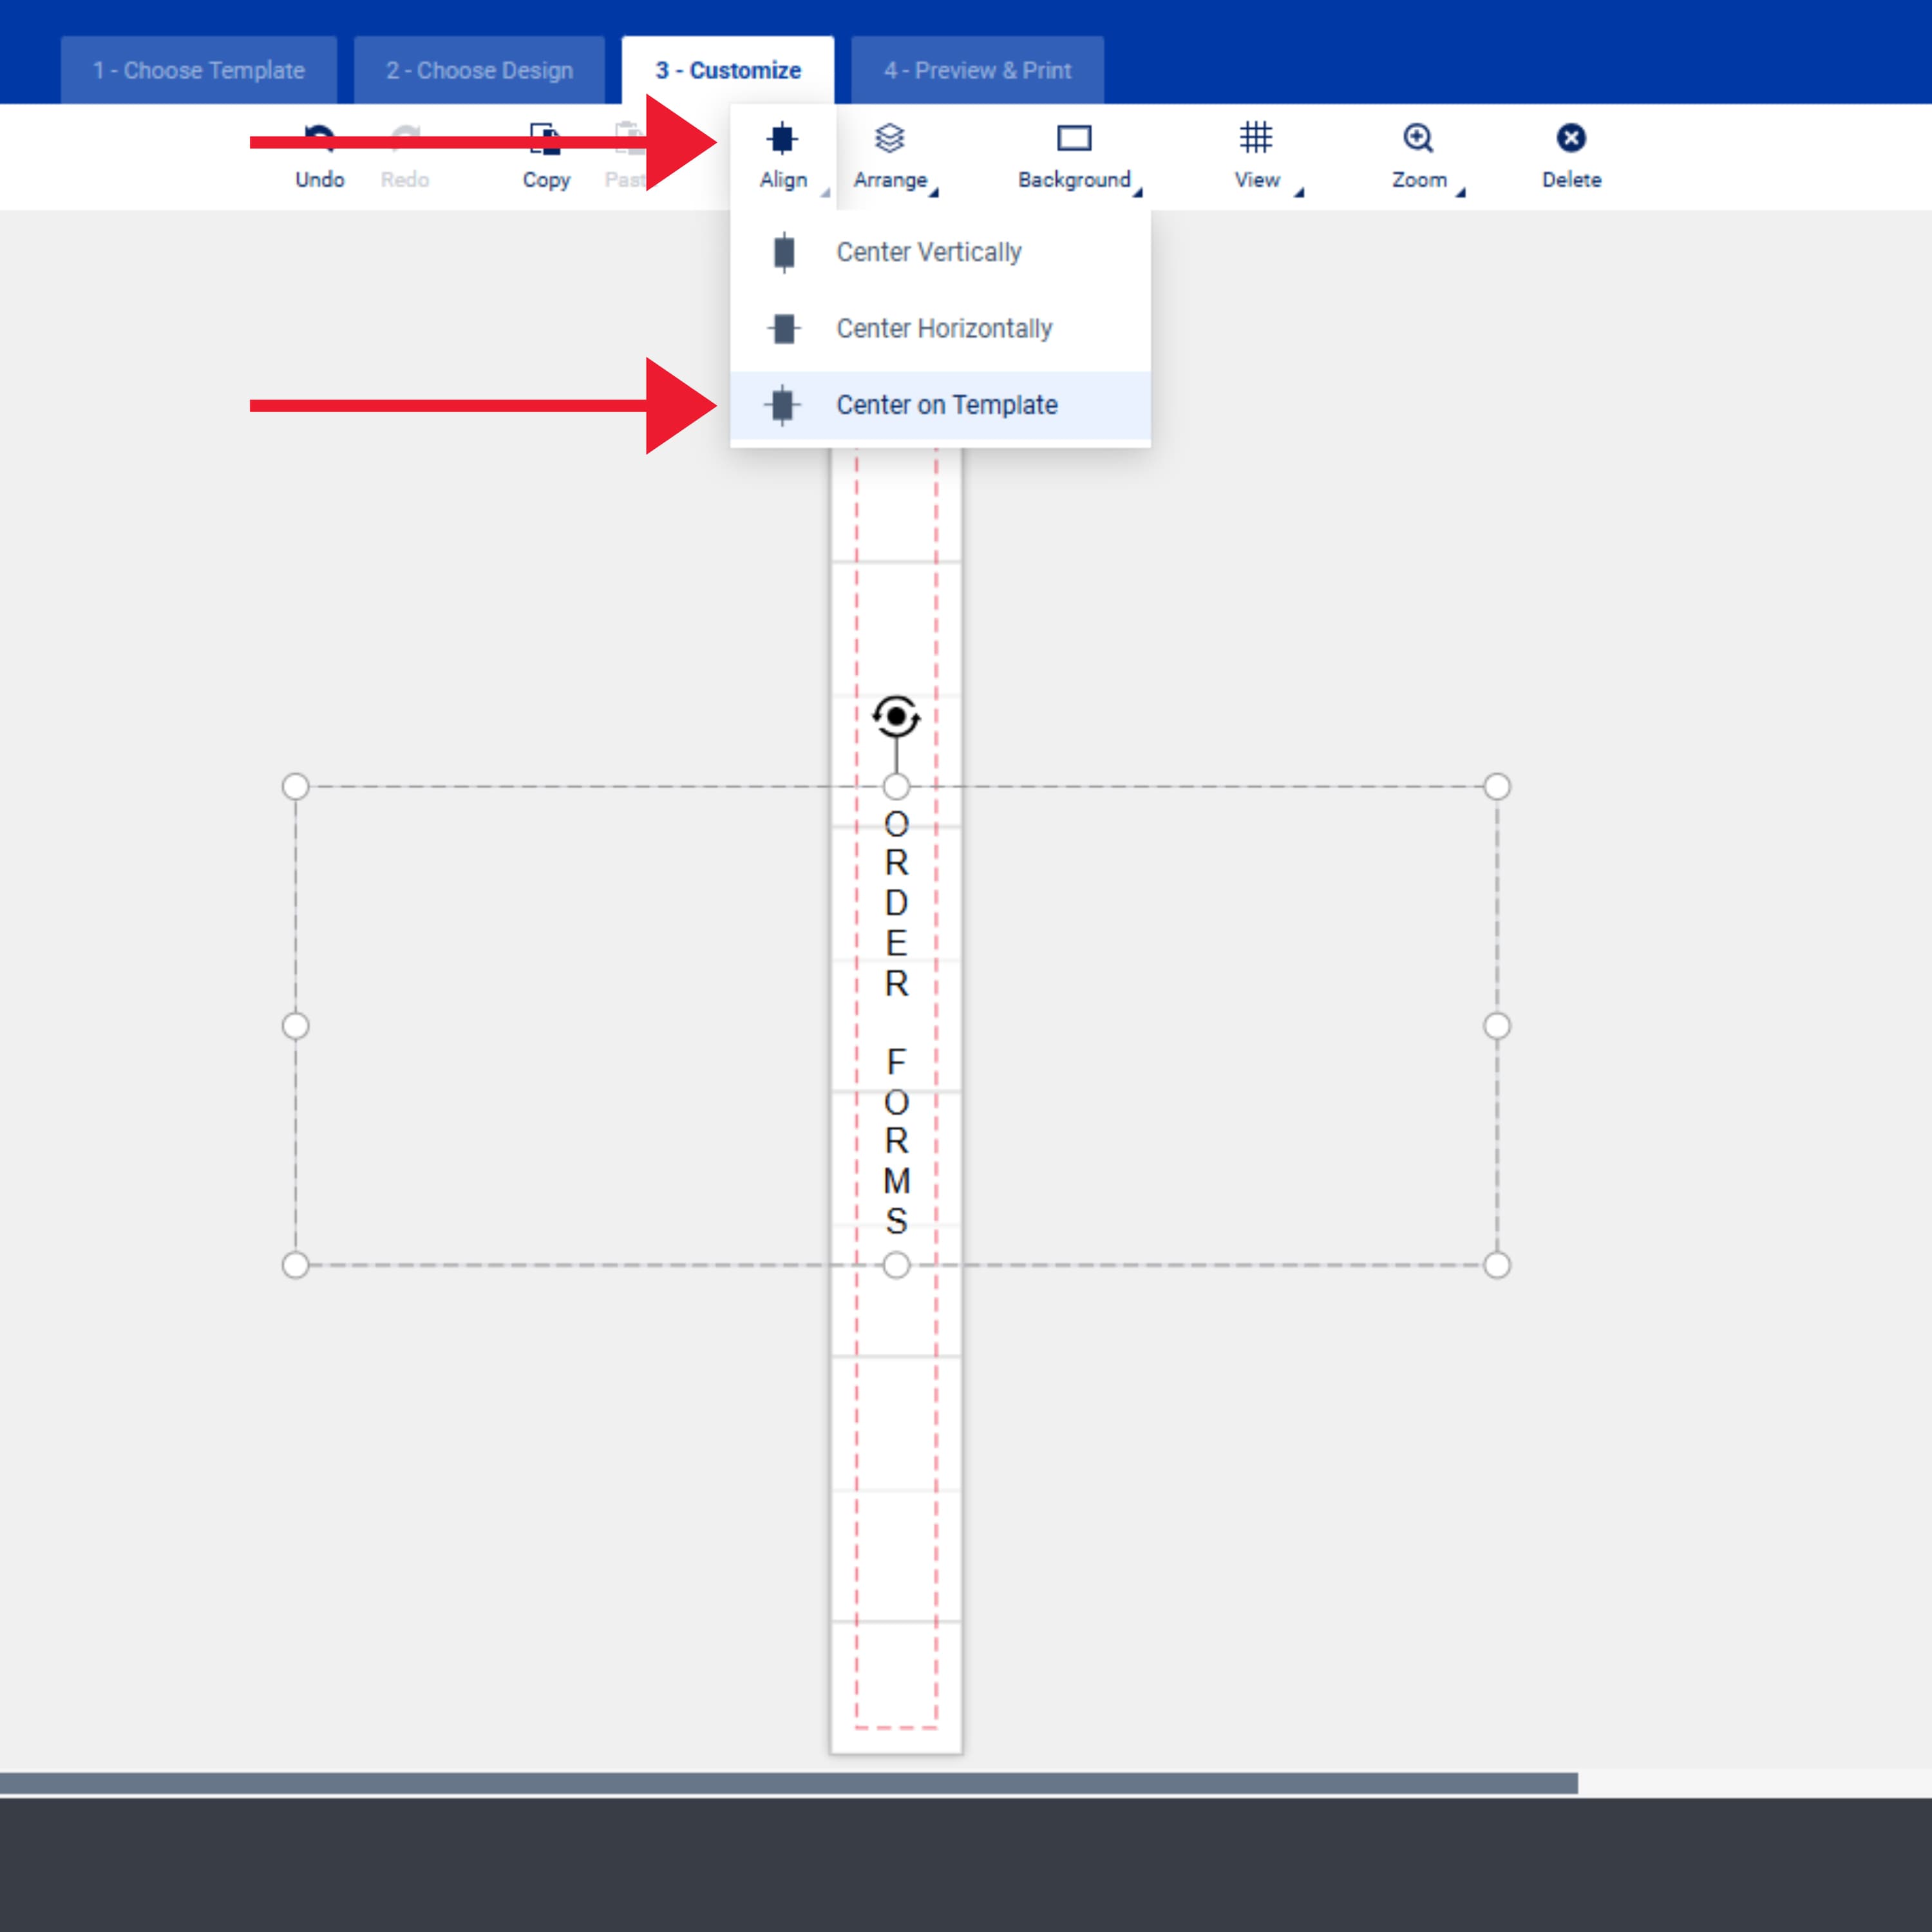
Click the “Zoom” icon to view your entire binder spine. You can also use the “Align” menu to center your text on the insert template.
5) Print binder spine inserts, separate, and insert
This article covers very specific and detailed printing tips for Avery products, but to print on your home or office printer, there are a few simple tips you should follow. First, check your printer settings to make sure that the scale option is set to 100. Scale is important to check so that your design prints at the intended size and aligns with the perforated binder spine inserts. Next, print a test sheet on plain paper. Place the paper over a sheet of binder inserts and hold it up to the light. If your design doesn’t align properly or look the way you want it to, you can go back and make changes without wasting inserts.
Finally, under printer settings, change the paper type to “cardstock,” “heavyweight,” or “specialty.” This setting controls how your printer feeds in sheets based on thickness. Since cardstock is much thicker than paper, you want to make sure your printer “knows” to adjust the feed to accommodate. To summarize, always follow these three simple steps when printing custom binder spines yourself:
- Set the scale to 100.
- Print a test sheet.
- Change the paper type.
Other creative things you can do with printable inserts
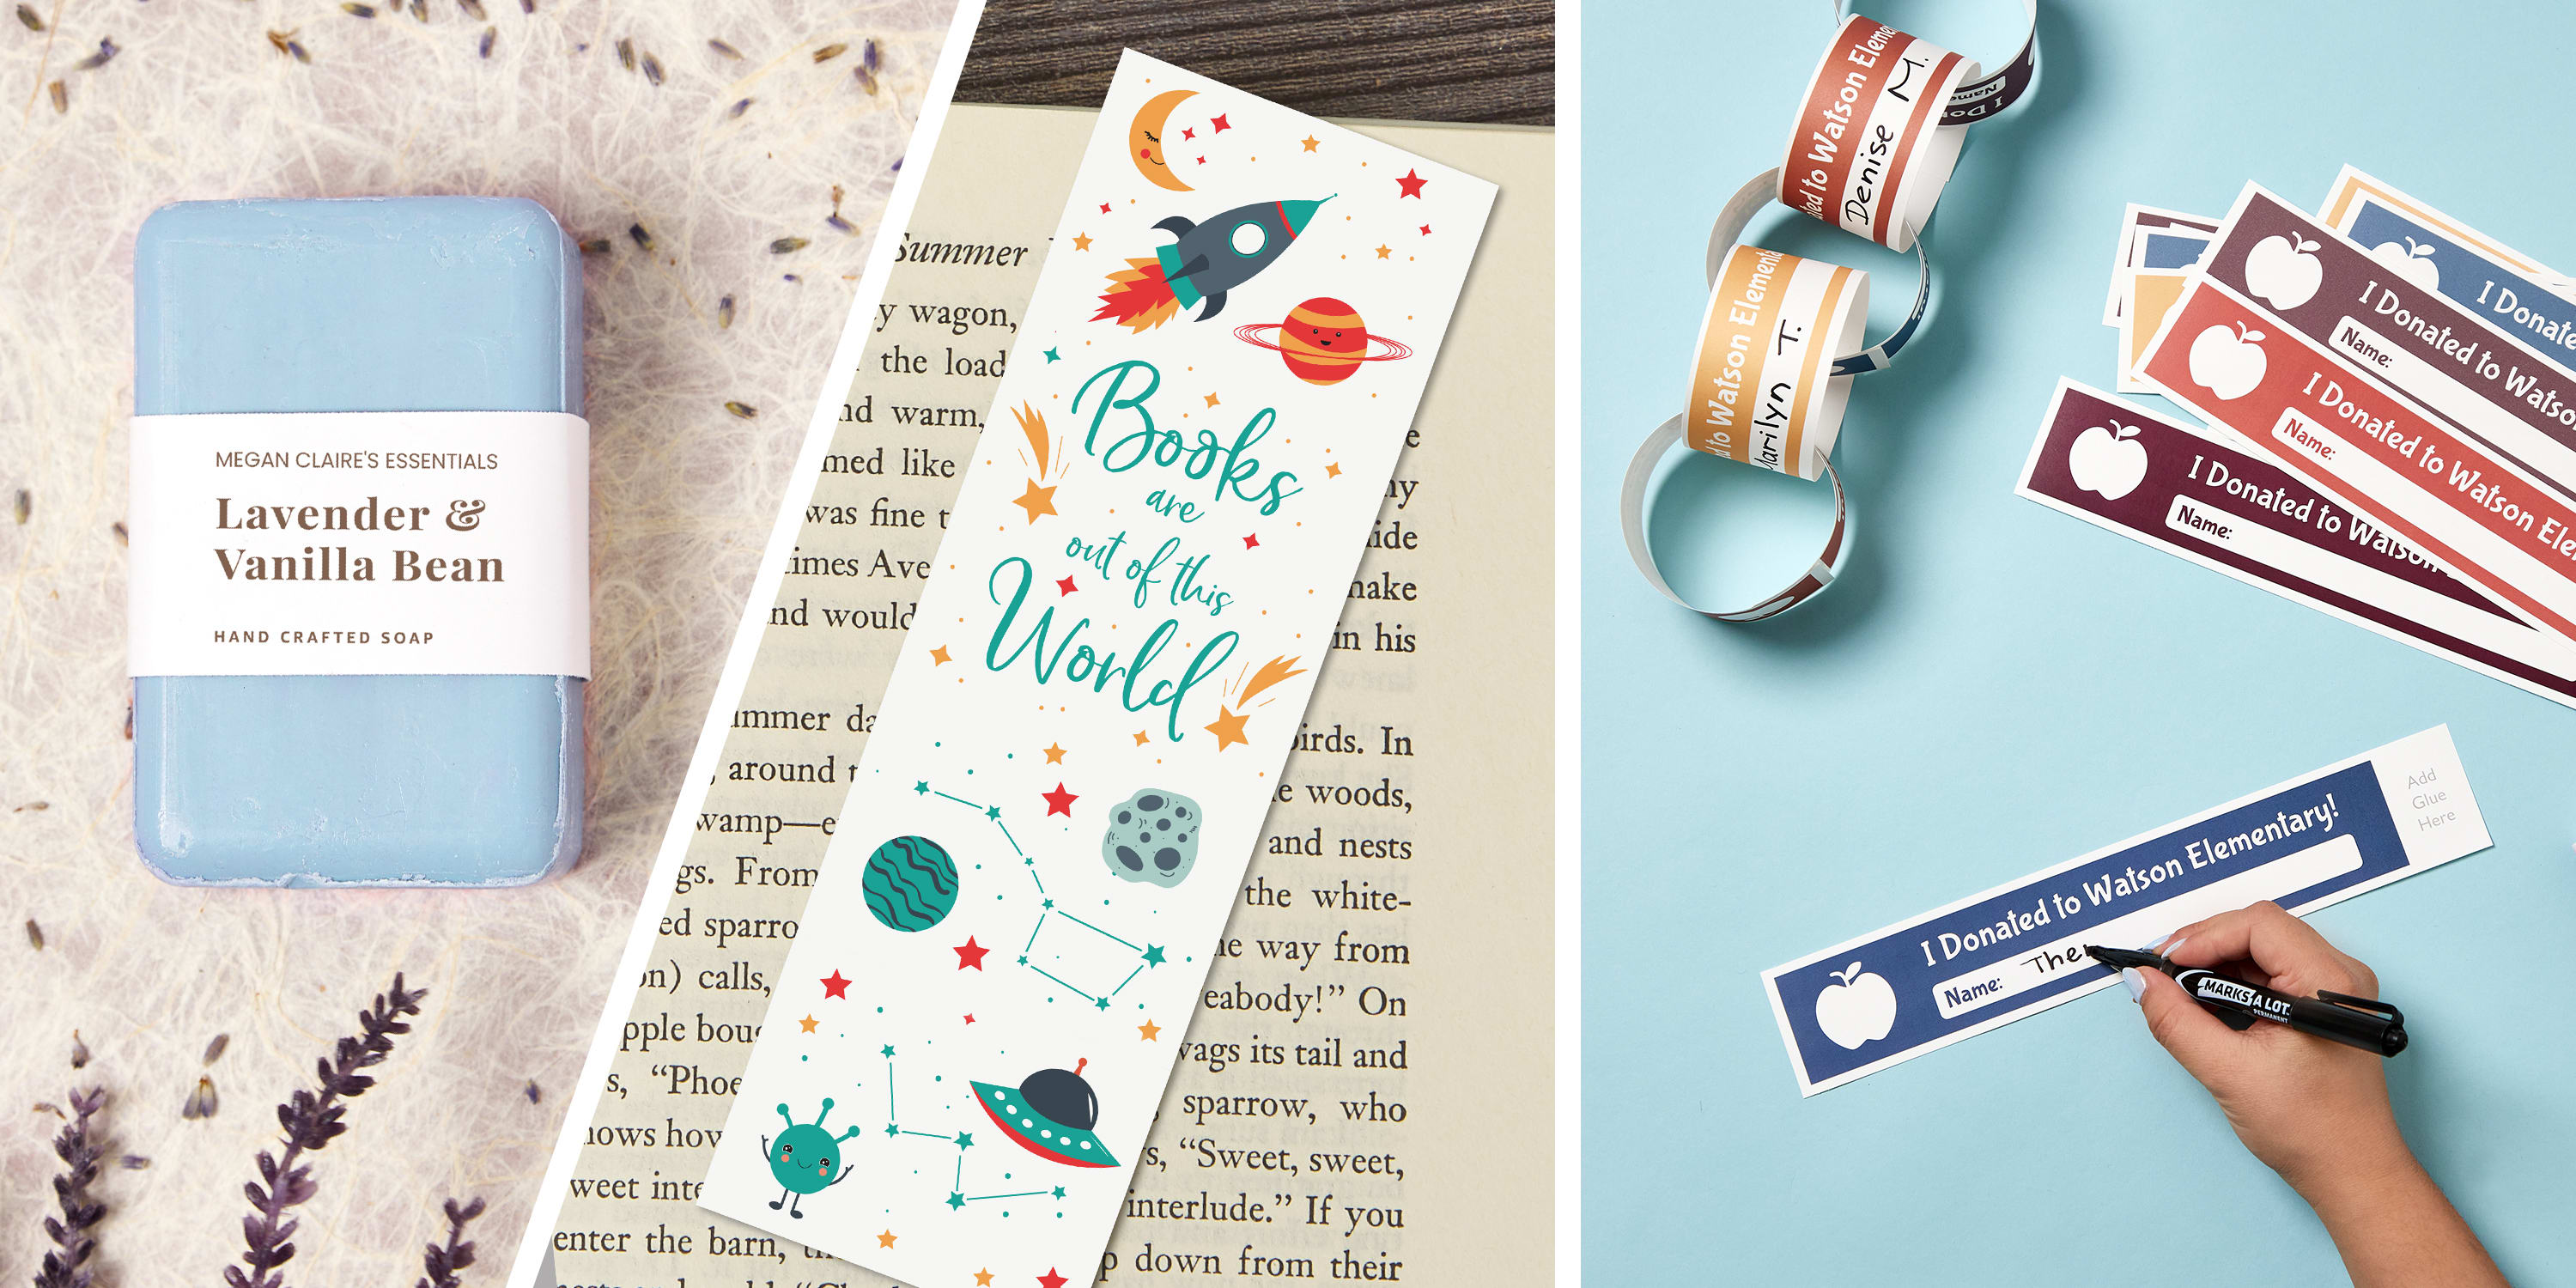
Binder inserts are essentially just printable pieces of cardstock pre-scored in thin strips, which come in handy for a variety of projects. The possibilities for crafting projects immediately come to mind. Custom soap sleeves or wraps, bookmarks, and even paper chains are just a few ways to craft with inserts. We really love how teachers have used binder spine inserts to create donation paper chains for their schools.
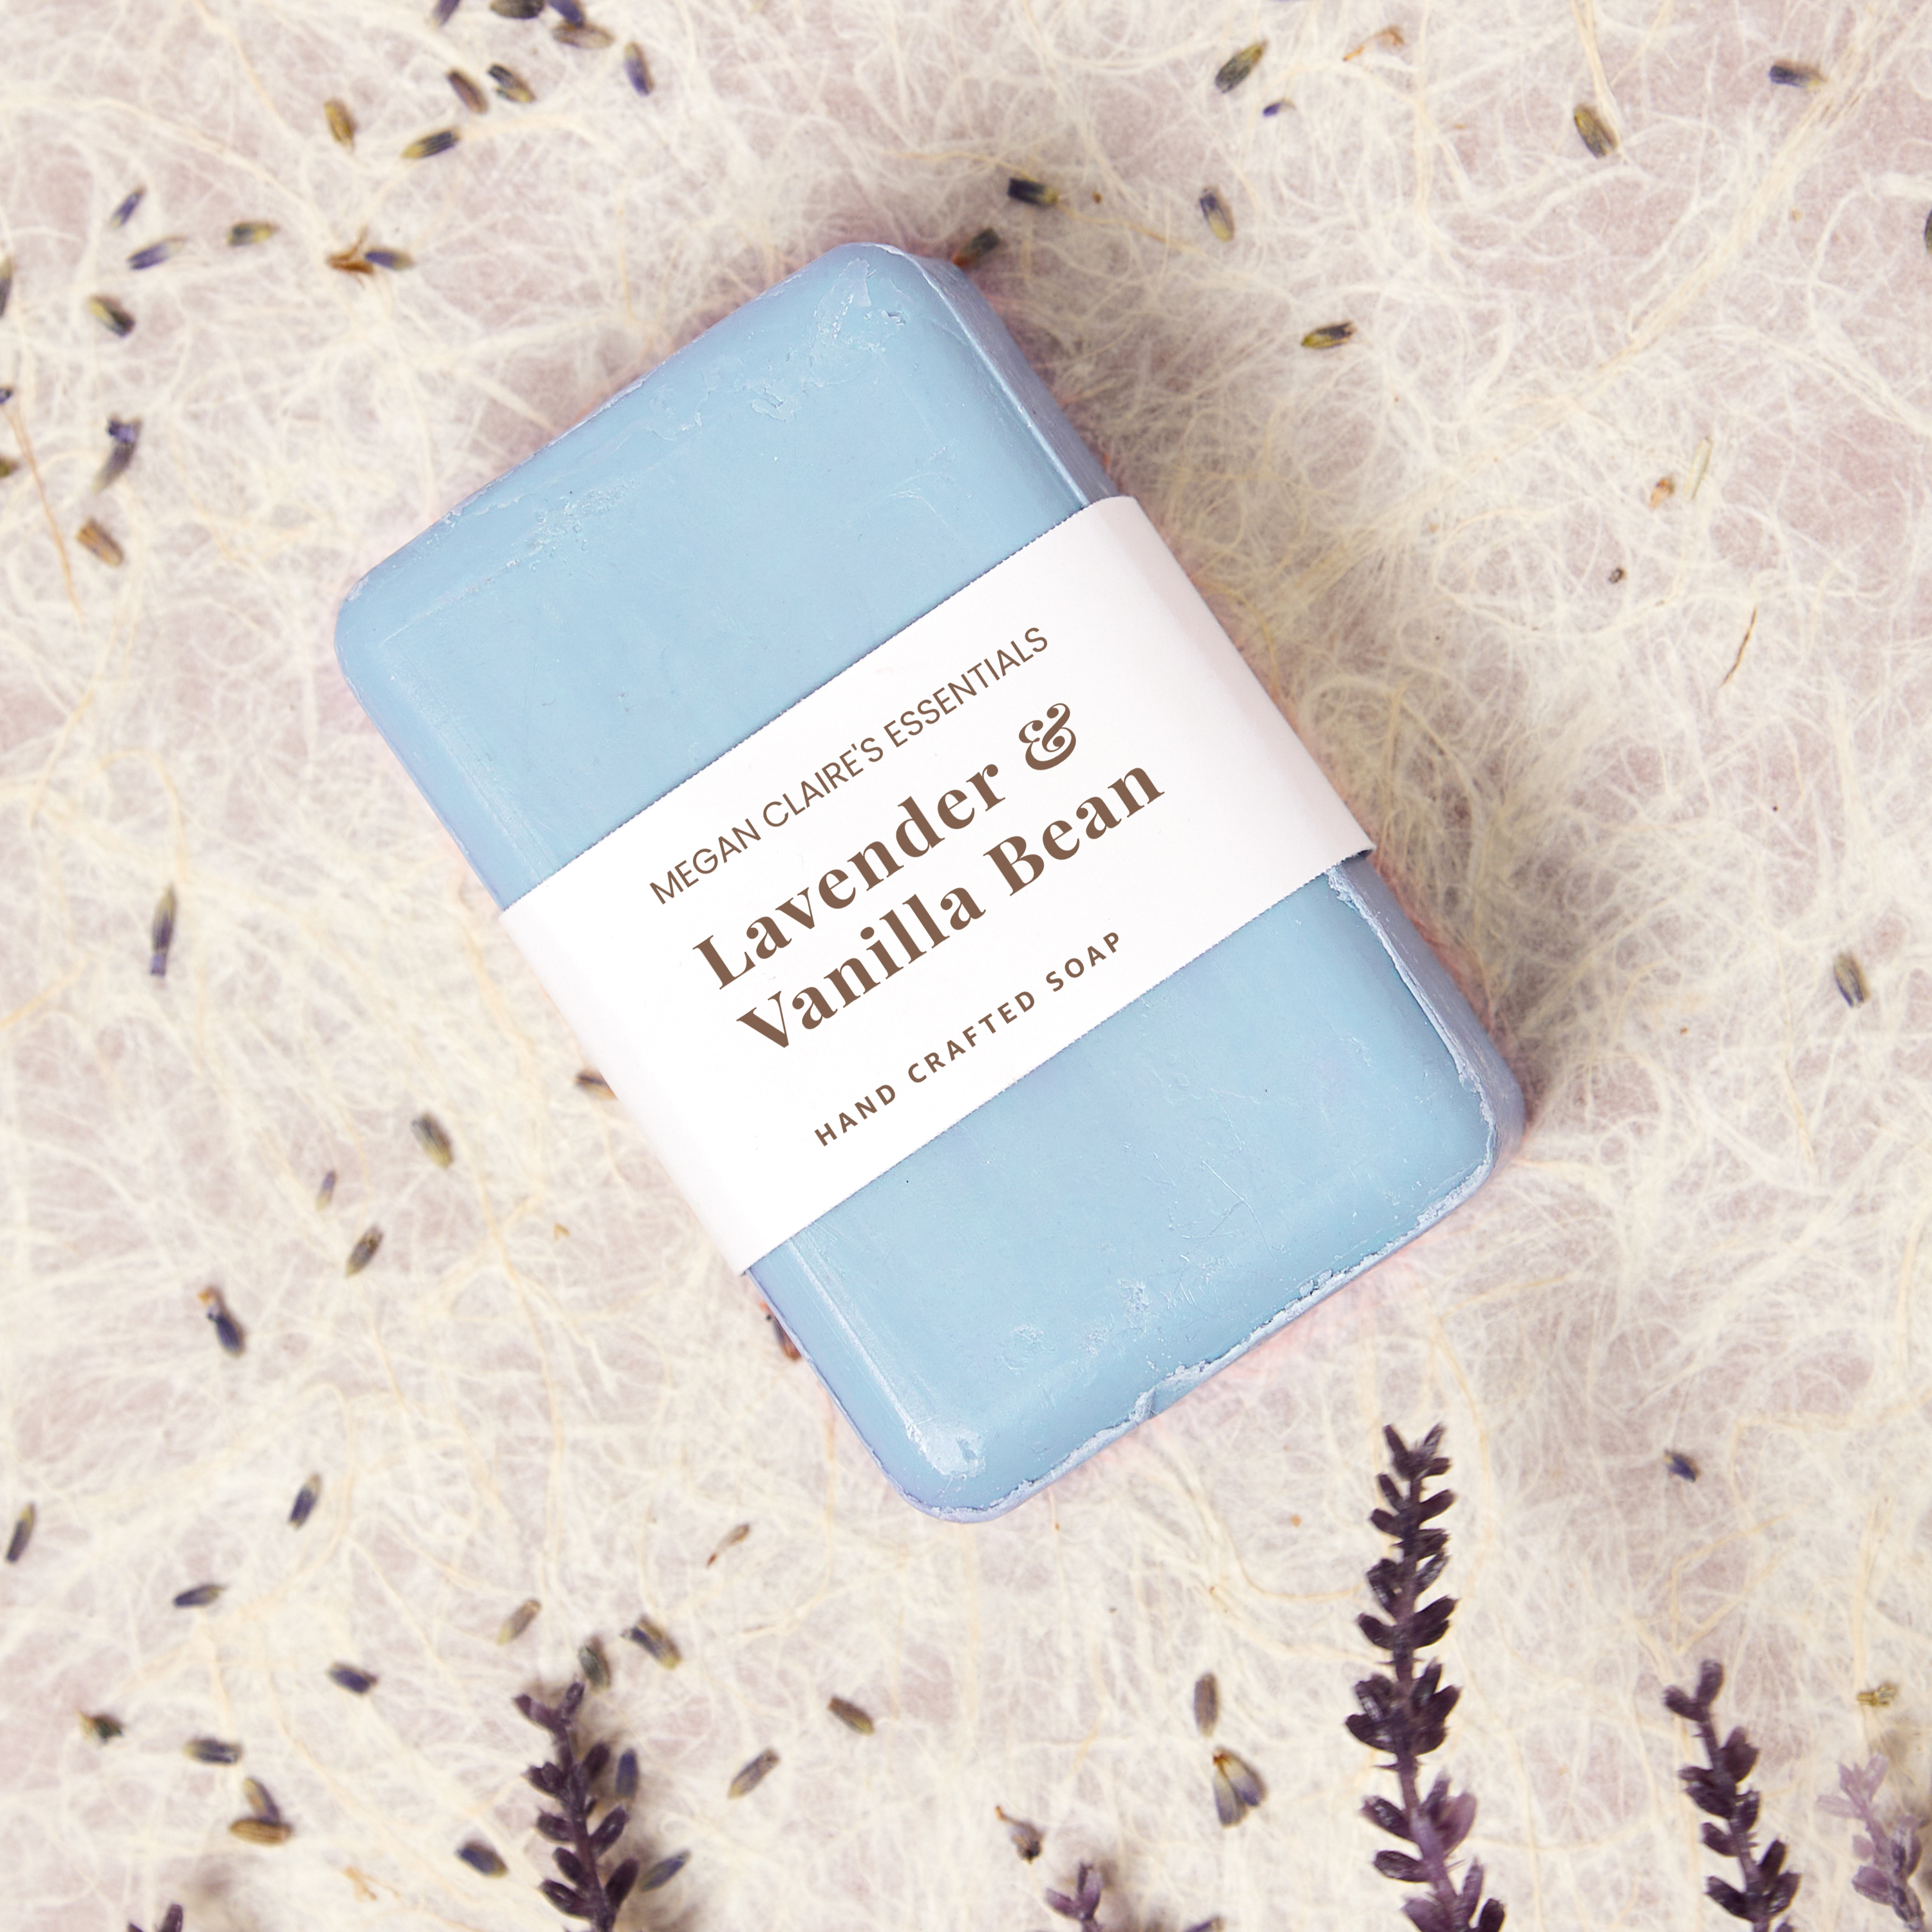
Perhaps the most useful way to use binder inserts is to create sleeve packaging for a small business or hobby business (selling at craft fairs, farmer’s markets, etc.). Consider labeling handmade soaps or bundles of soft goods like socks or scarves with a custom, branded sleeve. If you’re selling handmade or small-batch items, check out this article for more great ideas on product packaging trends.
You can also take a cue from small businesses and use printed binder inserts to make gifts and party favors stand out. Use them to create package sleeves for homemade gifts or to personalize small items for weddings, showers, and more. Bookmarks are also fun to personalize and gift. Let your imagination run wild designing printable binder spine inserts, or try one of our many free printable bookmarks that can be found here.
Quickly and easily make custom binder spines
To sum up, you can make custom binder spines quickly and easily when you pair Avery printable inserts with our free templates and design software. While you can decorate binder spines in many ways, printing them looks more professional and has design options beyond your own artistic ability. As a matter of fact, Avery Design and Print Online (ADPO) features tons of predesigned templates that you can modify. Not only is it free to use when you sign up for a free Avery account, but ADPO also has special features beyond the standard design tools.
In addition to blank and predesigned binder spine templates in ADPO, there are also blank templates you can download for Microsoft Word, the Adobe Suite (Photoshop, Illustrator, and PDF), and Apple Pages. There are also several different kinds of printable binder spine inserts that vary in size to fit different binder spine widths. Once you’ve chosen a template and completed your design, you can print our binder spine inserts at home on standard laser or inkjet printers. When printing at home, first set the scale to 100, then print a test sheet to check alignment, and finally change the paper type to “cardstock,” “heavy weight,” or “specialty.”
Aside from identifying, color-coding, and decorating binder spines, there are several projects to explore with printable inserts. Sleeve packaging for small businesses, hobby sales, gift packaging, and crafting are just some of the things you can achieve right from your desktop.
How do you organize your binders? Let us know in the comments, and join the conversation on Facebook. You can also find more ways to get organized on our Pinterest page and Instagram.
