How to Make Lip Balm Labels
Estimated reading time: 5 minutes
Easy steps to create custom printed lip balm labels or print them yourself
Other articles you might like:
Custom lip balm labels are a must-have when you’re ready to boost your brand—whether you’re selling products or offering them as promotional giveaways. A striking, professionally designed label not only elevates your product packaging but can also be the deciding factor in converting a browser into a buyer.
In this guide, our Avery experts will walk you through everything you need to know about creating lip balm labels that stand out. We cover the best materials to use, FDA labeling essentials, design tips, and step-by-step application techniques—perfect for blank containers used in retail or even for DIY applications at special events.
Essential lip Balm label materials
When you’re getting ready to choose the right material for your lip balm labels, remember that your product is handled frequently, carried in bags, and exposed to the elements like sunlight, oils, and water, so you need a label that can hold up in those conditions.
Film labels
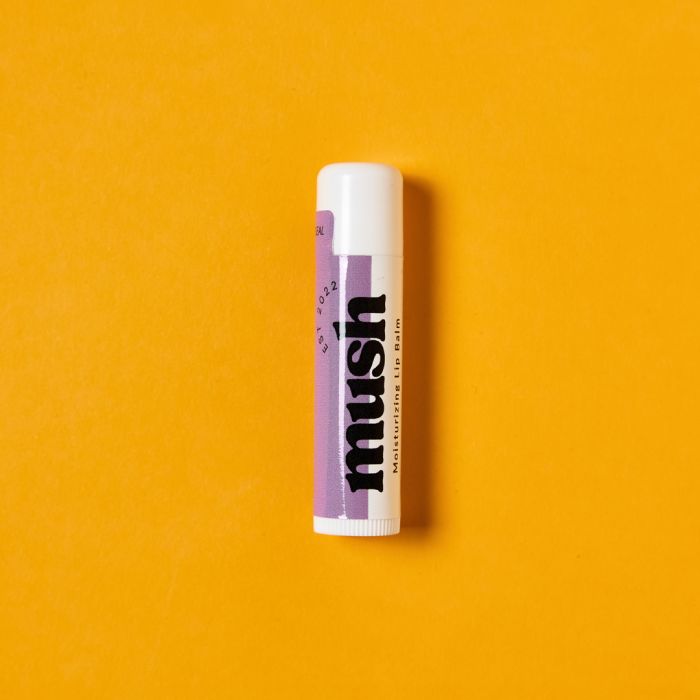
Durability: Waterproof, oil-resistant, and UV-protected, making them ideal for everyday use.
Flexibility: They conform perfectly to curved lip balm tubes and squeezable containers.
Adhesives
Permanent Adhesive: Ensures a secure bond, ideal for retail settings.
Removable Adhesive: Perfect for DIY applications, allowing you to reposition if necessary during application.
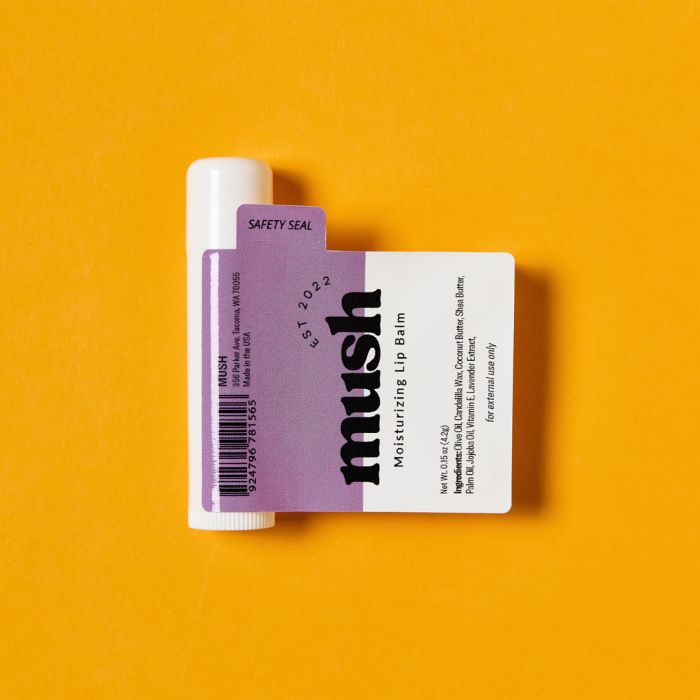
Security seals
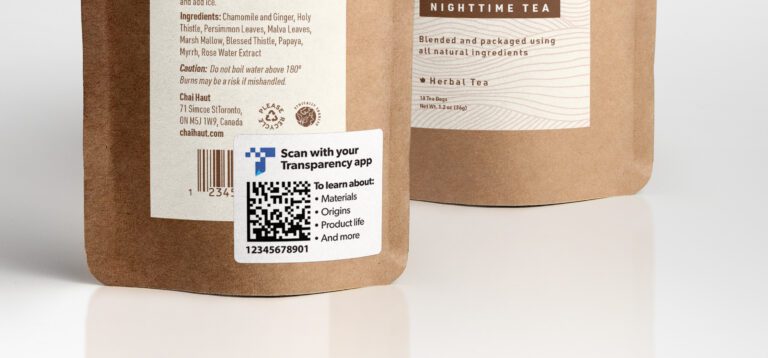
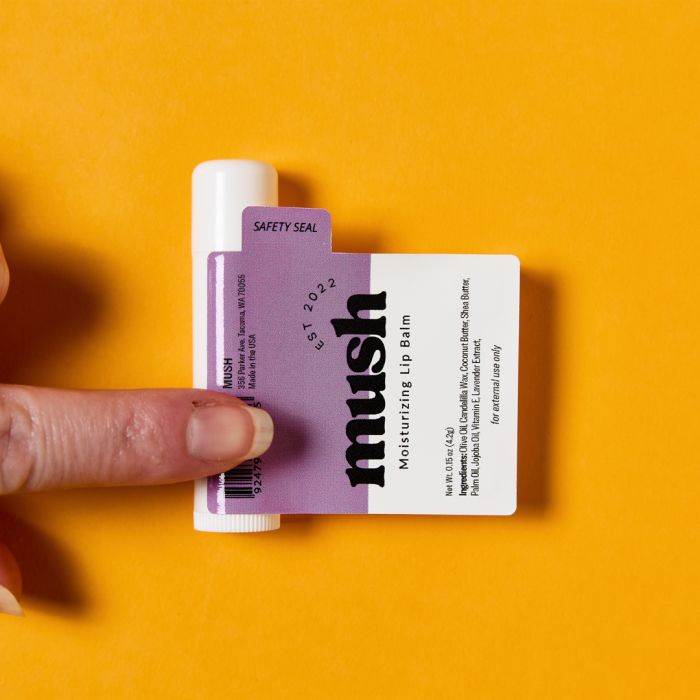
For extra peace of mind, opt for labels with a tamper-evident security seal. This feature reassures consumers that the product is unopened and intact.
Avery 2-3/16″ x 1-13/16″ labels are designed to fit standard 0.15 oz tubes with a height of 67mm and a diameter of 16mm. Choose our 2-3/16″ x 2-1/8″ lip balm labels with a perforated seal for tamperproof packaging.
What to include on your lip balm labels
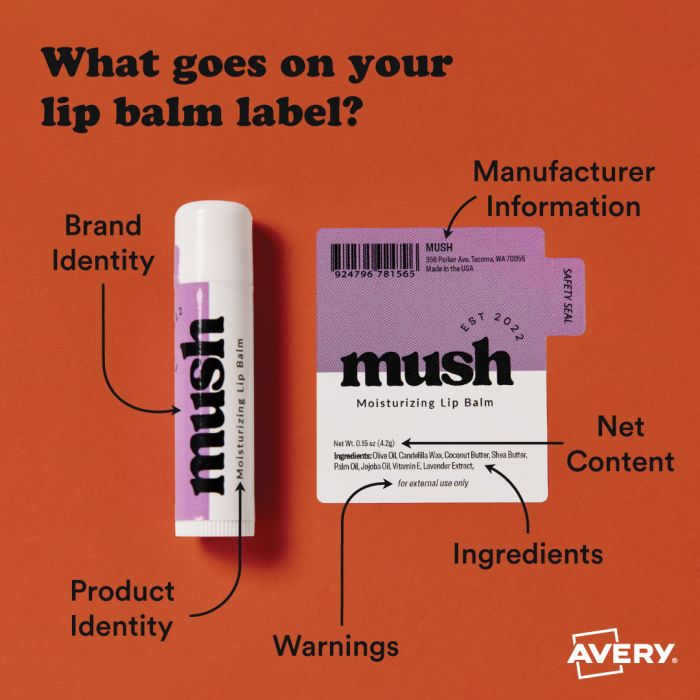
When producing lip balm, lip gloss, or lipstick, you must follow the FDA guidelines labeling cosmetics. If your lip balm is intended to treat or prevent a disease, then you must also comply with both the drug and cosmetic provisions of the law.
Following FDA guidelines is crucial when labeling cosmetics. Ensure your label includes:
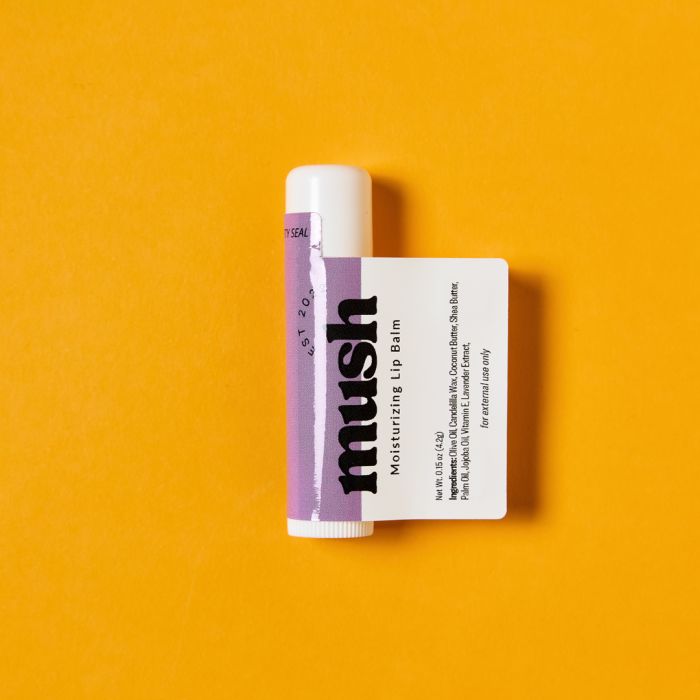
Principal display panel (PDP)
Product Identity: Clearly state what the product is (e.g., lip gloss, lip balm).
Net Contents: Include the weight or volume of the product.
Ingredients List: Provide a full list of components.
Warning Labels: Add necessary warnings such as “for external use only.”
Additional details
Usage Directions: Clearly describe how to use the product safely.
Manufacturer Information: List your business name and address.
Legal Compliance: If your lip balm is intended for therapeutic use, ensure you comply with both drug and cosmetic regulations.
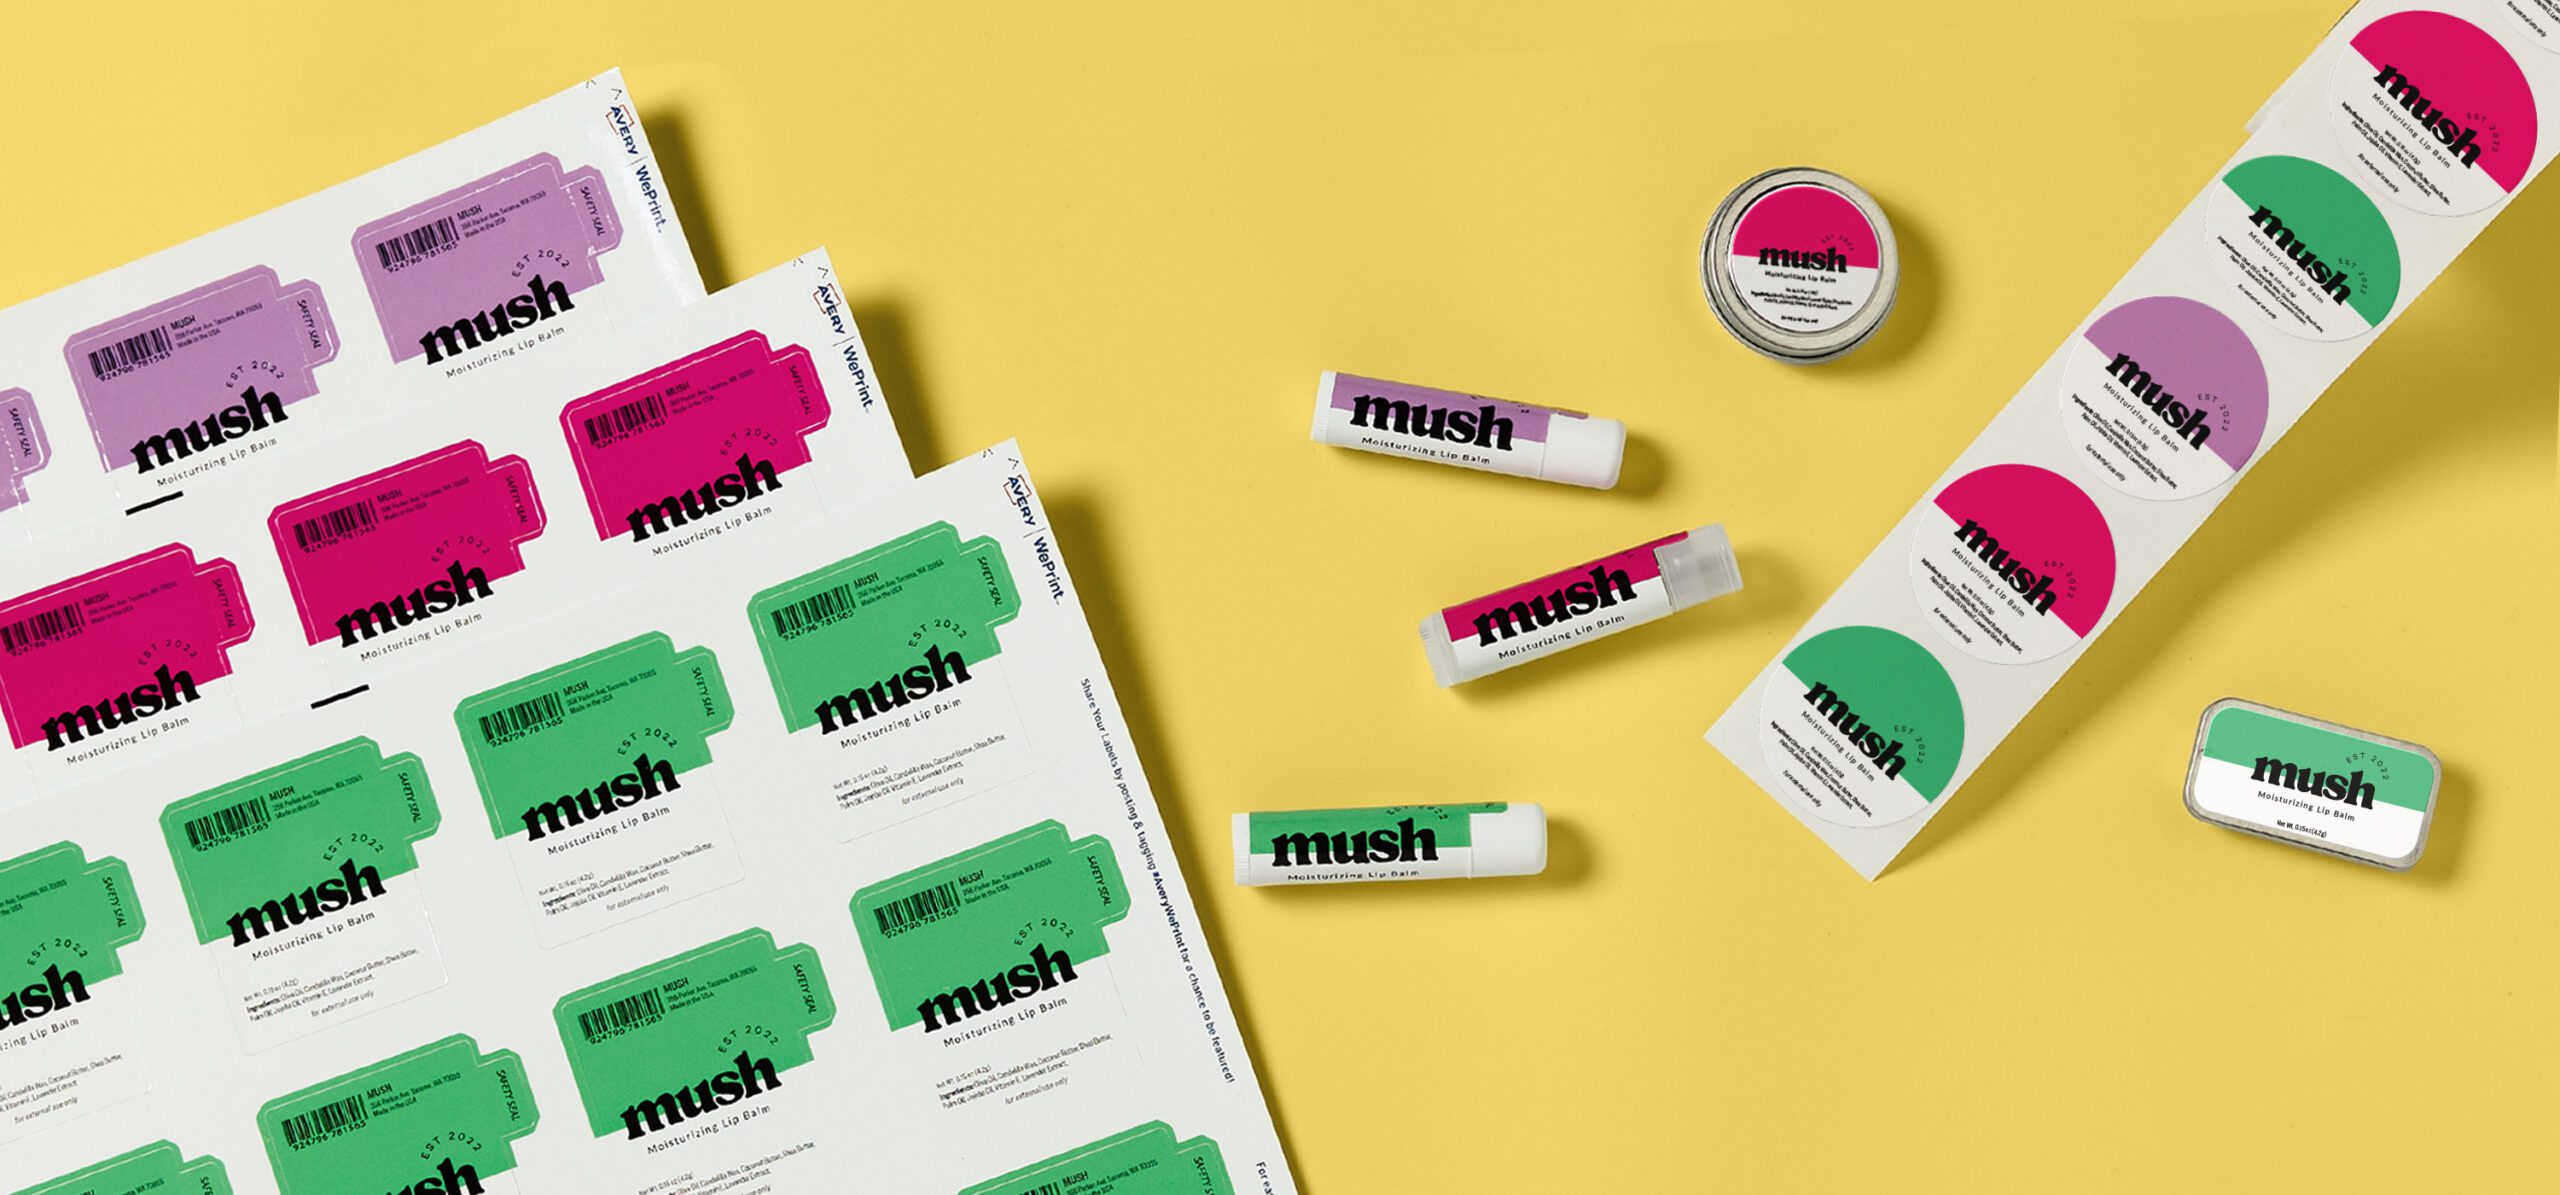
Designing your lip balm labels
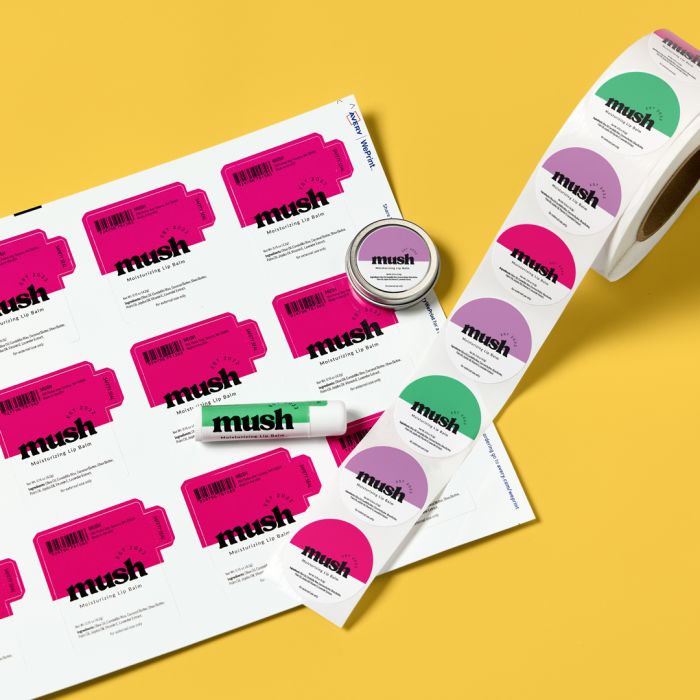
Whether you work with a graphic designer or prefer a DIY approach, there are plenty of ways to create stunning lip balm labels. Here are some of our designers tips for creating your lip balm labels.
Online tools and templates
Templates: If you choose Avery Labels, customize your design for free using our online tool. Choose from professionally designed templates that cater to both retail and promotional needs or simply upload your artwork into a blank template and personalize to match your brand’s look and feel. It’s easy to upload your designs from sites like Canva and Illustrator.
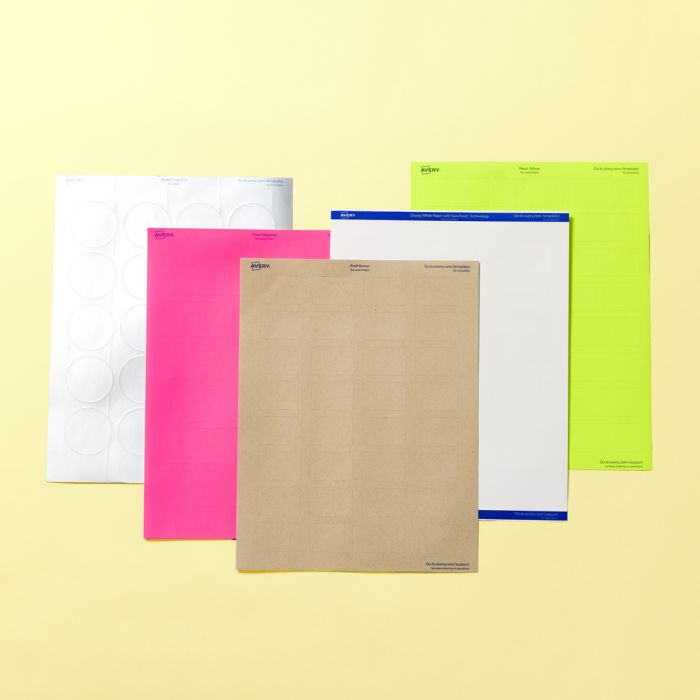
Printing options
Professionally Printed Labels: Order premium labels with a security seal from a custom printing service like Avery WePrint. Enjoy high-quality printing on digital presses with fast turnaround times.
DIY Printing: For startups or small batches, order blank sheet labels or use Avery retail packs. Print your designs at home using a standard inkjet or laser printer.
Tip: Incorporate your brand colors, logo, and unique style into your design to ensure consistency and recognition across all marketing channels.
How to apply lip balm labels
It’s important to apply your labels properly to get strong adhesion and a good fit. We’ve put together some simple steps to help guide you. You can also download our easy instruction sheet for quick reference. The instruction sheet features lip balm labels with security seals but you will use the same technique for round labels and ones without a security tab.
Achieving a flawless finish on your lip balm labels is all about proper application. Follow these simple steps for best results:
Preparation
Thoroughly clean and dry your containers before applying your labels. Also, if you are filling your own containers, make sure they’re completley cool before applying your labels to prevent wrinkling, stretching, or peeling.
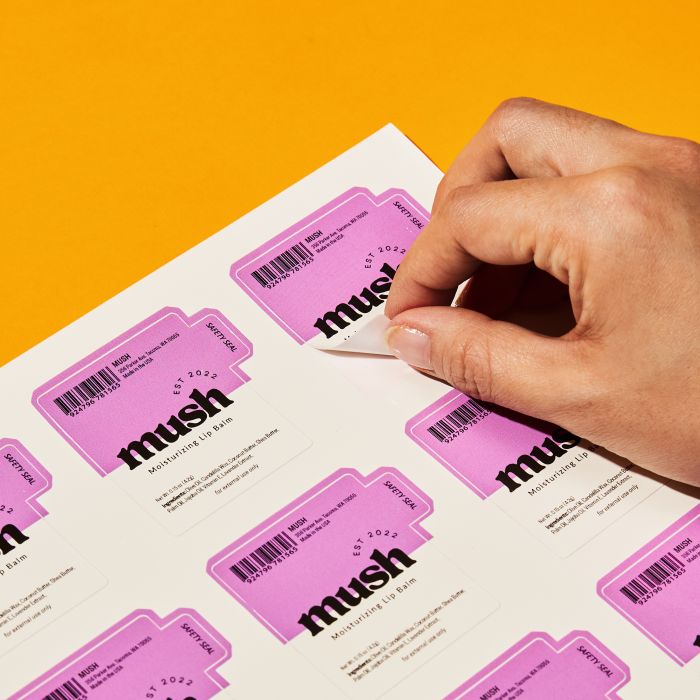
Peel
1. Peel the label from the corner.
2. Carefully align the label’s edge with the bottom of the cap.
3. Gently press down at the center edge, then continue pressing from top to bottom.
4. Slowly roll the lip balm container to apply the rest of the label.
5. Press firmly to secure the label, accounting for any overlap in your design.
For round labels
Press lightly at the center and work outward towards the edges to ensure a smooth application to tins and pots.
Conclusion
By following this guide, you’ll be well on your way to creating eye-catching, durable lip balm labels that not only comply with regulatory standards but also enhance your product’s retail appeal and promotional value. Whether you opt for professionally printed labels or a DIY approach, your packaging will reflect the quality of the product inside.
If you have any questions, please reach out to our Customer Care Center at 800-942-8379 or by chat. They’ll be happy to help with any questions you might have when it comes to making lip balm labels. Or any label for that matter!