How To Print White Ink on Product Labels
Make text and images stand out with white underprint
Other articles you might like:
If you want to know how to print white ink on labels, we’re here to help. In this article, we explain what white ink printing is and how to add it to your labels using our Avery software or Adobe Illustrator.
You can make your label design pop with vibrant colors and sharp, easy-to-read text when you use white ink printing, sometimes called white ink under-printing. Whether designing your labels yourself or using a graphic designer, understanding how to make labels with white ink printing is key to strong packaging and product label design.
White ink printing is available through Avery WePrint, our custom printing service. You can get white ink printing on both sheets and rolls in our clear film and chrome film. It is also available on rolls on all of our metallic labels and on sheets in kraft brown, silver metallic film.
What is white ink printing?
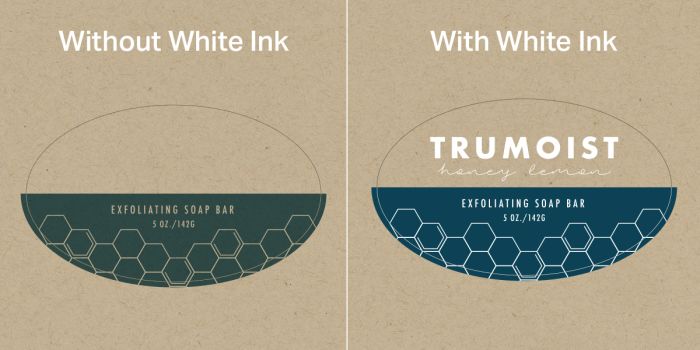
In white ink printing, the ink is added underneath all or parts of your label design. The white ink is used to reduce the transparency of your text and graphics by creating a layer of opacity. This opacity will ensure an accurate color match and improved legibility.
White ink can be a great tool for brands and their designers. It is important to note that the most successful use of the white ink feature will take white ink into account during the conceptual phase of the label design.
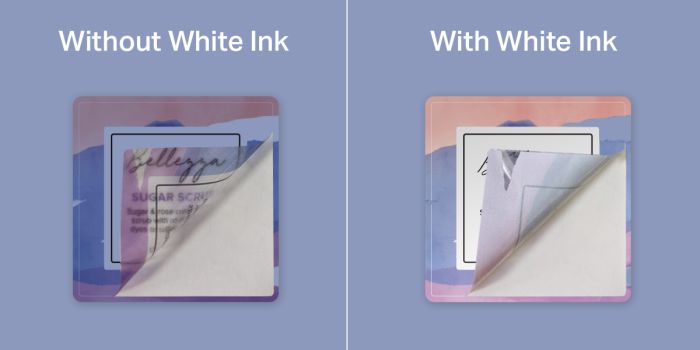
Using white ink on clear labels can make a huge difference in how you showcase your text and design. Without white ink, clear labels can appear transparent making the text hard to read and graphics bland.
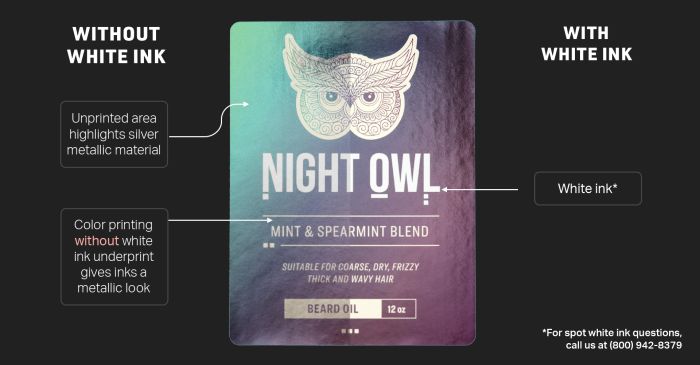
On metallic, white ink may be needed for areas with white color. However, white ink will remove the metallic effect. With white ink, ensure your design includes an area of no color to allow the metallic effect to show thru.
For kraft brown label materials, printed inks take on a brown earth-tone appearance. Check the Use White Ink checkbox in Avery Design & Print to maintain hues and print colors bright and vibrant.
Consider your product
If your product or container has color, the same idea as above is true. Adding white ink where you don’t want your container color or product to show through will prevent colors from becoming muted.
Are you using a clear container with a white product inside? If so, the clear container might work similarly to white ink at first but as the consumer uses the product, the label will again become hard to read.
How to add white ink to labels
White ink can ensure a more vibrant result in many cases, especially when printing on clear labels and kraft brown labels. It is also necessary when having white elements such as text, images, and barcodes.
You should plan your use of white ink during the conceptual phase of your design. For help doing this, see our quick video that walks you step-by-step through the process. The printing process can only be done by professional printers and not on your standard desktop printer.
Please reach out to the Avery customer care center at (800) 942-8379 if you have any questions about using white ink. We have experts on hand that will be happy to help you.
Tip: Remember if you’re printing your labels yourself, most desktop printers don’t have white ink so the label will show through in white areas.
White ink printing using Avery software
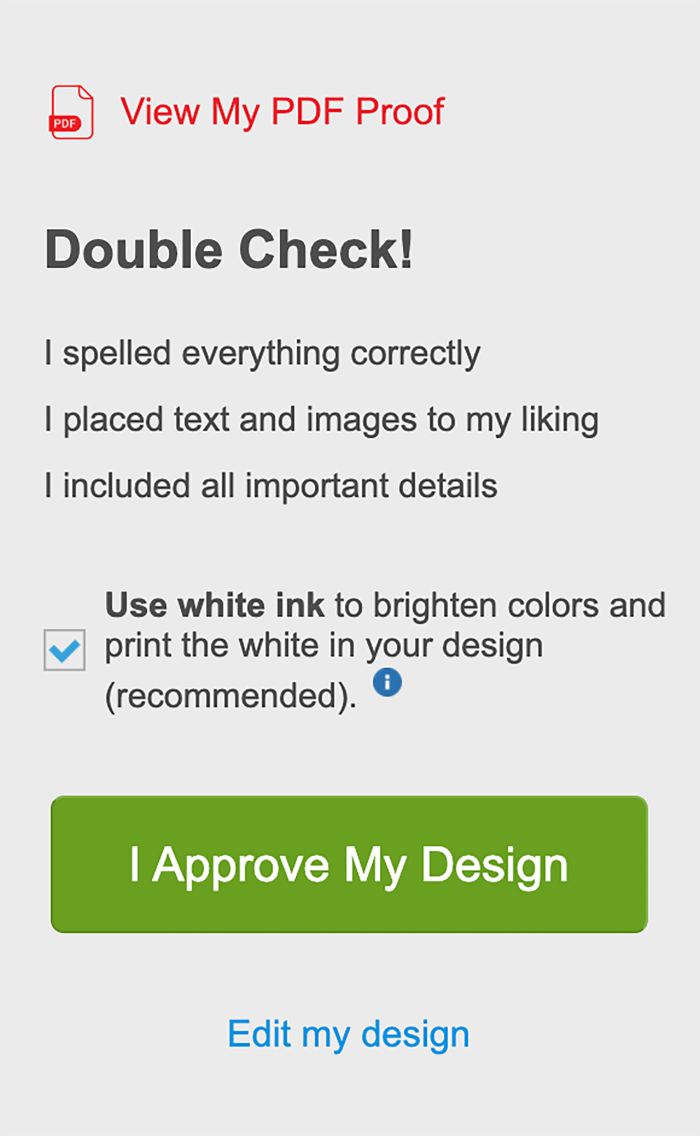
Designs that need white ink will print white automatically. For instance, white text, white in shapes, and even a white safety area for barcodes are always printed regardless of whether you check the white ink checkbox.
Non-imagery: Turn it on to add white ink under other colors like red, green, and blue.
For images: The checkbox needs to be checked to print white in images. It should automatically be checked in most cases.
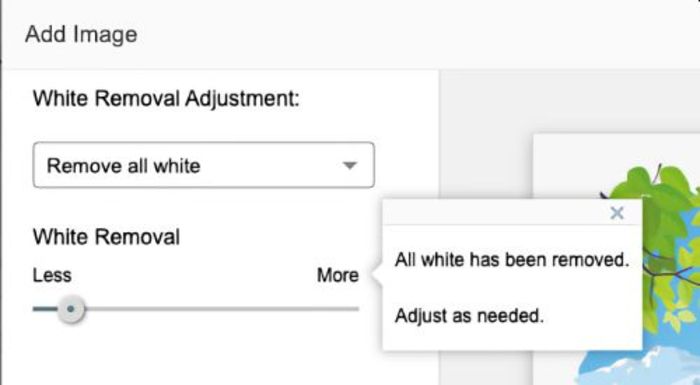
Please note: The White Removal slider increases or decreases the removal of adjacent near-white colors.
In our design tool, select how you want to add white ink
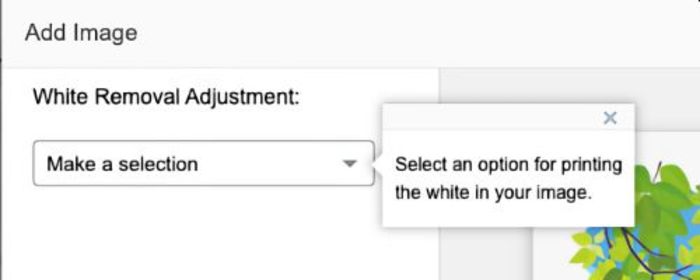
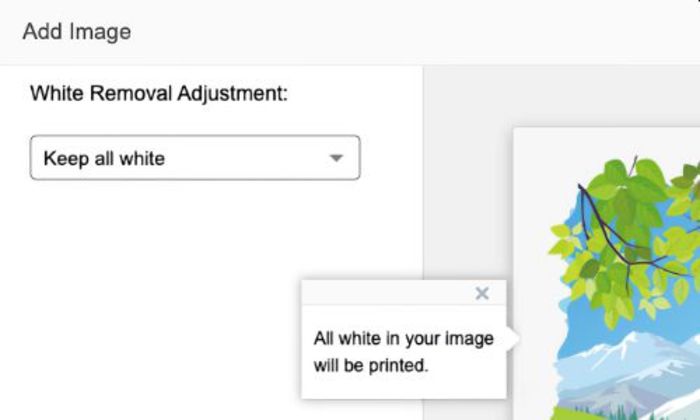
Select “Keep All White” if you want the white ink to be printed
If you wish the label material to show through those areas select “Remove All White”
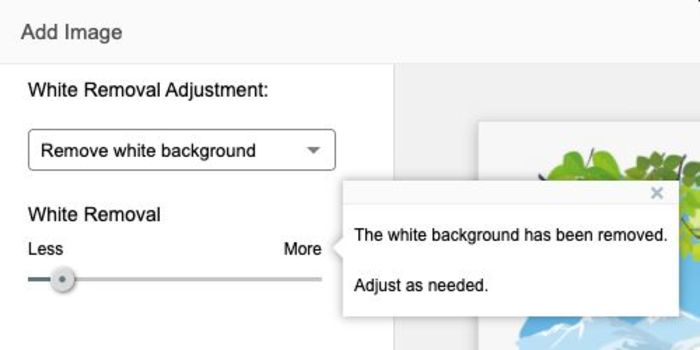
Choose “Remove White Background” if you wish the label material to show through at the edges of your design
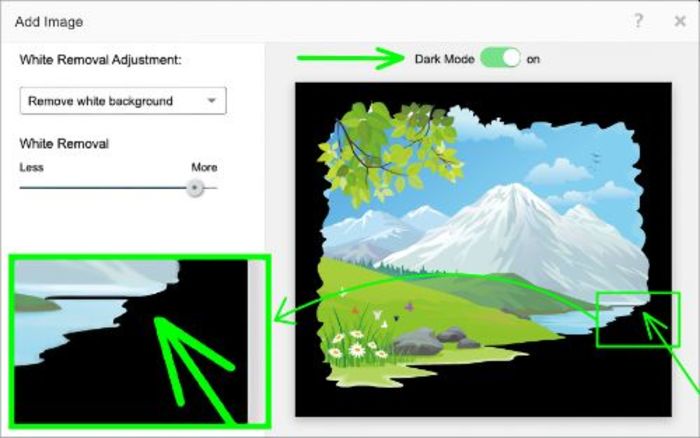
Dark Mode helps to show which white areas are remaining
Please note: The White Removal slider increases or decreases the removal of similar colors.
How to add white ink to roll labels using Adobe Illustrator
This step-by-step guide shows you how to add white ink in Illustrator to your roll labels. To do this, you need to have your roll label artwork created in Illustrator and all elements be in vector format.
Watch our quick video that shows you the steps below so you can follow along.
Step 1:
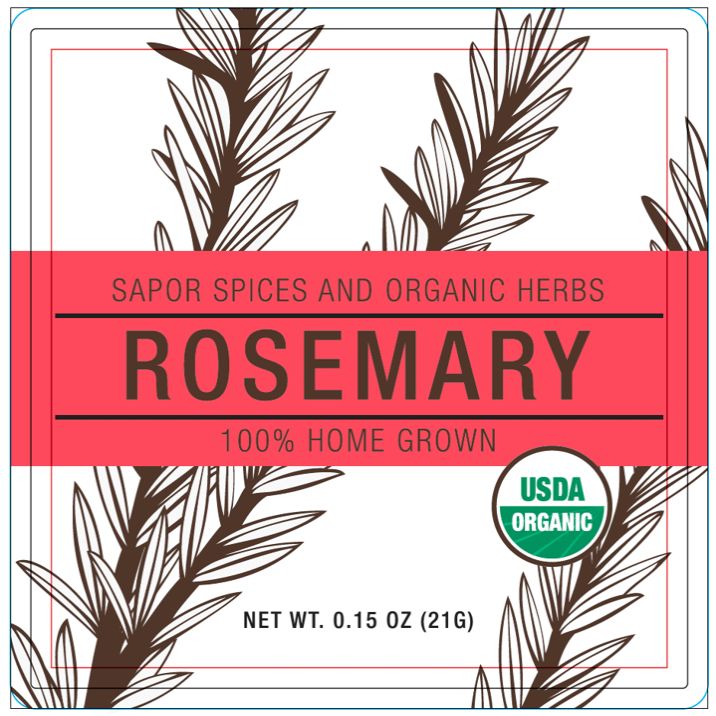
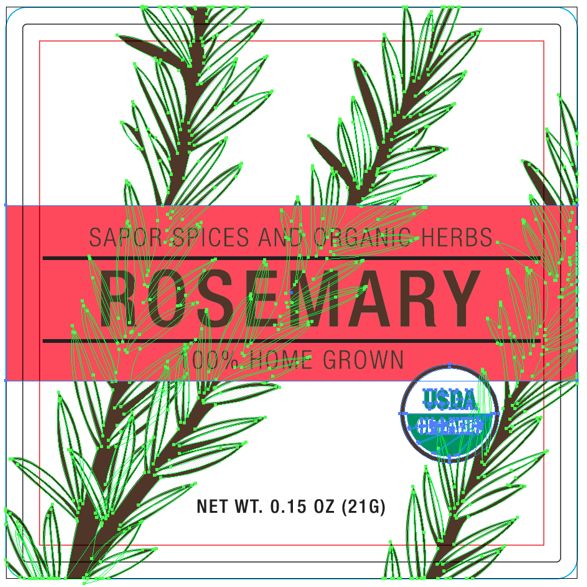
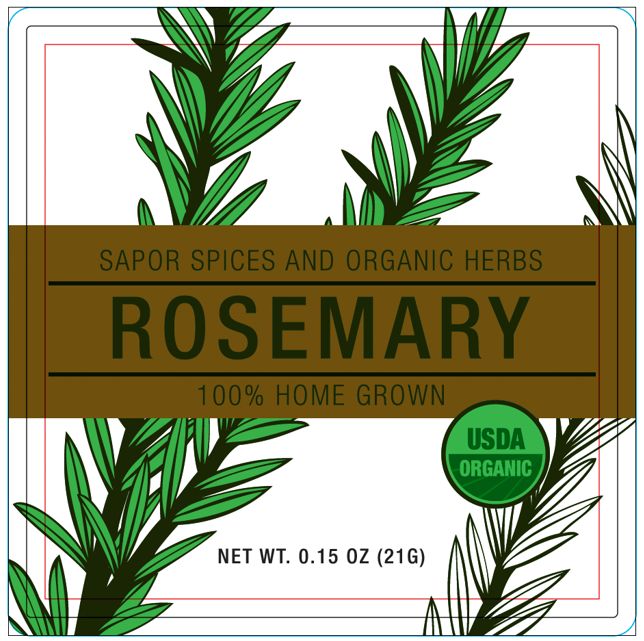
Open your document. This example features a 2” square label printed on clear material.
Step 2:
Determine which elements you want to include white ink behind. For instance, in our example, we will be adding white behind the rosemary sprigs, the USDA Organic logo, and the pink banner section of the label.
Step 3:
Select and copy the elements from Step 2 to a new layer named “HPI-White”.
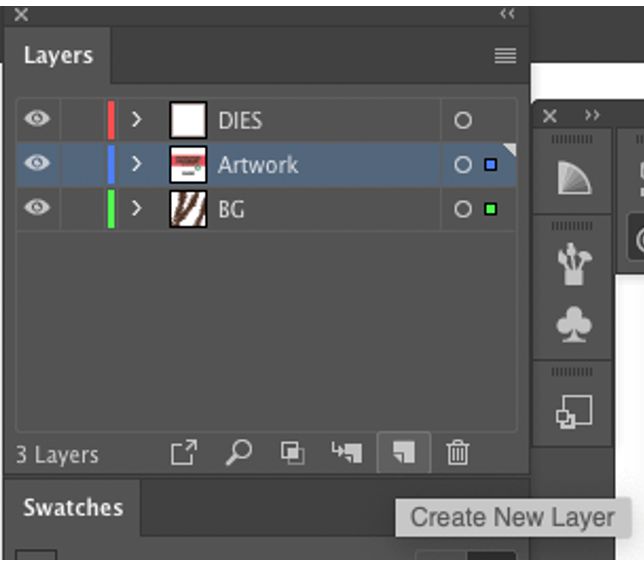
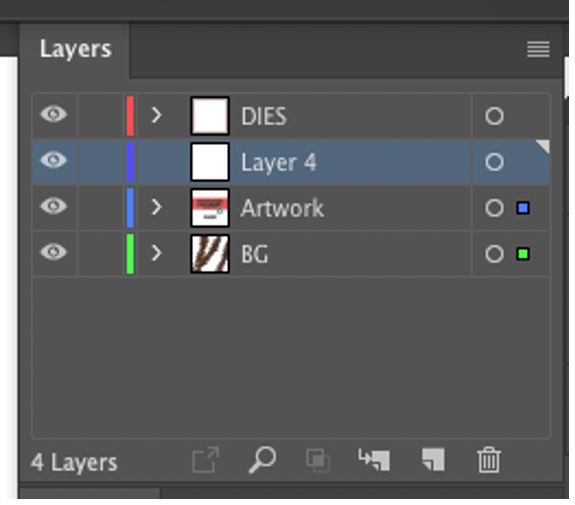
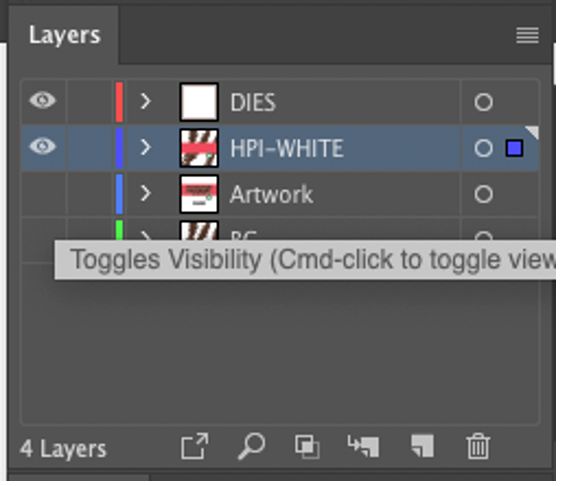
Step 4:
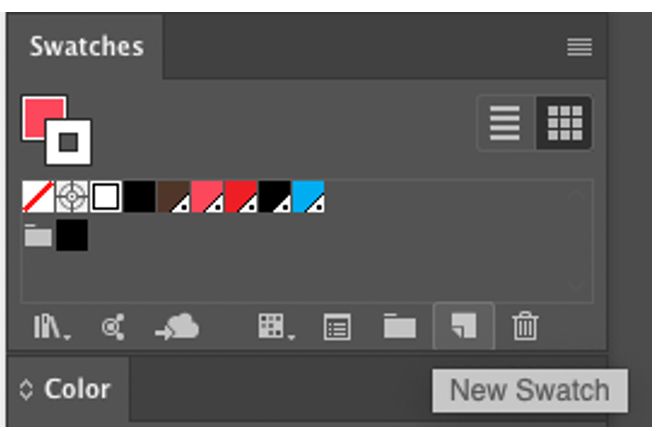
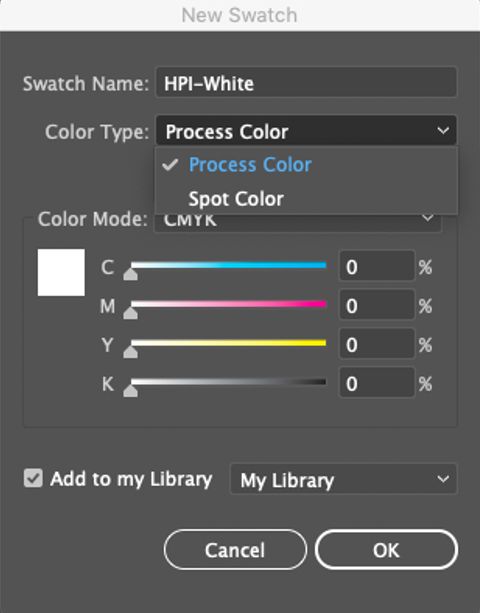
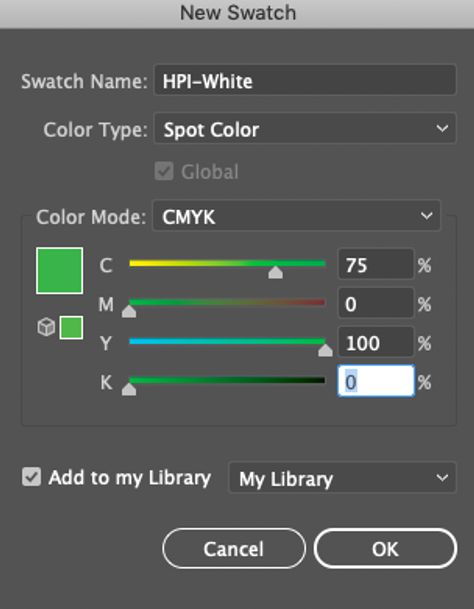
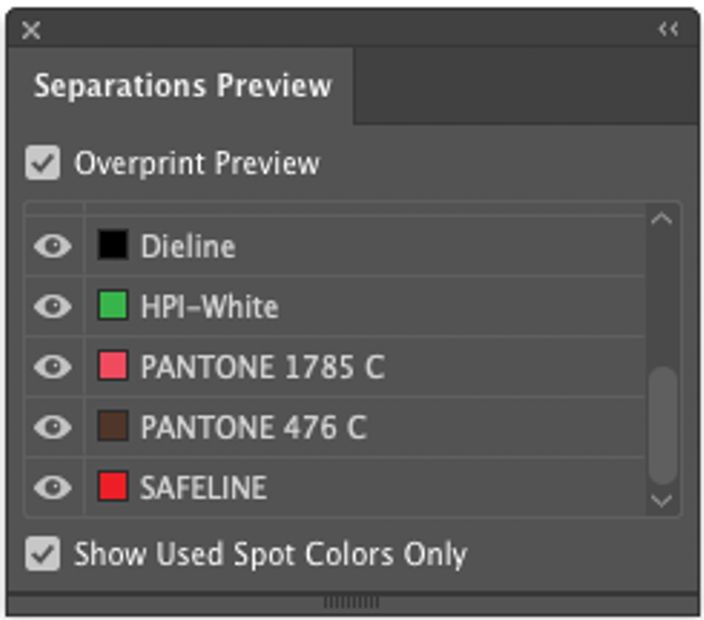
In the swatch panel, create a new color swatch and name it “HPI-White”. First, set the color type to “Spot Color”. Second, select the elements you copied to the “HPI-White” layer and apply this new spot color (HPI-White) to these elements.
When selecting a color mix for the new spot color “HPI-White”, don’t choose white. If you choose white, it will make the elements difficult to view. So we recommend selecting a mix that will not blend in with your existing design colors.

Step 5:
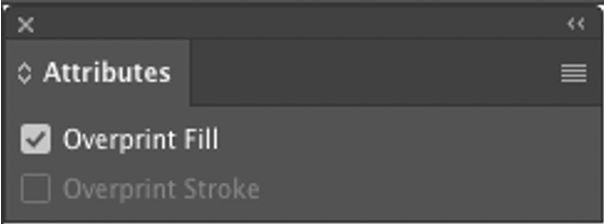
Set the white elements to “Overprint” in the attributes panel. Consider turning overprint off for other elements of your design. Please note, overprint does not appear in your design or proofs, but will inform the printing process to blend that color with any colors found below.
Using the “Separations Preview Panel” you can toggle on and off the white separation to see where the white ink will print.
Once you’ve finished the steps above, your file will be ready.
Remember: white ink printing from existing artwork is only available on Avery WePrint roll labels and select sheet labels. So, if you have any questions about using white ink for your specific job, please reach out to our amazing customer care team at (800) 942-8379. They’ll be happy to answer any questions you have about creating the perfect label for your specific products.


