How to Apply Your Candle Labels Perfectly
Estimated reading time: 5 minutes
See how to apply labels with no wrinkles, bubbles or peeling
Other articles you might like:
If you want your specialty candles to stand out from the crowd, your candle labels not only have to look good, but they have to be properly applied. Nothing looks worse than a wrinkled, bubbling, or lopsided label. So our Avery label experts, along with our friends at CandleScience, have put together some helpful tips for applying your candle labels perfectly every time.
You can also watch this quick step-by-step video to get the ideal candle label application.
Gather your tools
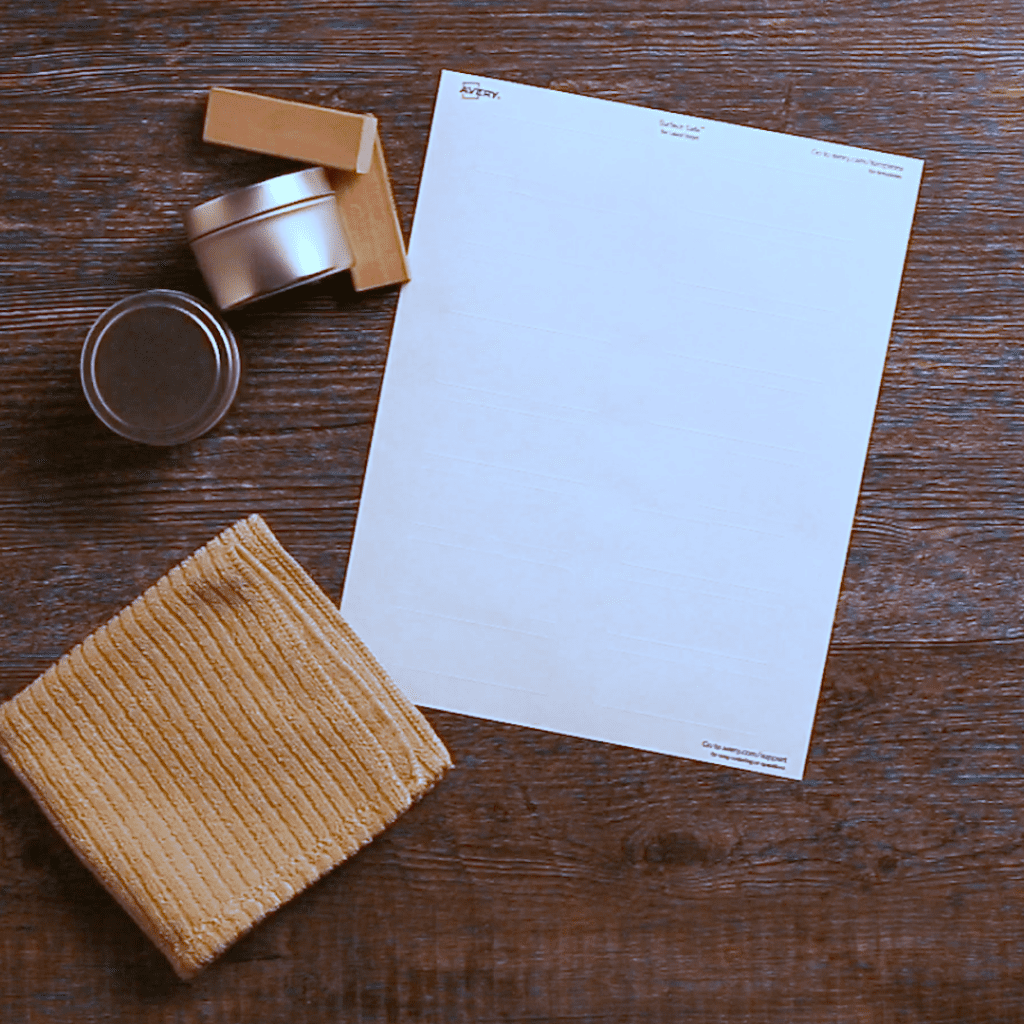
- Isopropyl alcohol
- Microfiber & lint-free cloth
- Stabilizer or jig
- A flat item like a credit card for smoothing
- Stickpin
- Candles
- Labels
Clean & brace your candle
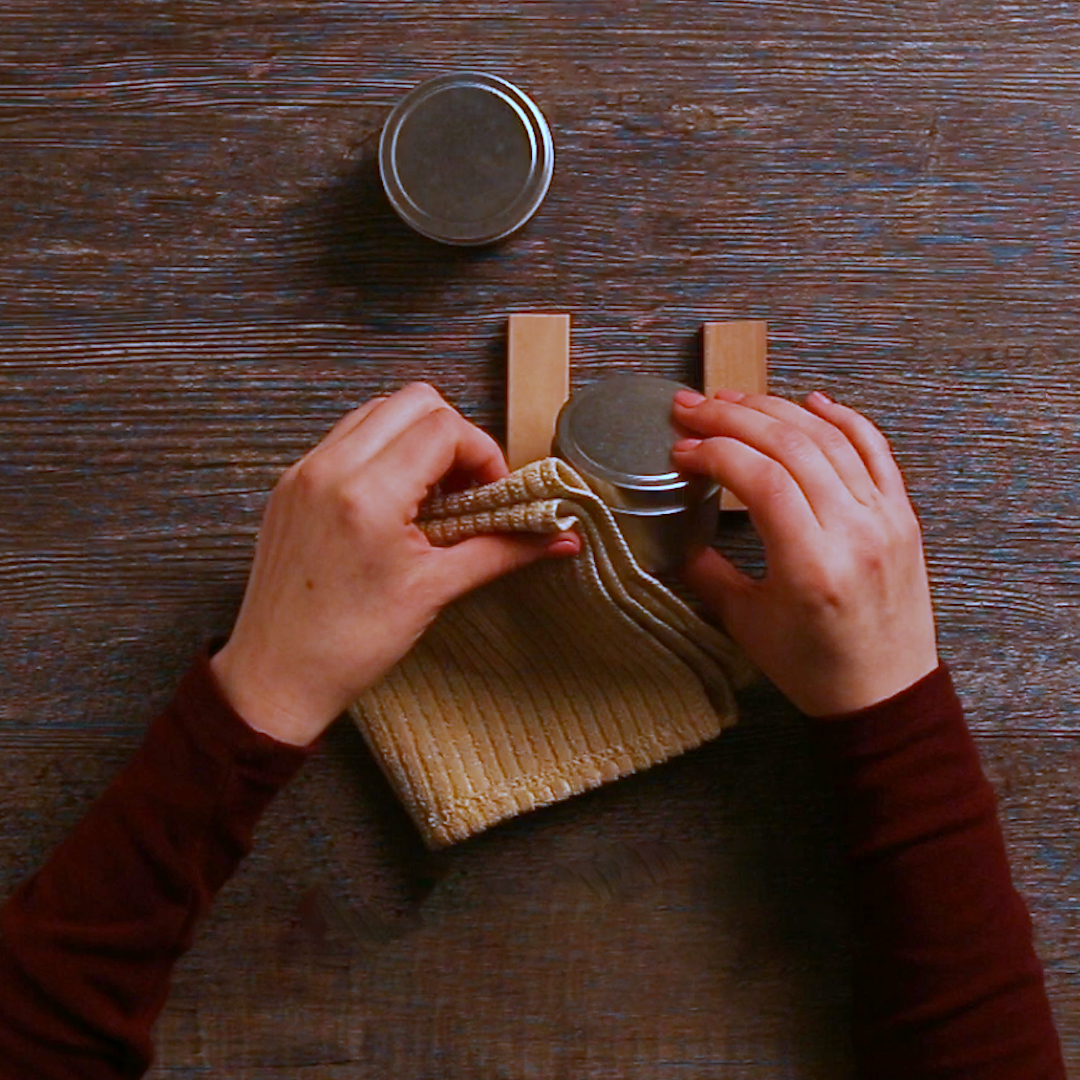
Pour and set your candles before labeling them to prevent the labels from getting dirty or damaged. Then simply use the isopropyl alcohol (rubbing alcohol) and your lint-free cloth to thoroughly clean and dry the surface of your candle jars or tins. This will help form a strong bond between the label adhesive and your container.
When using clear labels, cleaning your candle container helps prevent blemishes or marks from showing through your labels.
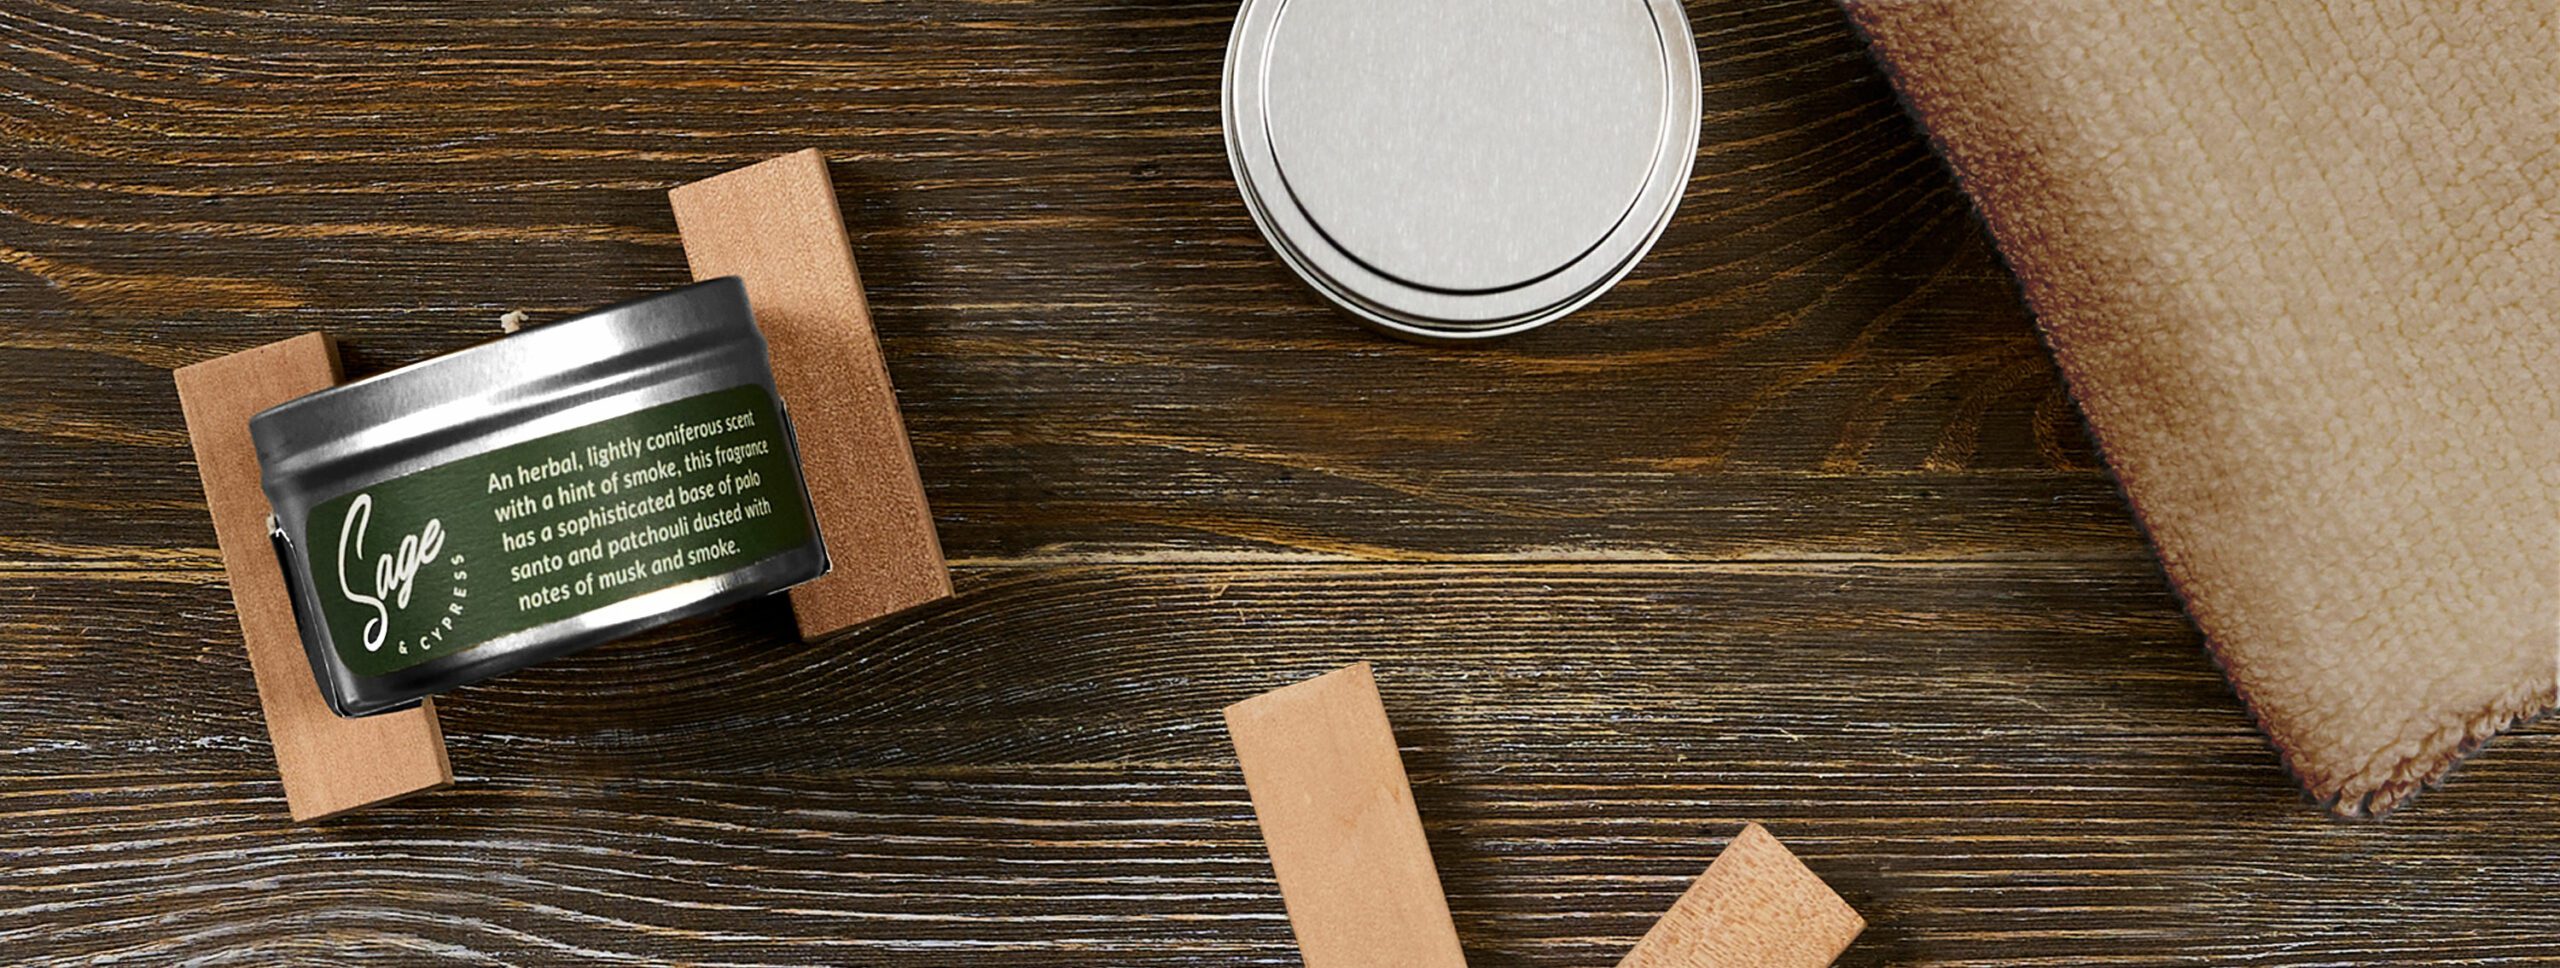
Before applying your candle labels, brace your container between two objects for a more controlled application. You can use something as simple as two blocks of wood as pictured above. Some candle makers have found that empty egg cartons work well to stabilize jars.
You can also see a great homemade jig made by Frostbeard Studio, a CandleScience customer, just using a cardboard box. The main objective is to make sure your candle jar or tin is completely still when you begin applying your label.
Also, make sure that your candles are completely cooled and at room temperature (approximately 70 degrees) before applying your labels. Again, this will ensure that the adhesive adheres properly to your candle jar or tin.
Align your candle label
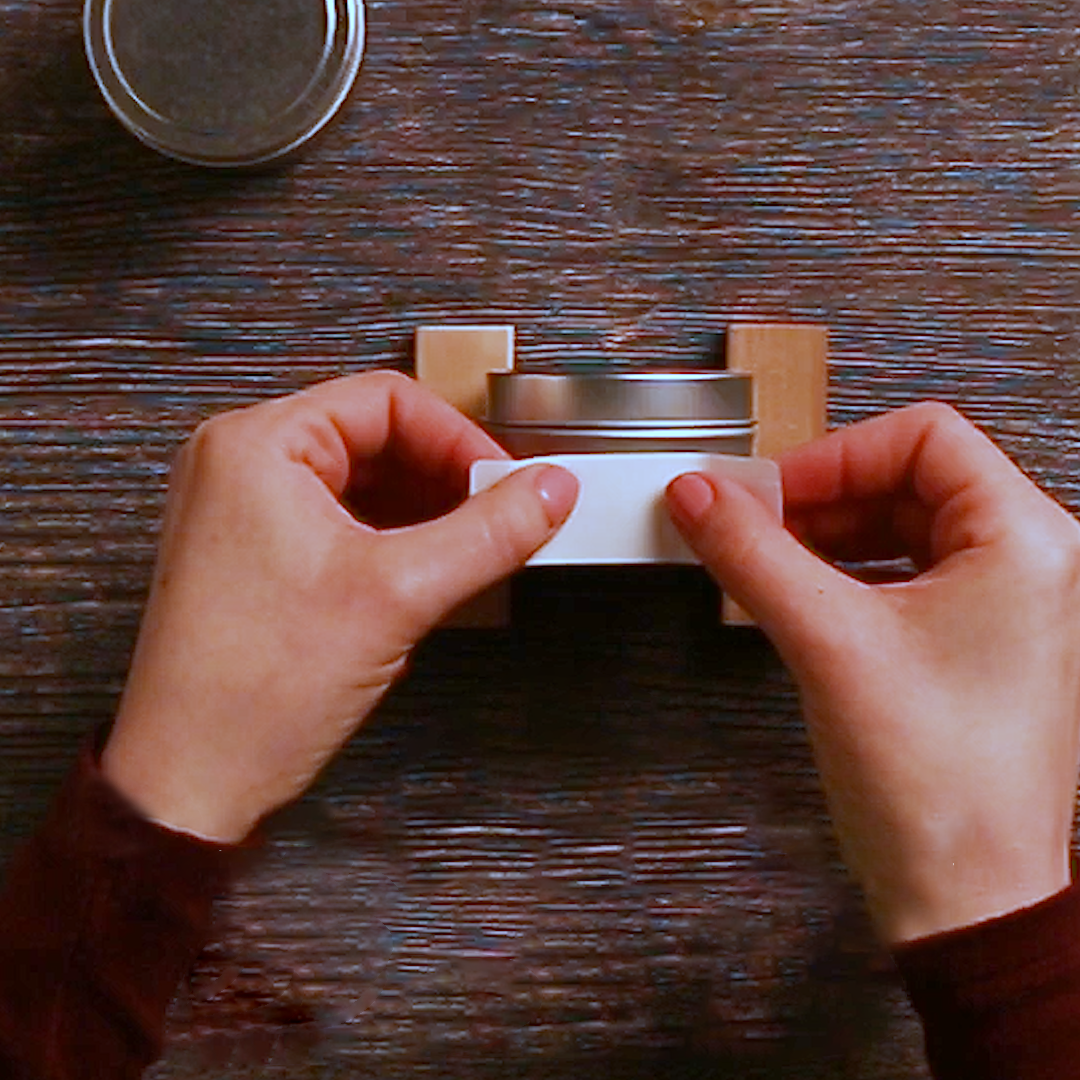
First off, be aware of the positioning of your label on your candle jar or tin in relation to the top or lid. Take into consideration what it will look like when the lid is on and off. You want to make sure the candle label looks good in both situations.
If you’re applying the label to a glass jar look for a vertical seam or horizontal edge to help alignment. When applying to flat surfaces, like a square tin or outer box, look for a straight edge and align the corner of the label with that edge.
Apply your candle label
Start with clean hands. Carefully peel the label from the liner and hold the label by the outer edges to avoid contaminating the adhesive. If applying clear labels by hand, it’s recommended to use lint-free gloves. The smallest mark or fingerprint on a clear label can make for an unsightly product label.
When applying your candle label to a round jar or tin, start by applying pressure at the center of the label and move outward to prevent creases. If you’re applying your label to a flat surface like a lid or box, start with an edge and roll the remainder of the label onto the surface to avoid wrinkles.
Once the label is flat, press firmly from the center to edge for curved surfaces or from edge to edge for flat surfaces.
Remove wrinkles & bubbles
Using a hard flexible tool like a credit card, or even your hands (if you’re wearing gloves) gently but firmly push wrinkles and bubbles to the edge of the label.
Label adhesives need approximately 24-48 hours to cure and adhere completely after application. So it’s very important to keep your candles at room temperature to prevent lifting or bubbling.
If any bubbles do appear and you can’t remove them with your flat tool, you can try using a small stickpin. Just poke a tiny hole in the bubble and push it to the edge of the label. The hole won’t be visible.
Remember to store your finished products at room temperature and to avoid bumping and rubbing labels.
Before buying your labels
Always make sure you know the exact size and shape label you need for your candle jar before you order your candle labels. Decide what label shape is right for your products and then follow our simple guide on how to choose the correct label size for your products.
If you choose to buy your candle labels from Avery, we offer a wide variety of options to help you find the perfect fit so you don’t have to cut to size. You can order superior quality, full-color custom candle labels through Avery WePrint. And there is no charge for custom sizes and no setup fees. You simply personalize your candle label designs using one of our free templates or upload your own artwork and place your order. You’ll get a free proof to approve your art and then your order will be shipped in as few as three business days.
We also offer two ways to buy blank printable labels for on-demand label printing at home. You can use our traditional packaged sheet labels sold in many retail stores, or order our online blank labels that you can order by the sheet or on rolls with no minimum orders.
Looking for the perfect candle jars and containers? Check out our candle container and label guide to find the right size labels for your specific candles. The amazing team at CandleScience offers all the high-quality candle containers and lids you could possibly need, as well as an amazing collection of fragrance oils and other candle-making supplies.
If you have any problems with your candle label application, please let us know. Our Customer Care Center is based in the U.S. and is ready to answer your questions at (800) 942-8379.

