15 Smart Classroom Organization Tips for Back to School
Estimated reading time: 14 minutes
How to organize your classroom with Avery labels and free tools
Back-to-school season can be so wonderful (and wild). So it’s important to prepare as much as you can ahead of time. Thankfully, classroom organization is something you can start thinking about and planning early in the summer. You can even start putting some of your plans into action before you head back to your classroom.
Not only are we covering smart tips to get your classroom organized. We’re also going to show you how to use free Avery tools with our labels to make it easier too.
Other back-to-school resources you might like:
- Binder Cover Ideas to Give You a Happy Boost
- Back to School: Kids Labels You Can Actually Clean
- Build Buzz for Your Fundraising Event
- I.D. Your Books with Personalized Bookplates
1) Plan classroom organization tasks
Firstly, it’s always a good idea to start with a classroom organization plan. Whether that means a big visual plan on your whiteboard, making to-do lists, or using your planner is up to you. Choose a planning method that works for your personal organization style.
However you like to get down to organizing tasks, make sure that you’re setting reasonable goals for yourself. When it comes to creating goals, we particularly love the SMART goals method. If you’re not familiar with the SMART method, it’s simply a framework for setting goals that helps you apply time and resources more effectively.
How to use smart goals
SMART is an acronym for Specific, Measurable, Attainable, Relevant, Time-Based. First, be specific by setting narrow goals that make the steps to success clear. Then make your goals measurable so you’ll know that you’re making progress.
Next, make sure that your classroom organization goals are attainable. In other words, set goals that you can reasonably accomplish so that you stay motivated and focused. Then double-check that each goal is relevant and aligns with your larger plan. Finally, make your goals time-based by giving them end dates so you can prioritize.
2) Personalize your classroom organization
While organization doesn’t seem that exciting, personalizing your classroom labels and supplies can totally be a creative project. Not to mention, those personal details are memories that your students will take with them far into the future.
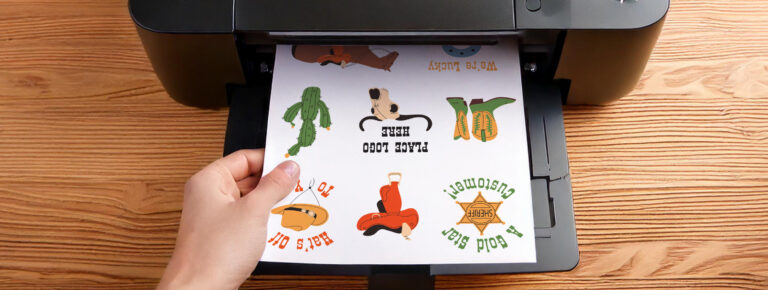
Luckily, we have tons of free tools to use with Avery labels and our other printable products. For instance, our free online software, Avery Design & Print Online (ADPO). Using ADPO you can create your own designs from scratch, or choose a predesigned template to personalize.
Moreover, when you create a free Avery account, you can save your designs to reuse later, apply them to different products, or share via email. Sharing Avery projects via email is especially helpful for cooperative work with co-teachers or within academic departments.
Using Avery templates
We have literally thousands of free, professionally designed templates that you can easily personalize for classroom organization. You can edit text and change fonts, as well as edit or add your own images, graphics, shapes, and more.
To find a template, get your Avery product number handy and use our template finder. However, if you don’t have your product number, there are still options. You can use our helpful template support page or simply give our wonderful Customer Care team a call at 800) 942-8379. They are always happy to assist!
What you need to use ADPO
Getting started using the tools in Avery Design & Print Online is simple. In fact, it’s likely that you already have all the supplies you need on hand. All you need is a computer, laptop, or smart device with an internet connection, and a free Avery account.
Naturally, if you’re going to print your designs yourself you’ll also need a laser or inkjet printer and compatible printable products. Or, if you don’t have access to a printer, we can print your classroom labels, tags and cards for you with our reasonably-priced WePrint® service.
3) Autofill classroom labels with Mail Merge
Certainly, there are things more worth your already-stretched-thin time than addressing envelopes! If you’ve ever addressed envelopes by hand or filled in address labels individually, you know this without a doubt. Fortunately, the Mail Merge tool in ADPO quickly nips that in the bud.
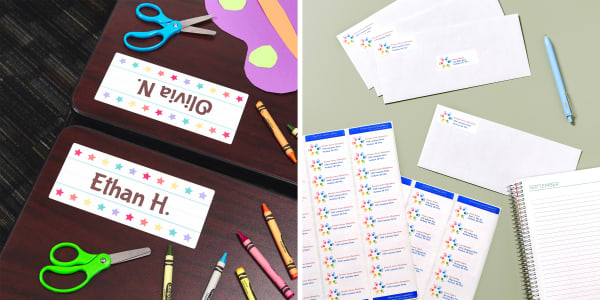
Needless to say, Mail Merge can be used with most printable Avery products. However, you’re not limited to using it just for addressing envelopes. For example, you could use Mail Merge and your student list to fill in desk labels for your entire class (or classes) in minutes.
Basically, you can use the tool any time you need to label many items all at once. For instance, alphabetizing classroom organization bins. Simply put the series of bin names in a spreadsheet and then use Mail Merge to apply to individual labels.
4) Best labels for classroom organization bins
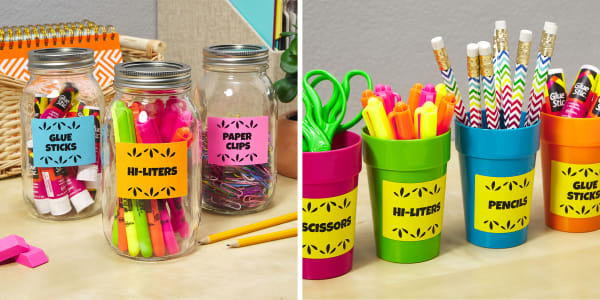
In general, removable labels of all kinds are great for classroom organization that you plan on updating often. That being said, plastic bins that get a lot of wear and tear are a whole other ballgame. Luckily, our durable removable ID labels are specifically designed to work on bins, shelves, and racks while standing up to heavy-duty use.
These durable removable labels stick securely to metal, glass, and hard plastics. For example, HDPE, PP and LDPE plastics are what many plastic totes, tubs, and bins are made of. Durable removable ID labels are also made from polyester instead of paper. So they hold up to wear and tear and can even be wiped clean with common household wipes or a damp cloth.
5) Use budget-friendly storage containers
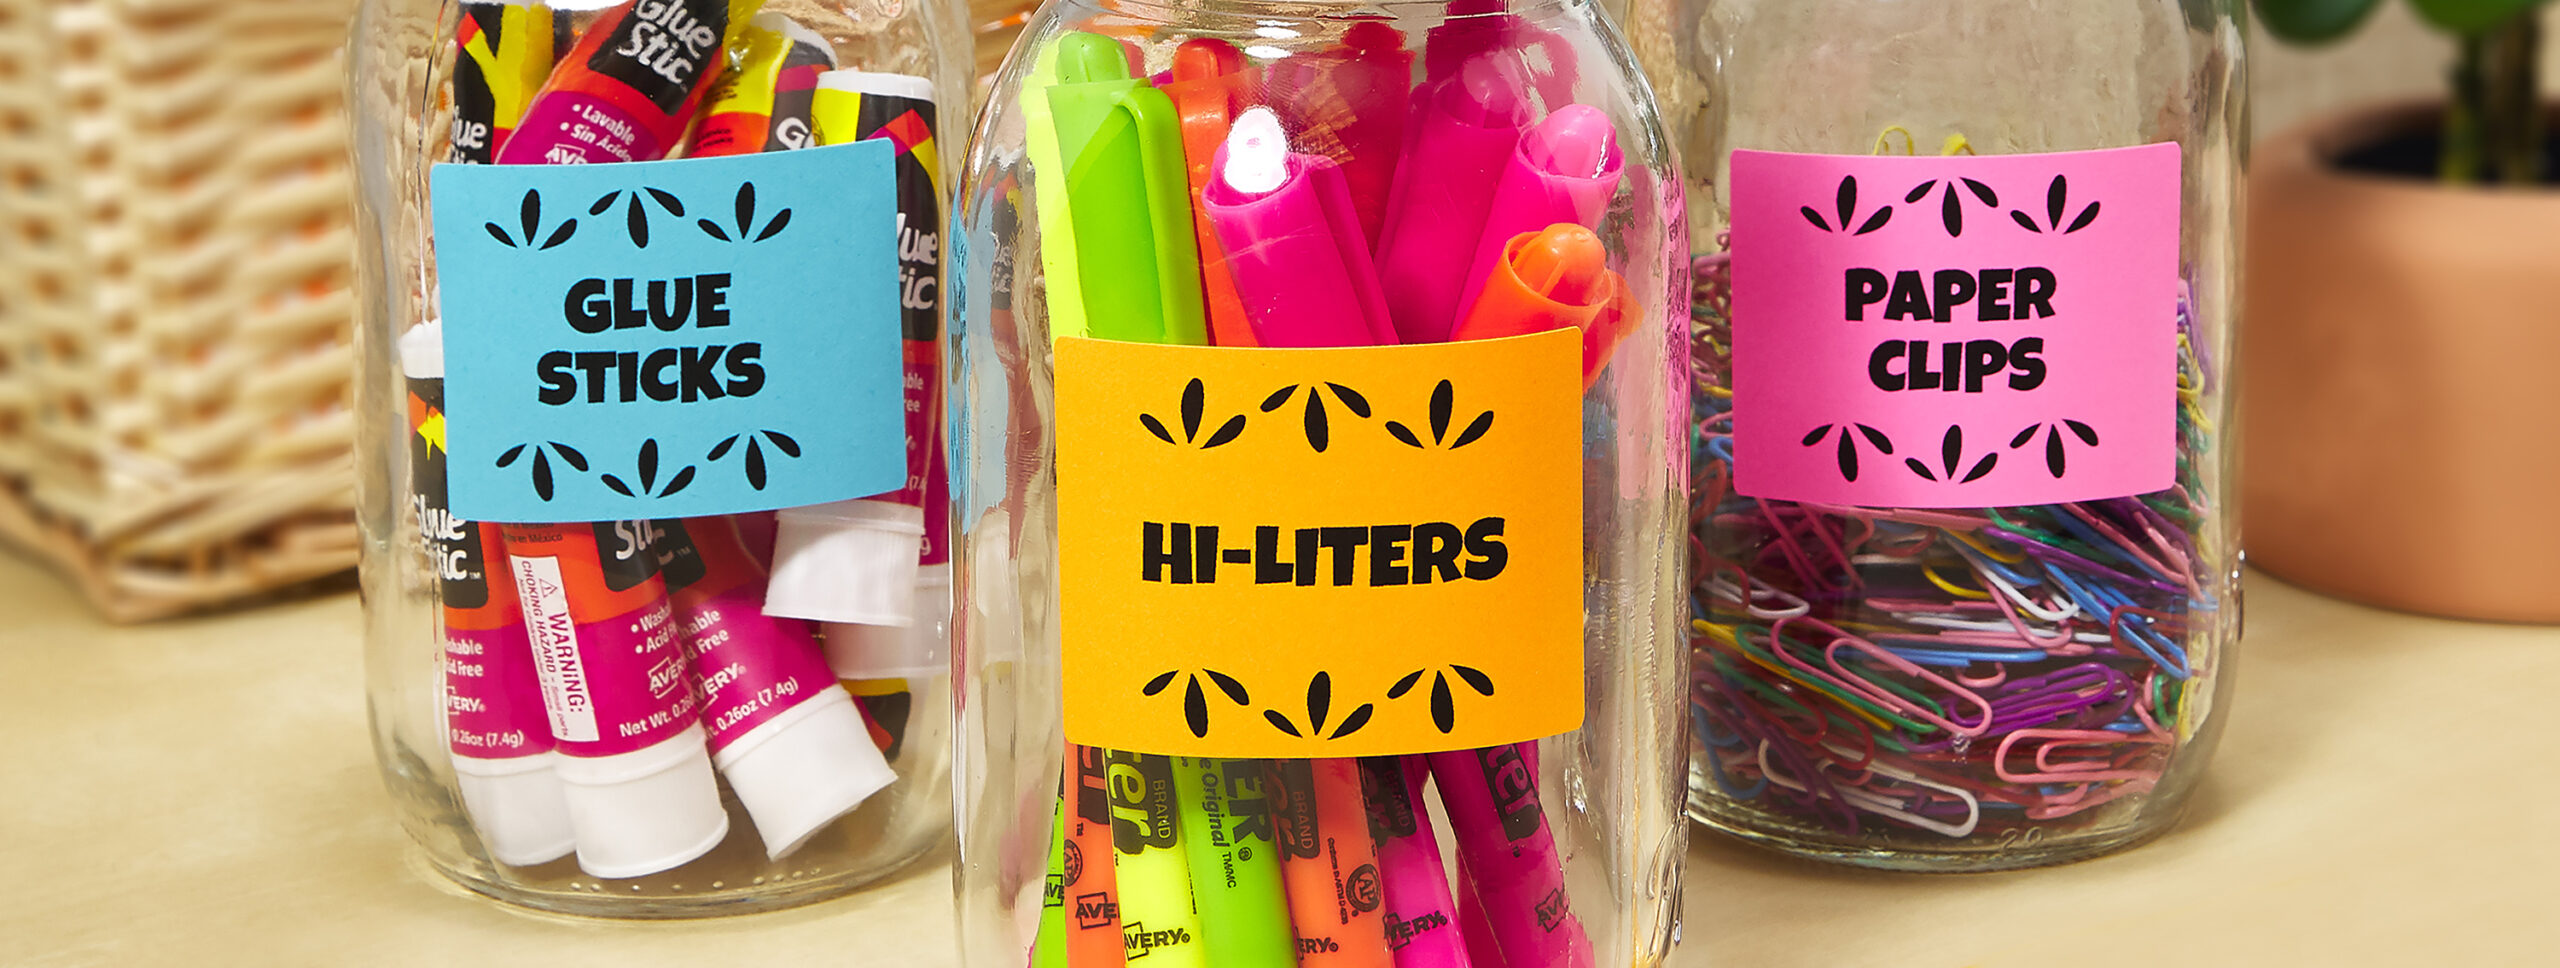
Everybody knows that the dollar store is a teacher’s best friend. Next time you’re there, branch out from the school supply aisle and check out the household goods. Cups and jars are fantastic for organizing small items in your classroom.
To say nothing of plastic caddies, laundry baskets, buckets and more. In fact, the We Are Teachers website has tons of ingenious large classroom storage ideas you can build, often with dollar store items. You can also save up your old Mason jars and recycle them for classroom organization. After they’ve been cleaned, just remove the old labels and add your own!
6) Tame paper clutter before it gets started
First, plan your filing system. Determine categories and subcategories, when to archive, etc. Then, make a schedule to archive papers you don’t need to access quickly. Next, organize inbox/outbox systems for receiving and handing back student work.
Finally, consider additional ways to store and/or reduce papers in your classroom. For storage, use binders and dividers to organize the paperwork you’ll need to access regularly or take with you on the go. Binders are easy to stack or organize on shelves, especially if you use spine inserts to indicate the contents.
For reducing paper, consider DIY reusable worksheets students can use with dry-erase markers. It’s super easy to do with a laminating machine if you have access to one, or self-laminating sheets that use adhesive instead of heat. There are even adhesive laminating sheets that reduce germs! To say nothing of simply slipping worksheets into heavy-duty sheet protectors.
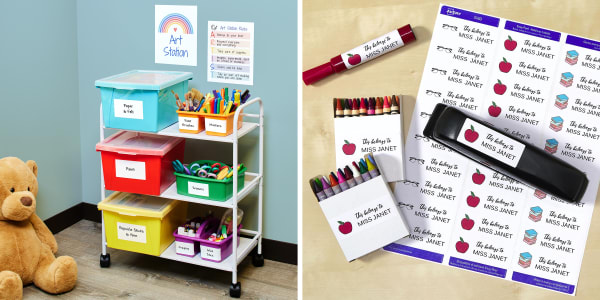
7) Use wall signs to designate supply stations for your classroom
When your classroom organization system is easy to understand there’s more potential to delegate clean-up tasks. Supply stations, specifically, make it easier for students and other classroom helpers to know where to put things away. For example, organizing an arts and crafts supplies cart. Or, setting up a station to organize and store math manipulatives.
Once you’ve designated supply stations make sure that everyone knows where items belong. Start by separating supplies by category until every item has a place and then label containers. Finish your supply stations with wall signage, color-coding, themed decorations, and other visual cues.
8) Mobile storage for classroom organization
When it comes to mobile classroom organization, train yourself to think both big and small. For example, rolling carts are classroom magic. They come in a range of sizes that work well for organizing supplies by subject, time of year, or creating mobile supply stations.
However, as great as rolling carts are, small mobile storage is also handy for getting your classroom in order. Think caddies, travel cases and stackable baskets or bins with handles. Super-versatile Avery 5160 labels, removable labels, and durable self-laminating labels are all great options for labeling small containers in rolling carts and smaller mobile classroom storage.
9) Keep track of teacher supplies with ID labels
We all know how important it is to identify teacher/classroom supplies so they’re easy to separate from students’ personal supplies. We have several labels that are ideal for the task, and of course, Avery Design & Print Online makes it easy to personalize any label. Especially with our free templates that you can quickly customize.
By far, our most popular label is the classic 5160 address label. Yes, it’s great for sending mail, but it’s also very cost-effective for labeling supplies, storage, and sundry other classroom organization needs. Plus, there are over 1,000 free 5160 templates you can personalize.
When you need to upgrade ID labels for your classroom, our durable ID labels and self-laminating labels do the trick. Both are designed to stand up to heavy-duty industrial workplaces, so they last a long time and can take anything your students can dish out!
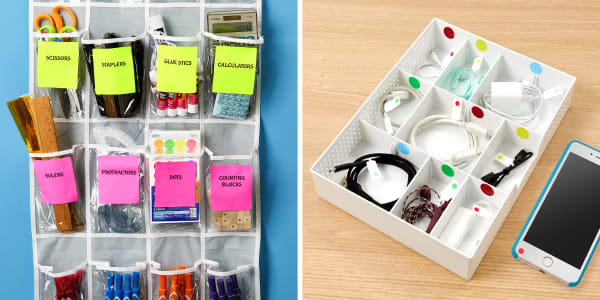
10) Color-code books, supplies and groups
Color-coding is a powerful visual aid for organization. As such, it’s a technique you can apply to classroom organization on both a micro and macro level. For instance, use color in your planner to organize your time and encourage students to color-code their notes. Highlighters and repositionable tabs are amazing tools for small-scale and personal organization at school.
On the other hand, color-coding labels are the MVP of classroom organization on a bigger scale. Color code student work groups and your daily agenda board so that information is easy to process at a glance. Color code book categories in your classroom library and supply storage containers.
11) Shoe holder classroom organization hack
Making use of vertical space is one of the best ways to make more room for storage in your classroom. Hanging shoe holders are an inexpensive and practical way to go vertical with classroom organization. Plus, they’re perfect for a wide range of small classroom supplies.
First, decide where to hang the shoe holder. They often come designed to hang over the back of a door so try that first. If you have a supply closet or something like that inside your classroom then you’re all set. If not, you can hang them from the wall using hooks or a similar method.
First sort supplies by type. Then group together supplies by usage. Add color labels to pockets to color-code by category so everything is easy to find at a glance. Whenever you have storage with many pockets or compartments, labeling is essential. For one thing, you want it to be easy to know where to put things back for easy clean-up. Labels also make it easy to know what to replace when you run out.
Don’t forget, you can use the Mail Merge tool to quickly fill in all your shoe holder pocket labels all at once!
12) Label your classroom cords and cables
Cords and cables are an organizational challenge in any space, but in a classroom, it’s also important to keep them separated by personal and classroom use. Fortunately, it’s easy to print your own cord/cable labels and there are several other good reasons to give this problem area some extra attention.
First, keeping cables and cords organized makes it easy for substitutes and classroom helpers to find what they need. Second, keeping them separated helps avoid a frustrating tangled mess. Lastly, cords and cables take up way less space when they’re neatly wound and secured.
13) Organize your classroom’s daily agenda board
The daily agenda board is a crucial part of classroom organization. Not only does it set expectations and a daily routine, but it also promotes several skills for your students. Particularly, time-management, reading skills, and even leadership.
A good agenda board uses layout and visual cues, such as writing with colorful dry-erase markers, to make the information easy to read and easy to understand. Of course, bringing your own artistic flair and personality to the board also helps capture the attention of your students.
However, if you’re not blessed with natural artistic talent you can still create an organized daily agenda board that pops. Firstly, washi tape is an excellent way to divide sections of information. It comes in tons of colors and patterns so you can really let your personality shine.
Secondly, Avery Surface Safe sign labels work well on whiteboards. You can easily use our free design tools to design and print your own daily agenda sections and add graphics and color.
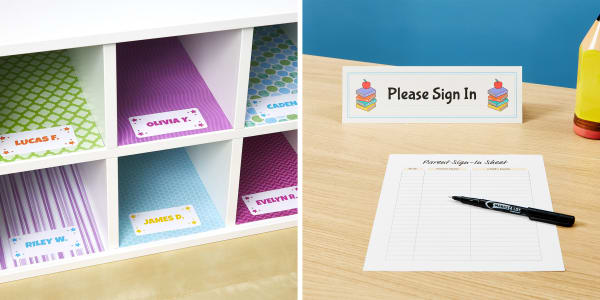
14) Make colorful DIY inserts to organize cubbies
Cubby inserts are a fun way to dress up this staple piece of classroom storage. All you need is a pack of colorful cardstock and labels. First, use Mail Merge to quickly autofill your class list onto the labels of your choice. Then, simply pop a label on each sheet and slide one into each cubby.
We love this idea because it gives you options. Firstly, you can rearrange and update as needed – no muss, no fuss. Not to mention you can change out the cardstock each year to match your classroom theme. Or, you can laminate the cardstock and reuse it over and over. In that case, just use labels with TrueBlock® to cover the previous years’ labels.
15) Plan ahead for an open house in your classroom
Organizing and planning for an open house (or back-to-school night) makes your classroom more inviting. Most important is mapping out the flow of the room. Obviously, the sign-in sheet should be nearest the door. However, you might want to consider setting up an entire station that also includes sign-ups, handouts and hand sanitizer.
Guiding guests during an open house is absolutely essential. Signs, table tent cards, and other visual cues make it easy for visitors to know what to do. Not only does it make the flow in and out more seamless, but it helps everyone feel more comfortable and eases any nerves.
How to get an A+ on classroom organization
In short, there are a few key takeaways that all of our tips for classroom organization have in common:
- Plan early and plan ahead, using SMART goals to organize your tasks
- Use free Avery tools to personalize and autofill labels
- Give everything a labeled place so it’s easy to delegate clean up
- Take advantage of different label materials to suit your needs
- Think outside of the box for creative storage containers
- Have a plan for paper clutter so it doesn’t get out of control
- Use color-coding and other visual cues wherever possible
What is the best classroom organization tip you’ve ever received?


