Common Shipping Issues: Label FAQs to Help You Solve Them
Estimated reading time: 10 minutes
Avoid mistakes so your packages arrive on time
Some of the most common shipping issues are label “fails” that can easily cause your package to be delayed—or worse, lost in transit. Not to mention that when your schedule is packed, a lost package can feel devastating. I’ve certainly been there myself. I work full time as a writer for Avery, ship items for my side-hustle business, and send packages to family in Colorado and Florida. As all of us juggle more in our daily lives, lost packages not only cost time and money, but they can affect both our business and personal relationships too. Fortunately, Avery has been making labels since R. Stanton Avery invented stickers in 1935, and today Avery Products applies nine decades of experience to solving label failures every day.
Whether you’re new to shipping and need to know how to write a shipping label, or you’re exploring options for printing labels at home, this guide has the answers. I’ll help you spot common shipping label issues, avoid costly delays, and create professional-looking shipping labels with ease. Plus, I’ll answer top questions about label usage, such as whether you can reuse boxes and if the post office will print labels for you.
FAQs about shipping labels
Writing a shipping label involves including essential information like the recipient’s name, address, and your return address. Many carriers also require a barcode for tracking, which you’ll receive when purchasing postage. You can handwrite the label or use free templates to create a more polished version. If you handwrite, ensure legibility and avoid smudging to prevent common shipping issues.
Labels can cost anywhere from a few dollars to over $20 for expedited or international shipments. However, cost of a shipping label depends on the carrier, package size, weight, destination, and shipping method. The good news is that most carriers provide online tools to help you estimate costs and avoid common shipping issues related to insufficient postage.
Absolutely! Printing shipping labels at home is convenient and often more affordable than doing it at a retail location. You can print them directly through carrier websites or platforms like PayPal® and Etsy®. Avery also offers blank shipping labels by the sheet and in convenient packs, so you can easily customize and print at home to avoid common shipping label issues.
Shipping without a label typically requires visiting a carrier location to have them create one for you. You’ll provide package details, and they’ll print the label onsite. Alternatively, some carriers accept handwritten information but will still attach a barcode label for processing to prevent common shipping issues during transit.
Yes, the post office can print shipping labels if you visit in person. You’ll need to provide package details and pay the postage fee, then they’ll print the label for you.
Avoiding common shipping label issues
Skewed or cut-off information
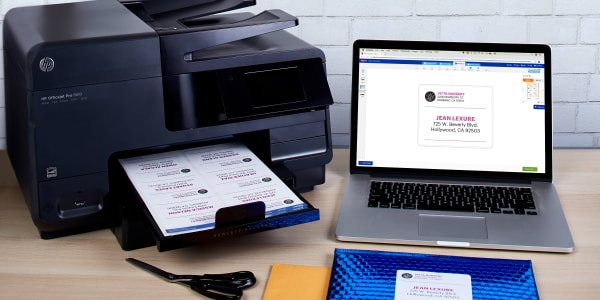
To avoid misalignments or printing issues, start with shipping labels optimized for home or office printers. For example, Avery products with Sure Feed® technology feature a unique “grip strip” that helps sheets move through printers better.
Another important thing to do is to check your printer settings. Always choose the “Label” setting in your printer preferences. If unavailable, select “Heavyweight,” “Cardstock,” or “Photo.” Double-check that your label size matches your carrier’s requirements. For more detailed help, check out our step-by-step instructions for choosing the best printer settings for labels.
There’s also a chance you’re using the wrong size label for the postage carrier or service you want to use. When I first started shipping for my business, I didn’t realize that sizes for shipping labels can vary between carriers and services. It’s best to always double check the dimensions on the specific carrier’s website.
Labels that don’t stay on
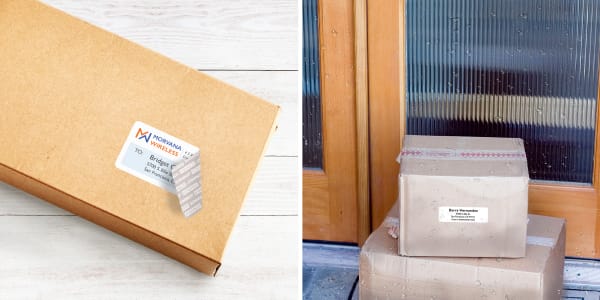
First and foremost, use labels with a strong permanent adhesive, like Avery labels with Ultrahold® adhesive.
On the subject of adhesives, make sure that the labels you buy are not removable or repositionable. Ultrahold adhesive is a strong permanent adhesive, but Avery also makes labels with other types of adhesives. For instance, there are removable labels that are simply not meant to be permanent and will be able to stay on through transit.
Then there are shipping labels that are repositionable like these ones, meaning they are removable for a short period of time. Solution: Make sure you let repositionable labels sit until the adhesive becomes permanent before shipping your package.
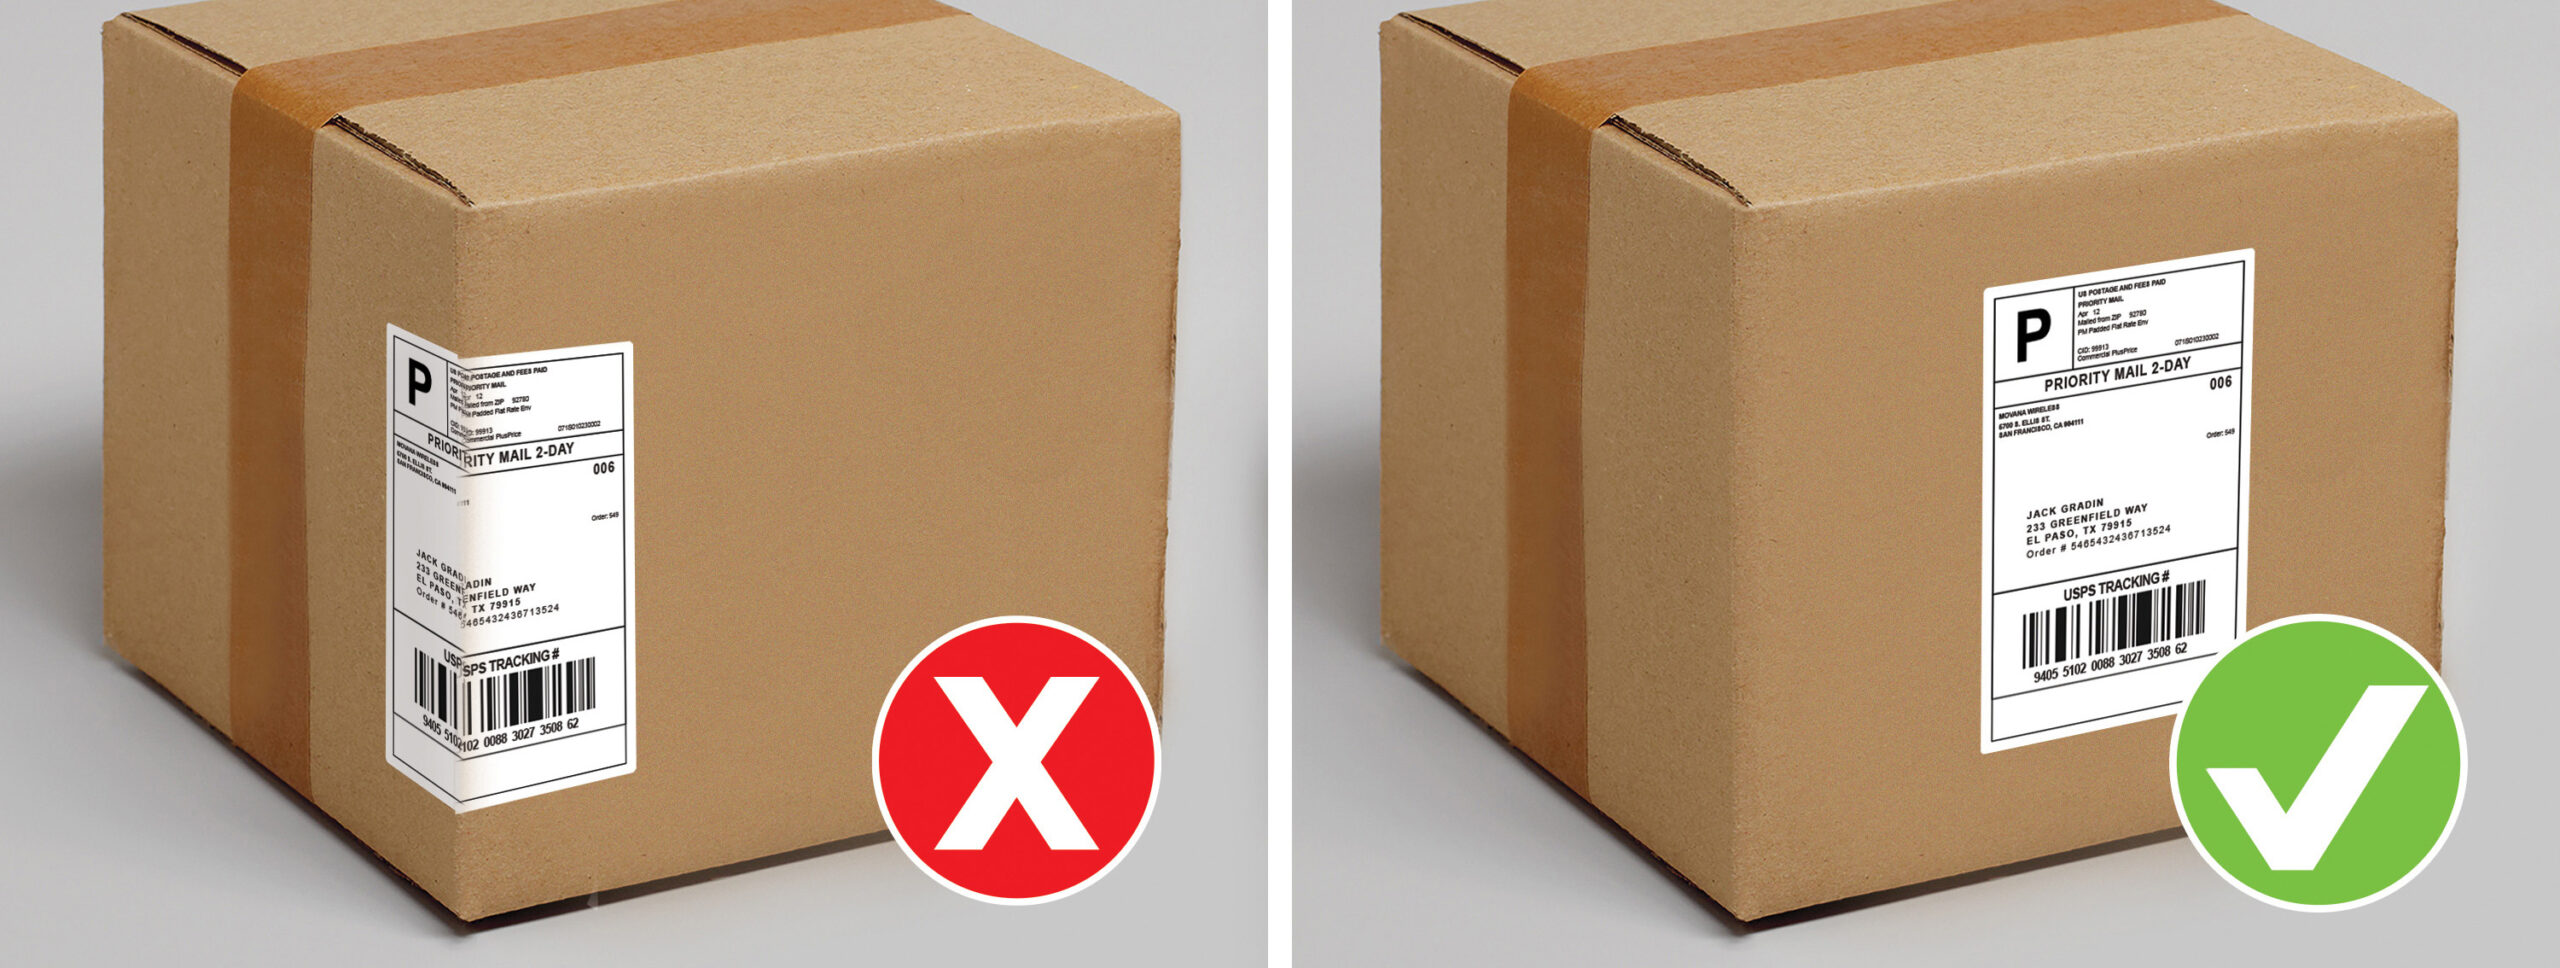
Next, check that the surface is even. Strong adhesives don’t matter if they can’t make contact with the package surface. Solution: Place shipping labels on the most prominent flat portion of the package so that the label makes full contact. Avoid seams, box openings, and wrinkles or folds on soft packaging.
Myth: Clear tape keeps shipping labels stuck on and protects them. While that sounds good in theory, it’s risky. First of all, the tape is only sticking to a very small surface area of the package compared to an adhesive label. Secondly, the glare from the tape can interfere with barcode scanning and delay your package. Not to mention, it looks messy and unprofessional. If you’re worried about your package getting wet, it’s better to just use a waterproof shipping label.
Common shipping issues due to smudging and barcode errors
Why are my labels smudging?
One thing I learned early on is that my labels would always smudge if I used the wrong type of printer or incompatible labels. Most importantly, you should always match laser labels with laser printers and inkjet labels with inkjet printers. There are very good reasons for this, and you can read all about it in our deep dive about what kind of printers to use for labels. For weather resistance, choose waterproof labels to prevent smudging during transit. I learned that the hard way, sending Christmas gifts to Colorado—yikes!
I should mention here that Avery makes it pretty easy to get labels that will work with your printer. In fact, there’s a product filter that allows you to choose laser (for laser printers), inkjet (for inkjet printers), or specially engineered shipping labels, marked “Laser/Inkjet.” Avery labels marked “Laser/Inkjet” are designed to work with both laser and inkjet printers. Here are some shortcuts to take you directly to the labels that work for you:
Another reason your labels might be smudging is if you are trying to run professionally printed labels through your printer. This applies to any labels you have ordered to be custom printed for you. For one thing, you just can’t be sure if the material is compatible with your printer. In fact, using the wrong material in your printer causes all kinds of problems (including smeared ink). Moreover, custom-printed labels often have a special topcoat. Even if the material is compatible, the topcoat may prevent ink from fully transferring on a reprint.
How to avoid barcode scanning errors
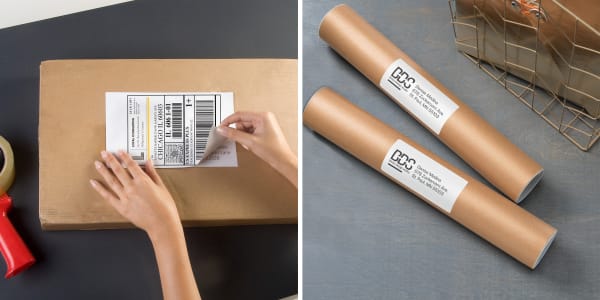
Covering old labels and placing labels so that they don’t bend, wrap, or fold are just two key ways to avoid barcode scanning errors.
To understand the most common shipping issues caused by barcode errors, it may be helpful to understand how exactly barcode scanners work. Essentially, they “read” the barcode based on reflected light. The light and dark parts of the barcode reflect light differently. Basically, the way the contrasting sections reflect light is what makes barcodes “readable” by machines (the barcode scanner). Anything that disrupts the direction or quality of reflected light can cause errors.
Here is a list of best things you can do to avoid barcode scanning errors:
- Make sure your shipping label is on a flat surface with no creases or folds.
- Use high-contrast ink on light-colored labels.
- Always place barcodes lengthwise on tube packaging.
- Ensure any previous labels are covered entirely and there is no bleed-through. TrueBlock® labels are especially useful for this.
Where to place labels to avoid common shipping issues
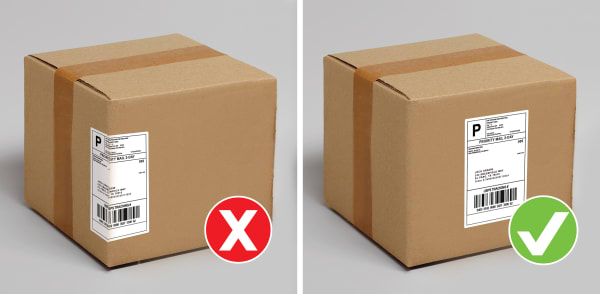
Always apply shipping labels to a flat area on your package and never bend or fold the barcode.
Place shipping labels on the flattest and most prominent surface, away from seams or edges. Avoid bending or folding the label to ensure the barcode scans correctly.
Apply the return label to the same flat area as the original label but ensure all old information is removed or covered.
Yes, you can reuse Amazon boxes or other packaging for USPS shipping as long as all old barcodes and labels are completely removed or covered. Avery labels with TrueBlock® technology are perfect for this, as they completely cover old labels to prevent barcode scanning errors, one of the most common shipping issues.
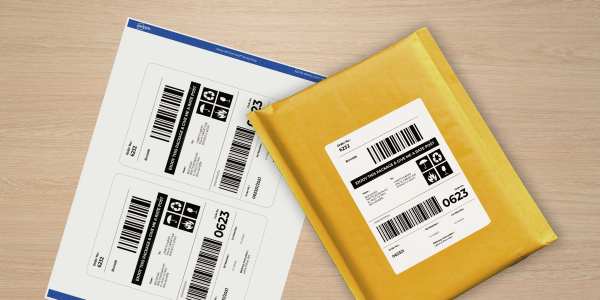
Avoid flaps or closures on shipping envelopes and bags.
For bubble mailers or uneven envelopes, apply the label to the flattest surface without flaps or closures to avoid wrinkles.
Start with your labels to solve common shipping issues
Shipping doesn’t have to be stressful—especially when you know how to avoid common label “fails.” By choosing the right label for your package, ensuring proper placement, and avoiding issues like smudging or barcode errors, you can help your packages arrive safely and on time. As someone who ships for both business and personal reasons, I know firsthand how frustrating lost or delayed packages can be. But with the right tools and a few simple steps, I got the hang of it, and you can too.
Still have questions? Explore our online Help Center and YouTube tutorials or contact our friendly Customer Care Team for expert guidance.
Avery has nearly 90 years of experience in label-making and proprietary innovations like TrueBlock® technology. And that makes it easy for us to provide expert solutions for printing at home or even help you cut down on waste with labels that make reusing old boxes more effective. From preventing label misalignments to ensuring strong adhesion and clear barcodes, what I’ve learned from working at Avery has definitely helped me ship much more efficiently. Now with these tips and products, you can also save time, avoid costly delays, and keep your shipping process smooth and stress-free.
So, the next time you’re preparing a package, remember: a little preparation goes a long way. You’ve got this! Now, go tackle those shipments with ease and get your packages where they need to be—on time and in perfect condition.
You can find more inspiration for your small business on our Pinterest page. Plus, find tips and tricks to make any labeling process smoother by following us on TikTok and Instagram.

